Running Big Data Discovery Shell and Jupyter Notebook on Big Data Lite VM 4.5


New in Big Data Discovery 1.2 is the addition of BDD Shell, an integration point with Python. This exposes the datasets and BDD functionality in a Python and PySpark environment, opening up huge possibilities for advanced data science work on BDD datasets, particularly when used in conjunction with Jupyter Notebooks. With the ability to push back to Hive and thus BDD data modified in this environment, this is important functionality that will make BDD even more useful for navigating and exploring big data.
The Big Data Lite virtual machine is produced by Oracle for demo and development purposes, and hosts all the components that you'd find on the Big Data Appliance, all configured and integrated for use. Version 4.5 was released recently, which included BDD 1.2. In this article we'll see how to configure BDD Shell on Big Data Lite 4.5 (along with Jupyter Notebooks), and in a subsequent post dive into how to actually use them.
Setting up BDD Shell on Big Data Lite
You can find the BDD Shell installation document here.
Login to BigDataLite 4.5 (oracle/welcome1) and open a Terminal window. The first step is to download Anaconda, which is a distribution of Python that also includes "[...] over 100 of the most popular Python, R and Scala packages for data science" as well as Jupyter notebook, which we'll see in a moment.
cd ~/Downloads/
wget http://repo.continuum.io/archive/Anaconda2-4.0.0-Linux-x86_64.sh
Then install it: (n.b. bash is part of the command to enter)
bash Anaconda2-4.0.0-Linux-x86_64.sh
Accept the licence when prompted, and then select a install location - I used /u01/anaconda2 where the rest of the BigDataLite installs are
Anaconda2 will now be installed into this location:
/home/oracle/anaconda2

  - Press ENTER to confirm the location
  - Press CTRL-C to abort the installation
  - Or specify a different location below

[/home/oracle/anaconda2] >>> /u01/anaconda2
After a few minutes of installation, you'll be prompted to whether you want to prepend Anaconda's location to the PATH environment variable. I opted not to (which is the default) since Python is used elsewhere on the system and by prepending it it'll take priority and possibly break things.
Do you wish the installer to prepend the Anaconda2 install location
to PATH in your /home/oracle/.bashrc ? [yes|no]
[no] >>> no
Now edit the BDD Shell configuration file (/u01/bdd/v1.2.0/BDD-1.2.0.31.813/bdd-shell/bdd-shell.conf) in your favourite text editor to add/amend the following lines:
SPARK_EXECUTOR_PYTHON=/u01/anaconda2/bin/python
LOCAL_PYTHON_HOME=/u01/anaconda2
Amend the path if you didn't install Anaconda into /u01
In the same configuration file, add/amend:
SPARK_HOME=/usr/lib/spark/
SPARK_EXTRA_CLASSPATH=/usr/lib/oozie/oozie-sharelib-yarn/lib/spark/spark-avro_2.10-1.1.0-cdh5.7.0.jar
Now run the BDD Shell setup:
/u01/bdd/v1.2.0/BDD-1.2.0.31.813/bdd-shell/setup.sh
This should succeed:
[bigdatalite.localdomain] Validating pre-requisites...
[bigdatalite.localdomain] Validation Success
[bigdatalite.localdomain] Setting up BDD Shell...
[bigdatalite.localdomain] Setup Success
[oracle@bigdatalite Downloads]$
Assuming it does, you can now launch the shell bdd-shell.sh:
[oracle@bigdatalite Downloads]$ /u01/bdd/v1.2.0/BDD-1.2.0.31.813/bdd-shell/bdd-shell.sh
WARNING: User-defined SPARK_HOME (/usr/lib/spark) overrides detected (/usr/lib/spark/).
WARNING: Running spark-class from user-defined location.
spark.driver.cores is set but does not apply in client mode.
Welcome to
     ___   ___   ___       __   _     ____  _     _
    | |_) | | \ | | \     ( (` | |_| | |_  | |   | |
    |_|_) |_|_/ |_|_/     _)_) |_| | |_|__ |_|__ |_|__

SparkContext available as sc, HiveContext available as sqlContext.
BDD Context available as bc.

>>>
From the BDD Shell you can interact with BDD, for example to list out the datasets currently defined in the Catalog:
>>> bc.datasets().count
17
>>> for ds in bc.datasets():
...     print ds
...

media_demo_customer     edp_cli_edp_2c7f41ee-65bf-43ac-8bb4-5b6b59a55d75        edp_cli_edp_2c7f41ee-65bf-43ac-8bb4-5b6b59a55d75        Hive    default.media_demo_customer

movie_genre     default_edp_7d4c18a5-6f02-4067-9f63-91f950078b1e        default_edp_7d4c18a5-6f02-4067-9f63-91f950078b1e        Hive    default.movie_genre

media_demo_customer     default_edp_89c616b6-aa10-4827-aa82-1e9c3fcc419e        default_edp_89c616b6-aa10-4827-aa82-1e9c3fcc419e        Hive    default.media_demo_customer
Whilst BDD Shell is command-line based, there's also the option to run Jupyter Notebooks (previous iPython Notebooks) which is a web-based interactive "Notebook". This lets you build up scripts exploring and manipulating the data within BDD, using both Python and Spark. The big advantage of this over the command-line interface is that a 'Notebook' enables you to modify and re-run commands, and then once correct, retain them as a fully functioning script for future use.
To launch it, run:
cd /u01/bdd/v1.2.0/BDD-1.2.0.31.813/bdd-shell
/u01/anaconda2/bin/jupyter-notebook --port 18888
Important points to note:
- It's important that you run this from the
bdd-shellfolder, otherwise the BDD shell won't initialise properly - By default Jupyter uses 8888, which is already in use on BigDataLite by Hue, so use a different one by specifying
--port - Jupyter by default only listens locally, so you need to either be using BigDataLite desktop to run Firefox, or use port-forwarding if you want to access Jupyter from your local web browser.
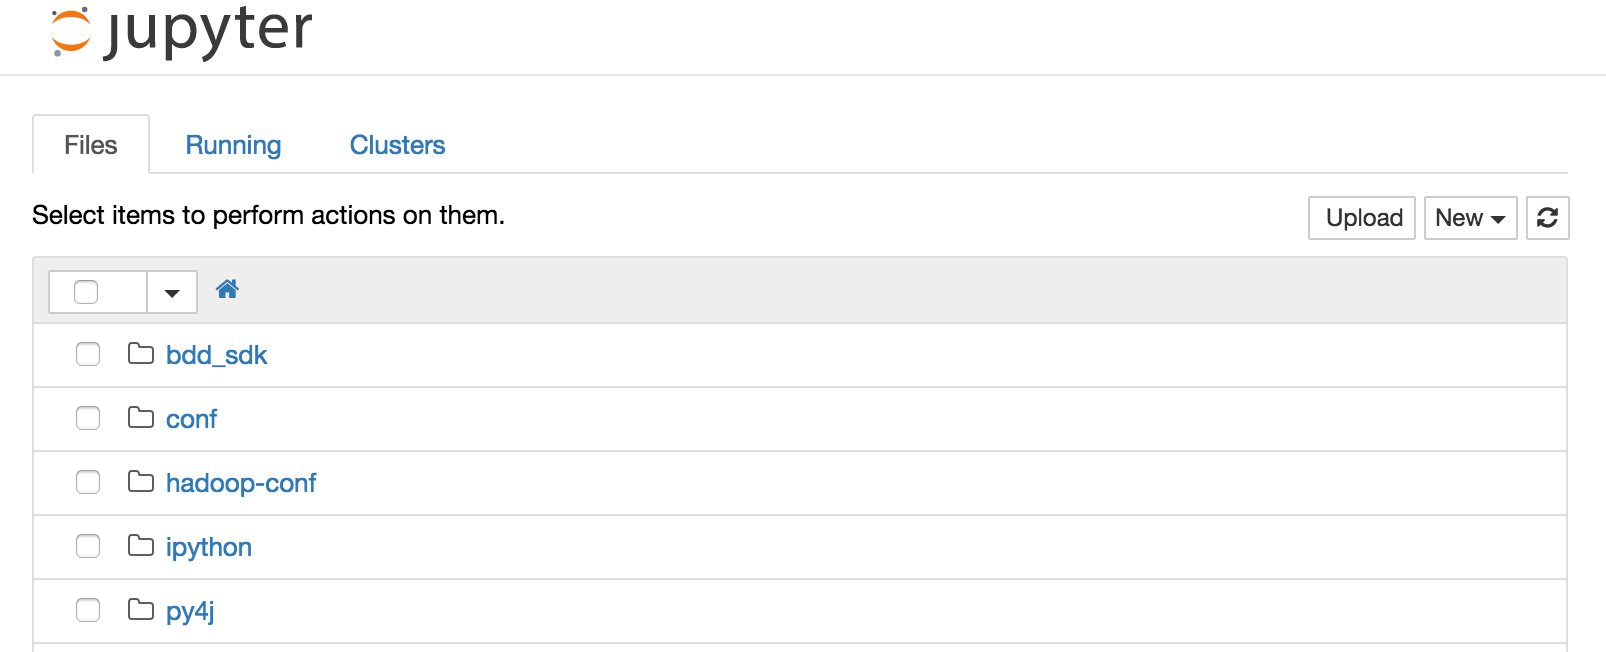
Go to http://localhost:18888 in your web browser, and you should see the default Jupyter screen with a list of files:
In the next article, we'll see how to use Jupyter Notebooks with Big Data Discovery, and get an idea of just how powerful the combination can be.