Oracle BI EE 11g - Styles, Skins & Custom XML Messages
BI EE 11g, like 10g provides ability to customize the End-User Interface through 3 methods. They are
1. Styles 2. Skins 3. XML Messages
Like 10g, the procedure described in the 11g documentation to customize the UI using the above 3 methods is not correct. Fortunately, Oracle has come out with a White Paper that describes the process for customizing the User Interface using the above 3 methods here. Even the White Paper is not complete in all aspects. Hence, I will try to cover each of these methods in detail in this blog post.
Before we get into the methodology, one thing that we need to be aware of is, the Styles & Skins of 10g cannot be used directly in 11g. In fact, the directory structure, css files, images files of the default skins & styles have changed completely. So, if you have done UI customization in 10g, its better to start from scratch for 11g. In the case of XML messages, most of the messages that were there in 10g, will continue to work in 11g. But even in this case, its better to first understand whether there is a corresponding feature in 11g before starting to customize the messages.
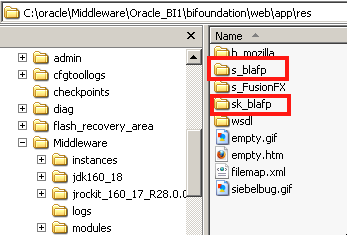
In BI EE 10g, all the default Styles, Skins were present under a folder called {OracleBI}\web\app\res. In 11g, the default ones reside under {Oracle_Home}\bifoundation\web\app\res. The default Skin & Style used in 11g is called as blafp (Browser Look & Feel Plus).
 Like 10g, the procedure for creating a new Style & Skin is by copying the base Styles & Skins and then making changes to the copied Styles & Skins (changes should not be done directly on the base Styles & Skins as they will be overwritten during an upgrade).
So, to copy the base Style & Skin, we need to first identify a target directory. In 10g, we used to copy them to the same {OracleBI}\web\app\res directory and give them a new name. Also, we used to copy them to the {OC4J} directory so that it becomes available to the web server. But in 11g, that is not needed anymore. It is enough to create(or copy base ones) new Styles & Skins in a single Target Directory. There are 2 options for the Target Directory
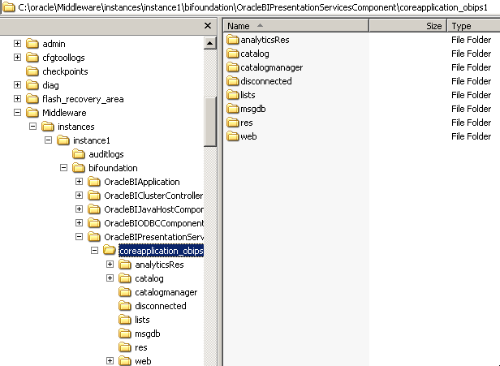
1. Use the Default directory that comes shipped with BI EE 11g - As part of the installation there is a directory called analyticsRes under {MIDDLEWARE_HOME}\instances\instance1\bifoundation\OracleBIPresentationServicesComponent\coreapplication_obips1 folder. We can copy the new Styles & Skins to this directory.
 2. Create a new base target directory. This target directory can be anywhere within the file system.
In both the above cases, in order to use a target directory (either the system analyticsRes or a custom target directory), we need to expose them to the web server. This is one new step for 11g which was not there for 10g (In 10g, the copy of files to OC4J is equivalent to exposing the target directory to the web server). The example that i will be showcasing will use a custom target directory instead of the system analyticsRes (the documentation/white paper is not complete for this).
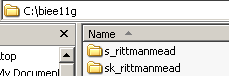
In my case, i am going to copy the base s_blafp & sk_blafp style/skin to a custom C:\biee11g directory. I am going to rename these 2 base style & skins to s_rittmanmead & sk_rittmanmead as shown below.
 In order to expose this target directory to the web server, we need to perform 2 steps.
1. Copy the WEB-INF directory from {MIDDLEWARE_HOME}\instances\instance1\bifoundation\OracleBIPresentationServer\coreapplication_obips1\analyticsRes to the C:\biee11g directory.
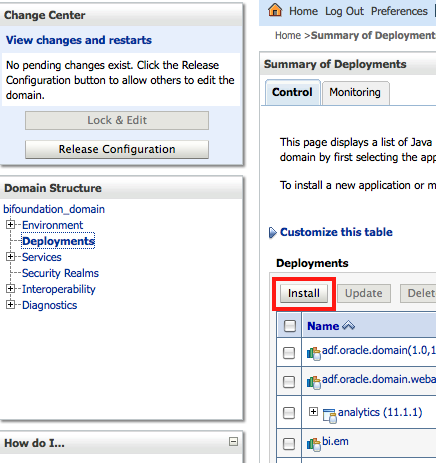
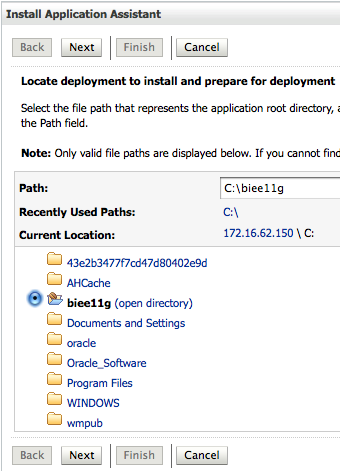
 2. Login to the Admin Console using http://localhost:7001/console. Go to Deployments and Click on Install (after Lock & Edit). Enter C:\biee11g as the directory. Due the presence of WEB-INF directory, weblogic will understand this as a deployable application directory.
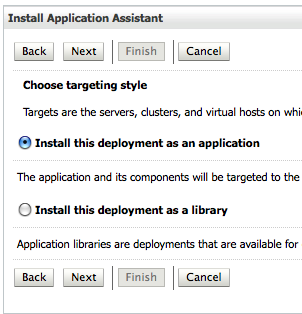
 Choose the Install as an Application option.
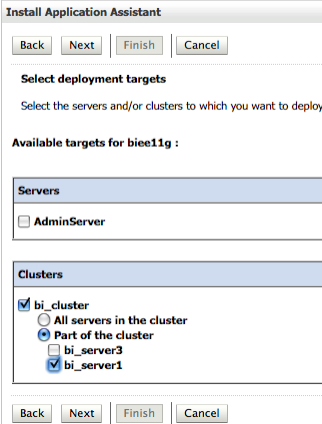
 Choose deploy to the managed server option. This step is important as deploying to Admin Console will result in different port numbers. In my case, i am deploying on to the bi_server1 managed server.
 Give the application a name of biee11g. Also, choose the I will make the deployment accessible from the location option.
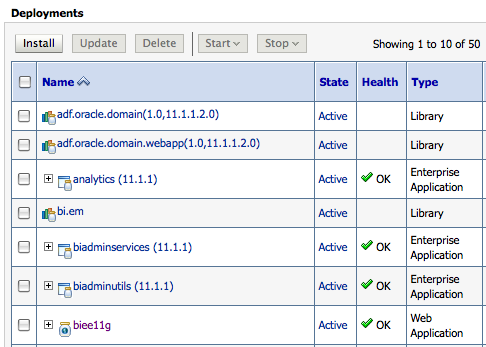
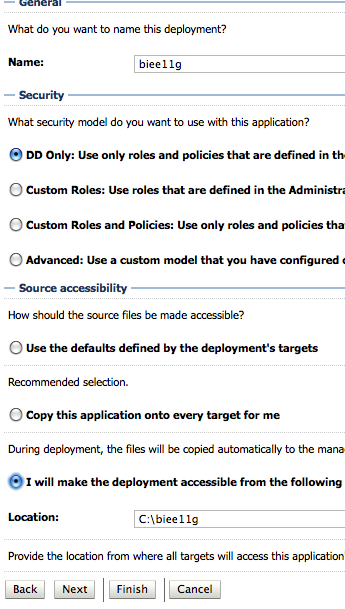 Accept the default values and Finish after this step. This will create a new application called biee11g in the weblogic server. Ensure that the application is started (Application should be in active state as shown below)
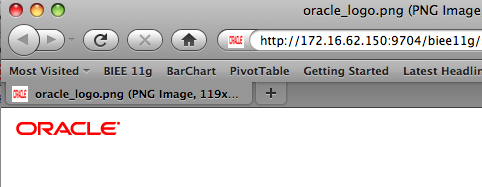
 Test whether application is active by navigating to the URL, http://localhost:9704/biee11g/sk_rittmanmead/b_mozilla_4/oracle_logo.png. This should display the Oracle logo.
 Now, if we want to expose any image, html file, css file to BI EE, we can copy it directly to biee11g folder. There is no restart required after copying the files (to make them available to the web server). A browser cache refresh might be needed though.
The next step is to basically let Presentation Services know that the new Styles/Skins are available from the new biee11g directory. This is done by adding the following tags to the instanceconfig.xml file.
<URL>
<CustomerResourcePhysicalPath>C:\biee11g</CustomerResourcePhysicalPath>
<CustomerResourceVirtualPath>/biee11g</CustomerResourceVirtualPath>
</URL>
CustomerResourcePhysicalPath is a tag that specifies the actual target directory name. CustomerResourceVirtualPath provides the URLPrefix that will be added for sourcing all the files. For example, in the above link http://localhost:9704/biee11g/sk_rittmanmead/b_mozilla_4/oracle_logo.png, /biee11g is the URLPrefix. If we don't give this tag, BI EE will automatically add analyticsRes (System target directory). Also, lets add the DefaultStyle & DefaultSkin tags as well to the instanceconfig.xml file.
<UI>
<DefaultStyle>rittmanmead</DefaultStyle>
<DefaultSkin>rittmanmead</DefaultSkin>
</UI>
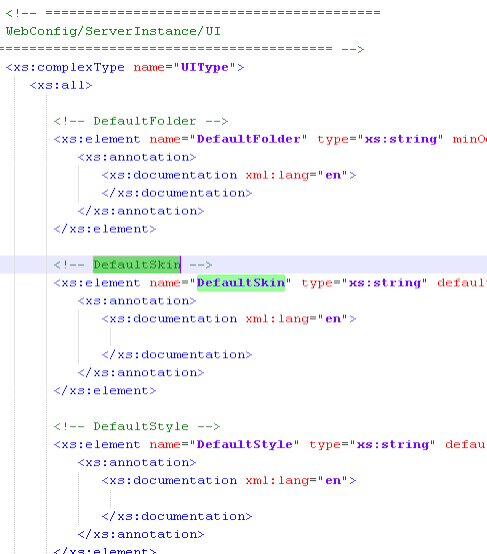
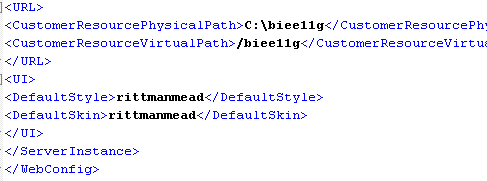 If you notice, the DefaultSkin & DefaultStyle tags are now embedded within the UI tags. This is a change from 10g to 11g. If UI tag is not present, Presentation Services will not start. The entire xsd for instancesconfig.xml is documented now in 11g. It is available in the {Oracle_Home}\bifoundation\web\schemas. For example, the obips_confid_base.xsd contains all the XML tags that instanceconfig.xml can take.
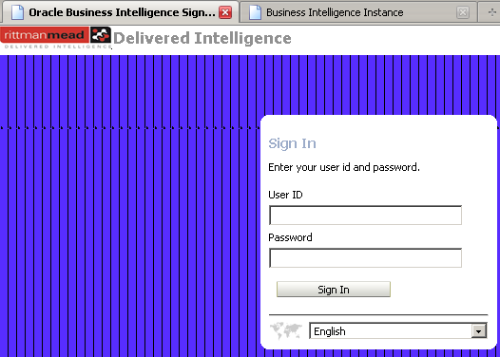
 After making this change, restart the presentation services. Also, replace the oracle_logo.png image to a custom image (in my case Rittman Mead logo) in the custom target skin directory. That will automatically change the logo when users login to BI EE (no restart required).
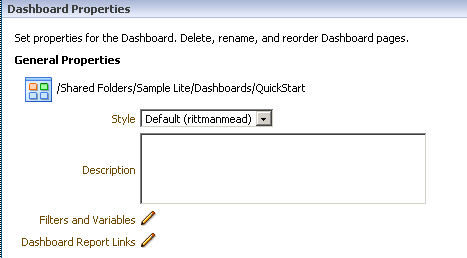
 In the same way, if we now check a dashboard for the default style, we can see that the default style will be the rittmanmead style instead of blafp.
 One key point to note is, Skins now have major role to play in 11g unlike 10g. In 10g, majority of gif images where sourced from Styles (like main logo etc). But in 11g, those have been pushed into Skins.
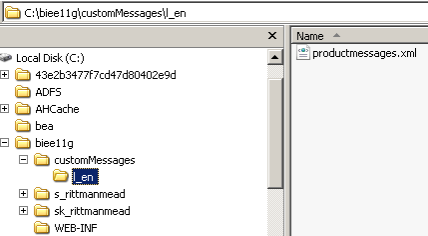
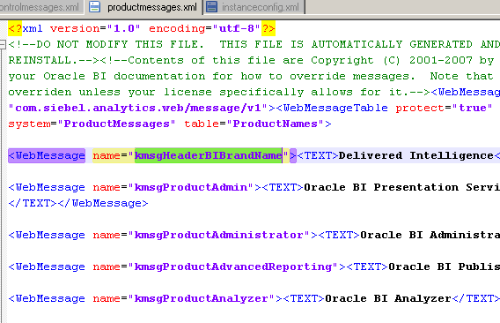
For Custom XML messages, the procedure is more or less the same like 10g. Instead of copying the messages to the OracleBIData\customMessages directory, we need to copy to a customMessages directory (under the target directory). If it is a language specific message, create the language directory under customMessages folder in the target directory and then customize the message. For example, to change the Business Intelligence title to say Delivered Intelligence in the BI EE 11g header bar, we need to copy the productmessages.xml from {Oracle_Home}\bifoundation\web\msgdb\l_en directory to C:\biee11g\customMessages\l_en directory (Create the customMessages\l_en directory).
 In this copied XML, change the kmsgHeaderBIBrandName message name to Delivered Intelligence as shown below.
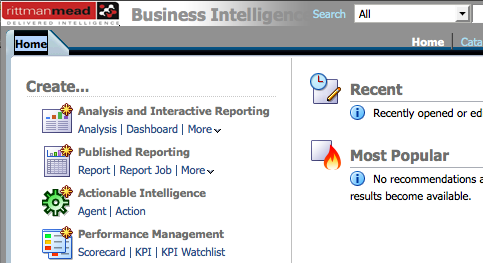
 Restart Presentation Services. The new header title will now be visible as shown below.
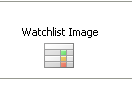
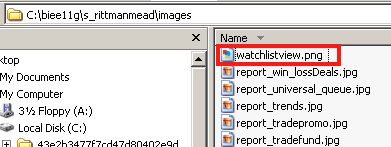
 Finally, for placing images and accessing them through fmap, the procedure is the same. For example, we have an image called watchlistview.png which we would like to access in our report. For doing that, place the image in the images directory of the default Style(custom target directory) as shown below
 Restart Presentation Services. Then in a dashboard or a report title, use the fmap as shown below.
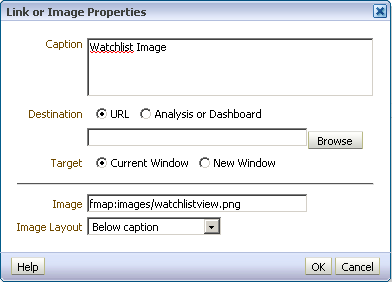 This will render the watchlist image within the dashboard.