Oracle BIEE 11g - Migrating Security - Identity Stores - Part 1
One of the most important tasks while moving environments, say from Dev to Test or to Prod is in migrating the security objects. In 10g, it was a lot easier to move security as everything was embedded within the repository. But in the case of 11g, with the introduction of a lot of security related stores, the migration is not so straight-forward. In this blog post & the next, we shall be looking at the process of security migration in 2 areas
1. Full Migration
2. Incremental Migration
In BI EE 11g, as we have covered in detail before here and here, there are some new security related stores. They are
1. Identity Store
2. Policy Store
3. Credential Store
4. Key Store
So migration of security in BI EE 11g entails moving all the above stores from one environment to the other. Its not necessary that we have to migrate all the stores. BI EE 11g, provides that flexibility where we can pick and choose which stores that we want to migrate and which ones we can keep as constant across environments. This blog post will cover only the file based security migration (assuming no LDAP is used for any of the above stores)
Identity Store:
Identity store migration basically entails migrating Weblogic Embedded LDAP server Users and Groups from one environment to the other. To draw a parallel with 10g, whenever we move RPD from one environment to the other, the users stored within the RPD(in 10g) get migrated automatically. But in BI EE 11g, since an embedded LDAP server is used for storing the users, we will have to migrate the users & groups manually from one environment to the other.
Full Migration on a brand new Realm:
In many cases, we might want to move all the users/groups defined in one environment to the other. This is called as the Full Migration. Weblogic supports export of the entire LDAP directory. So, to do an export, we log on to the Weblogic Console and navigate to the Migration tab within the default security realm (myrealm).
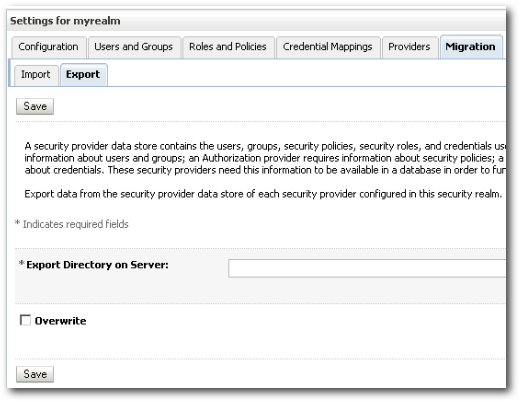
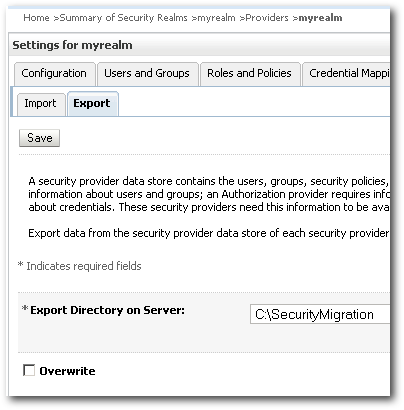
Under the Export tab, specify the directory where you want the users/groups to be exported to and click on Save.
As soon as you save, you should see .dat files created under the directory.
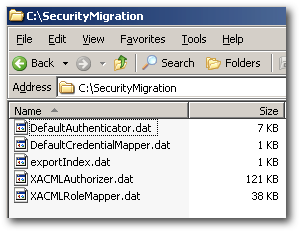
You will notice that it not only exports the users and groups but also the roles and policies. But be aware that the roles and policies are not BI EE roles and policies. Instead they are the policies specific Admin Server.
Now to test the import process, lets create a new security realm called newrealm.
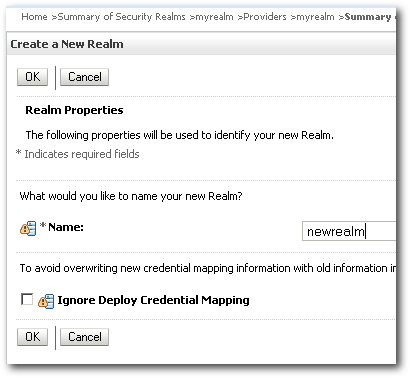
Within this realm, lets create the 2 providers that we get by default whenever we install BI EE i.e. DefaultAuthenticator and DefaultIdentityAsserter(we need to have the existing providers that were present during the export).
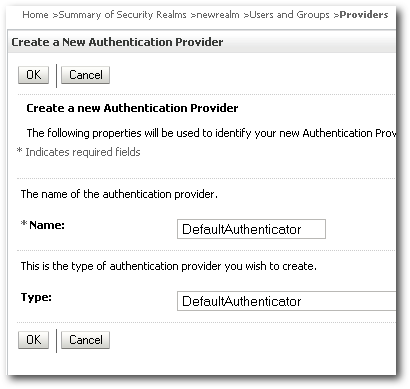
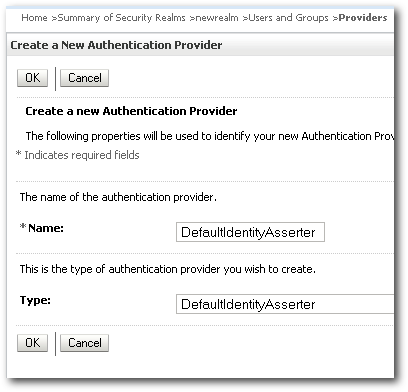
Activate the changes and restart the Admin Server. After the restart, lets navigate to the Migration Section of the newrealm and specify the directory of the exported files.
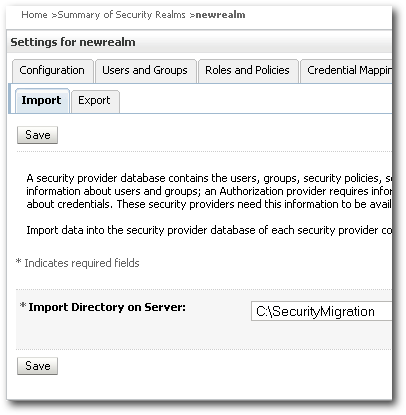
You should get a warning stating that CredentialMapper, XACMLRoleMapper & XACMLAuthorizer providers are missing. For now we can neglect this error as ideally when you do the migration, it will be on a realm where BI EE will have all these providers configured by default. So, you should not be getting these warnings when doing an actual migration into an existing BI EE realm.
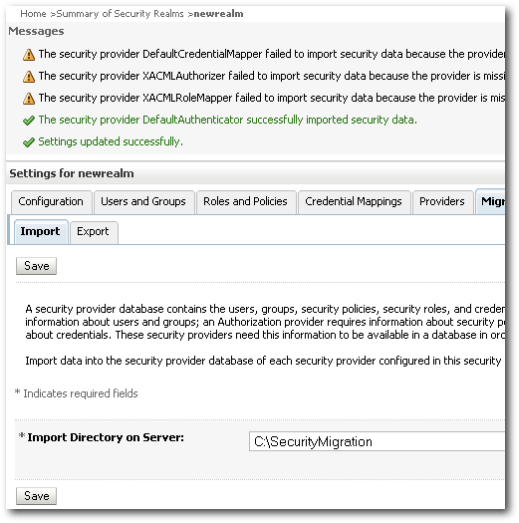
But you will notice that users and groups have been imported successfully as we have created the DefaultAuthenticator provider. So, lets go to the Users and Groups tab of the DefaultAuthenticator provider in the newrealm.
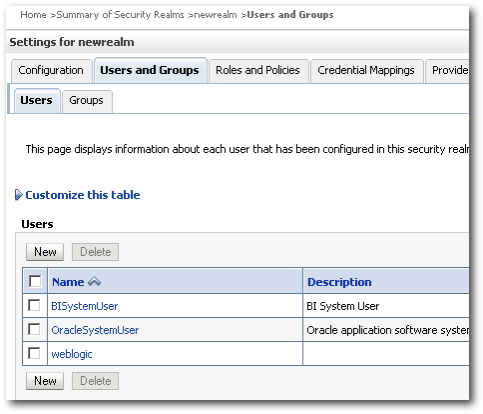
As you see, we now have the users that were there in the DefaultAuthenticator of the default realm myrealm migrated to the newrealm.
Full Migration on an existing BI EE Realm:
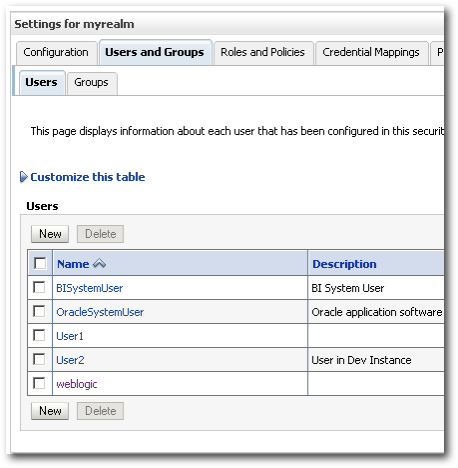
We saw some warnings when we imported the security into a new realm above. Also, we haven't covered what exactly the import export process does. To understand, lets take 2 BI EE instances with the defaultrealm pre-configured. One is a dev instance and the other is a Prod instance. To understand what exactly happens during the import export process lets take the example of 3 users.
1. User1 - Exists in Dev instance alone.
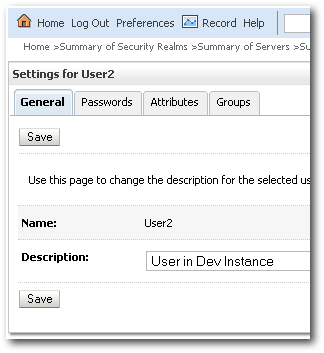
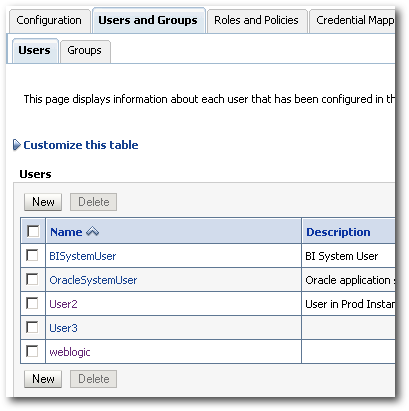
2. User2 - Exists in Dev and Prod instance. But the passwords, descriptions are different in both the instances.
3. User3 - Exists in Prod instance alone
So, this is what we have in the Dev instance.
This is what we have in the Prod instance
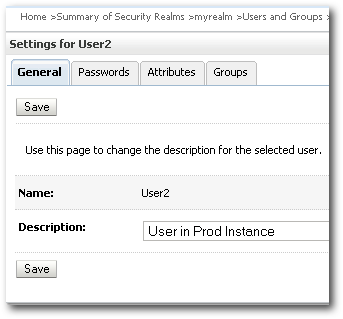
Lets now take an export of the Dev instance and then import into the Prod instance. The steps are exactly the same as above. We need to move the exported files manually on to the Prod server.
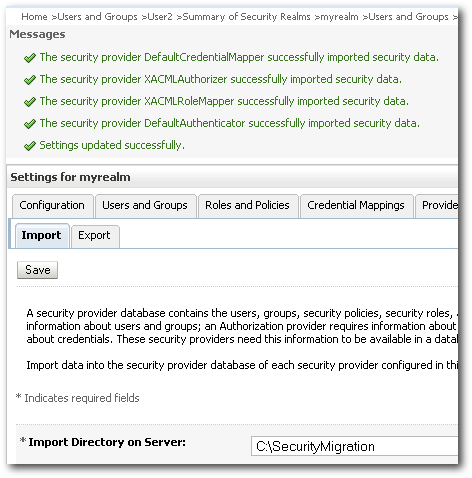
As you see now, there are no warnings during the import. Lets now take a look at the users in the Prod instance.
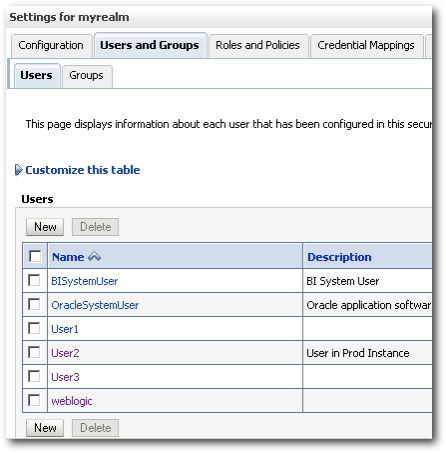
If you notice, we now have the User1 imported into the authenticator. But the attributes of the Prod instance user User2 has not be overwritten by the Dev instance. This makes sense as generally during the import process we do not want existing artifacts in Prod to be overwritten by the ones in Dev.
Incremental Migration - Automating User Creation & Group Assignments using WLST:
So far what we saw above was a means of manually migrating the complete provider from one instance to the other. In many cases, we might want to migrate users and groups incrementally and automatically. To do that weblogic supports a scripting methodology called as WLST which can be used to automate just about every aspect of weblogic. I will be covering the use cases of WLST in more detail in the coming weeks. But for now, lets see how to use WLST to automatically create users and groups(all in interactive mode - we can automate this but that is something i will cover in future). Also, if you would like to use Java API instead of WLST that is also possible using JMX bean scripting interface. I have covered that already here.
There are multiple entry points into WLST in BI EE 11g. The recommended binary to startup the WLST in BI EE 11g resides under the {Oracle_BI1}\common\bin directory. This sets up all the necessary jars in the classpath. So start up the wlst.cmd/wlst.sh from command line.
Enter the command
connect("weblogic","welcome1","localhost:7001")
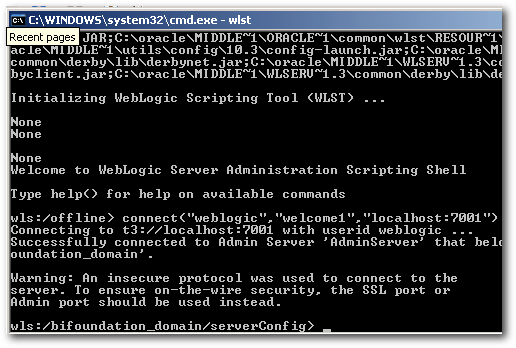
Get the DefaultAuthenticator MBean using the following command.
atnr=cmo.getSecurityConfiguration().getDefaultRealm().lookupAuthenticationProvider("DefaultAuthenticator")
Now create a new user using the command shown below
atnr.createUser('wlstuser','welcome1','WLST User')
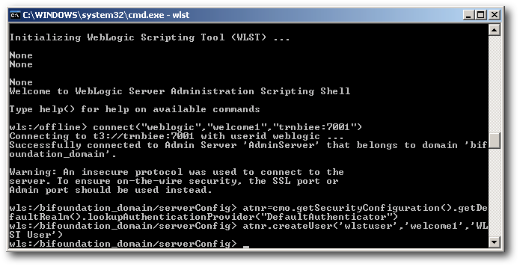
This should create the user automatically.
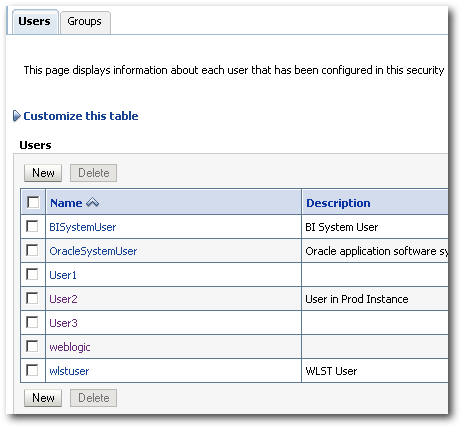
In the same way we can automate the user-group assignment and everything else. All the front-end tasks that are done from the EM or the CONSOLE can be automated completely. In the next blog post, lets look at how to go about migrating the policy store and the credential store.