Why and How to use Oracle Metadata Management 12c. Part 1: Getting Started
At OOW 2014, Oracle announced the new Oracle Metadata Management solution and later in the middle of October released its first version - OMM 12.1.3.0.0
At the end of November of 2014, the second version was released -OMM 12.1.3.1.0- with new features and some bugs fixed.
But first things first, what is Oracle Metadata Management? And why we want to use it?
One of the biggest problems that we face today, is the proliferation of different systems, data sources, solutions for BI, for ETL, etc in the same company. So not only for final users but also for technical people (from SysAdmin, Data Scientist, Data Steward to Developers) is quite difficult to track which data is used by which applications. In some cases is almost impossible to perform an impact analysis if someone wants to change a table or if the way that a sales measure is calculated needs to change. With more systems involved, the problem is bigger.
Oracle Metadata Management (OMM) comes to provide a solution to this problem. It is a complete metadata management platform that can reverse engineer (harvest) and catalog metadata from any source: relational, Big data, ETL, BI, data modelling, etc.
OMM allows us to perform interactive searching, data lineage, impact analysis, semantic definition and semantic usage analysis within the catalog. And the really important thing is the metadata from different providers (Oracle or/and third-party) can be related (stitched) so you will have the complete path of data from source to report or vice versa. In addition, it manages versioning and comparison of metadata models.
The Oracle Metadata Management solution offers two products: OEMM (Oracle Enterprise Metadata Management) and OMM for OBI (Oracle Metadata Management for Oracle Business Intelligence). With the first one we can use metadata providers from Oracle and third-party technologies. Using OMM for OBI allows us to use metadata for databases, OBIEE, ODI and DAC.
We will see in this series of posts how to use each of these options, the difference between them and which will be the best option depending of your environment.
In this first post we will focus on the installation process and the requirements for it.
Minimum Requirements for a small test environment
It is important to note and it is also well explained in the Readme document, that the following are the minimum requirements for a tutorial or a small business case, not for a larger system.
Browser
Any of these browsers or newer versions of them with at least Adobe Flash v8 plugging can be used: Microsoft Internet Explorer (IE) v10, Mozilla Firefox v30 or newer, Google Chrome v30, Apple Safari v6.
Hardware
2 GHZ or higher quad core processor
4 GB RAM (8 GB if 64bit OS using 64bits Web Application Server)
10 GB of disk space (all storage is primarily in the database server)
Operating System
Microsoft Windows 2008 Server, Windows 2012 Server, Windows 7, Windows 8, or Windows 8.1. Be sure that the you have full Administrator privilege when run the installer and that the Microsoft .NET Framework 3.5 or higher is installed.
Other operating systems require manual install/setup, so are not supported by this version.
Web Application Server
The installer comes with the Apache Tomcat as Web Application Server and Oracle JRE 6 as Java Run Environment. Others web application servers (including Oracle WebLogic) require manual install/setup, and are not supported by this version.
Database Server
For the Database Server you can only use an Oracle Database from 10gR2 to 12 64-bit as a repository for OMM. You can create a new instance or reuse your existing Oracle database server but we need to have admin privileges in the database.
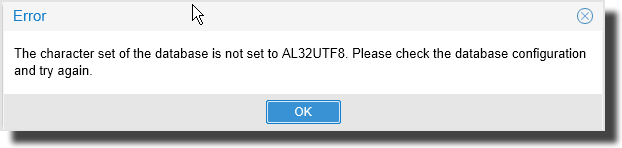
A very important observation is that the character set MUST be AL32UTF8 (UTF8). This is because the Oracle Intermedia Search can only index columns of type VARCHAR or CLOB (not the national variants NVARCHAR and NCLOB respectively). Otherwise you will receive this error message when you run the OMM for the first time:
To solve this, you can create a new instance of the database, or if your database has data already, there a couple of notes in My Oracle Support 260192.1 and 788156.1 to change any character set to AL32UTF8.
In addition, the CTXSYS user must be exist in the database. In case it doesn’t exist, the creation and granting privileges script can be found in <ORACLE_HOME>/ctx/admin/catctx.sql.
Preparing to install
Step 1 - Download the software. You can download the software from the OTN site http://www.oracle.com/technetwork/middleware/oemm/downloads/index.html or using e-delivery.oracle.com instead.
Step 2 - Create a Database Schema as Repository. Before start the installation, a database schema needs to be created as a repository for OMM to keep all its objects like models, configurations, etc (we will see all of these objects in next posts)
For that reason create a user in the database:
“create user MIR identified by <password> quota unlimited on users”
And give to it the following grants:
“grant create session to MIR;
grant create procedure to MIR;
grant create sequence to MIR;
grant create table to MIR;
grant create trigger to MIR;
grant create type to MIR;
grant create view to MIR”
We also need to give grants to the new to user to execute a package from CTXSYS and another one from SYS.
“grant execute on CTXSYS.CTX_DDL to MIR;
grant execute on SYS.DBMS_LOCK TO MIR;”
If you prefer (and also could be a more accurate solution) you can create specific tablespaces (user tablespace and temp tablespace) for that user. I asked to David Allan, who is always very generous with his time and knowledge, if this schema will be part of the RCU in future releases but there is no plan to incorporate the MIR schema to it.
Installation and Post-Install tasks
Step 3 - Install the software. We can start now to run the installation. The downloaded zip file contains an exe file, double-click on it to start the installation.
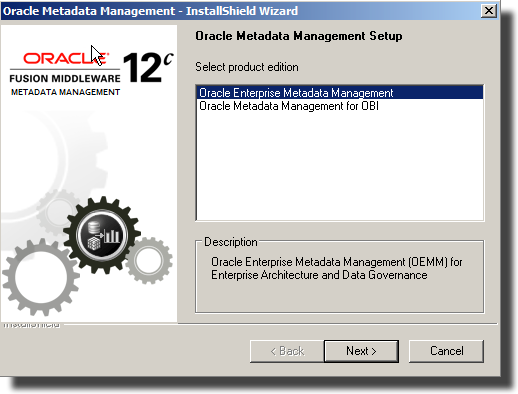
In the first screen, select the type of product that you want to install: OEMM or OMM for OBI. We choose the Oracle Enterprise Metadata Management and press Next.
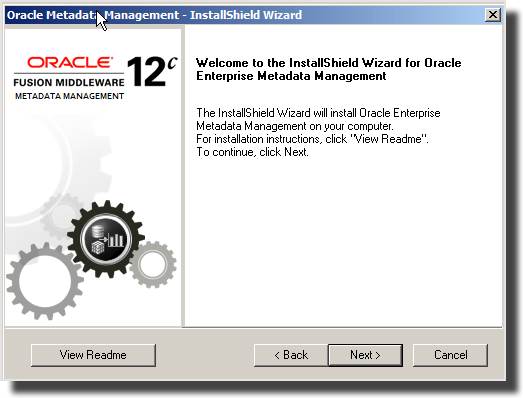
In the next screen, you have access to the Readme document and release notes pressing the View Readme button. After the installation you can find them in the OMM_Home/Documentation folder.
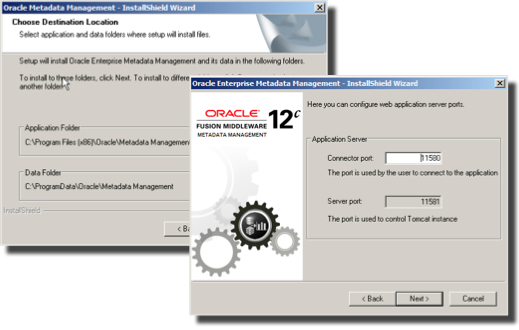
The next screen show you the destination location that you can change if you want. Keep the ports number suggested on the next screen.
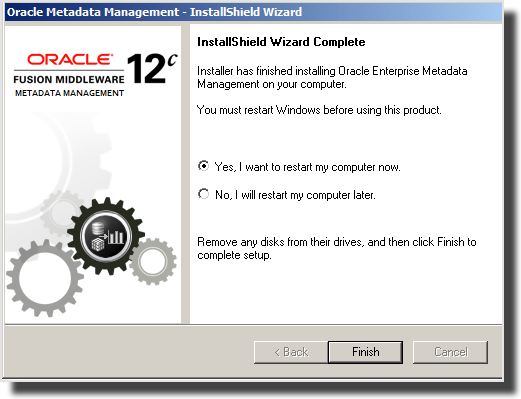
The last screen of the installation ask you to restart the computer in order to use the product.
Step 4 - Start OMM Server as a service. After you restart the computer, you need to configure the OMM Server as a Service and start it. You can do this through the option that is showed in the start menu and press the Start button or going directly to the windows services screen and press the right button on the OMM service and start it.
Step 5 - Initialize OEMM. Run the OEMM for the first time. We have everything ready to start using Oracle Metadata Management. Go to the URL: http://localhost:11580/MM or execute the shortcut that was created on your desktop after the installation or use the Windows Start Menu.
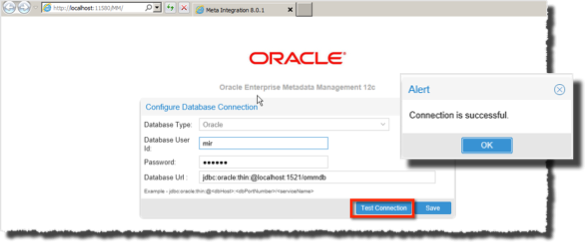
We need to enter the connection details using the schema that we created in the database. Enter MIR as the Database User Id, its password and the database URL, and then press the Test Connection button. After you receive the Successful message, press the Save button to run the initialization process where OEMM create the objects in the database schema to manage the repository.
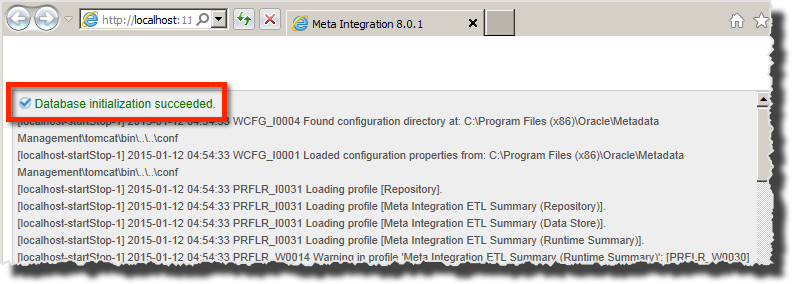
This process takes some minutes until you get the confirmation that the initialization process is also successful.
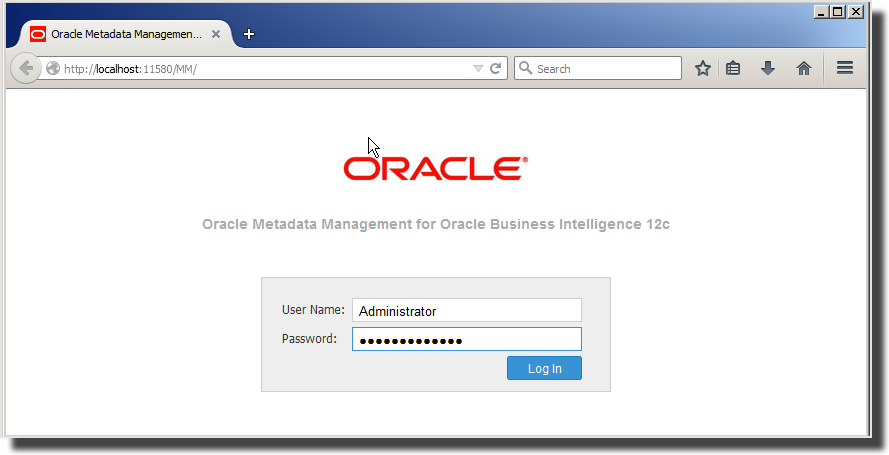
Step 6 - Start OEMM. Close the browser tab and open again the OEMM URL (http://localhost:11580/MM). A login page appears. User and password to login is Administrator/Administrator
This is the main page of the OEMM where we are going to harvest (reverse-engineer) the metadata from different providers in the next posts.
In case you want to change the password of the Administrator user go to Tools > Administration on the top right of the page. Select the Administrator user and the user will be appear below.
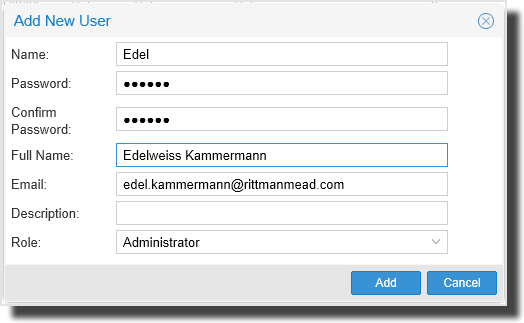
If you prefer to create another user with Administration privileges, just press the Add User button (plus icon) in the Administration page and enter the details for the new user:
We are using the Native LDAP authentication approach for this demo, but OEMM can also use an External LDAP for authentication.
About the product documentation you can access it through the Help option which is on the top right of the page. In the Contents tab you have all the topics (Harvesting, Administration, etc) separated by folder and in each of them all the details about the specific topic
Installation of OMM for OBI
There are no differences in the installation process for OEMM and OMM for OBI. Just be sure to select the one that you want in the first screen of the installation. This is the page to login to the OMM for OBI.
In the next post, we will see how is the harvest (importing metadata) process using different metadata providers like OBIEE, ODI and others.