Installing Oracle Analytics Server 2023 Update
Oracle Analytics Server 2023 Update has been released recently and in this article I'm going to illustrate how to install it step by step.


Oracle Analytics Server 2023 Update has been released recently and in this article I'm going to illustrate how to install it step by step. Note that this is a complete, fresh installation, not an update or upgrade to an existing installation.
Verifying Certification and System Requirements
Before installing is always a good practice to check in the certification matrix which are the supported operating systems and databases for hosting the mid-tier schemas created by the Repository Creation Utility (RCU).
Downloading Binaries and Patches
The first step is to download binaries and patches for the appropriate operating system from the Oracle website.
At the moment of writing the following files are required:
- Java SE Development Kit 8u361
- Oracle WebLogic Server 12.2.1.4 Fusion Middleware Infrastructure Installer
- Oracle Analytics Server 2023 Update Installer
- Patch 28186730
- Patch 34974729
- Patch 34839859
- Patch 34542329
- Patch 34944256
- Patch 33950717
- Patch 34549208
- Patch 35024228
Please refer to the latest Critical Patch Update (CPU) Advisor for Oracle Analytics Server about any required change to the above list.
Preparing the Installation Environment
root and assume that the oracle user will be used to perform the installation.Create the required directory structure:
mkdir -p /opt/oracle/product/oas-2023


mkdir -p /opt/oracle/config/domains


chown -R oracle /opt/oracle


chmod -R 775 /opt/oracle
In the above example, /opt/oracle/product/oas-2023 is the Oracle Home, and /opt/oracle/config/domains is the Domain Home. Despite the fact the Configuration Assistant suggests to create the Domain Home under the Oracle Home, it's a good practice to keep them separate: by keeping binaries and configuration data separate, we avoid having issues when new major releases are available since they'll be installed in a new Oracle Home while configuration and application data will always reside in the same Domain Home.
Make sure that the /etc/hosts file contains a fully qualified name for the server:
<IP_ADDRESS> <FULLY_QUALIFIED_MACHINE_NAME> <MACHINE_NAME>Edit the /etc/security/limits.conf file, and add the following lines at the end to change the open file and processes limits:
* soft  nofile  4096
* hard  nofile  65536
* soft  nproc   2047
* hard  nproc   16384
Ensure that required Linux packages are installed, and reboot the host computer:
dnf -y install binutils gcc gcc-c++ glibc glibc-devel libaio libaio-devel libgcc libstdc++ libstdc++-devel libnsl sysstat motif motif-devel redhat-lsb redhat-lsb-core openssl make xorg-x11-utils jdk1.8.x86_64 compat-libgfortran-48

reboot now
Installing Oracle Fusion Middleware Infrastructure
oracle user (or an equivalent one), and assume that all required files are available in the /home/oracle folder.Unzip the Oracle WebLogic Server 12.2.1.4 Fusion Middleware Infrastructure file, and start the installer:
unzip fmw_12.2.1.4.0_infrastructure_Disk1_1of1.zip -d ./install/tmp_wls


cd ./install/tmp_wls


java -jar fmw_12.2.1.4.0_infrastructure.jar
In the Welcome screen, click on the Next button (Figure 1).

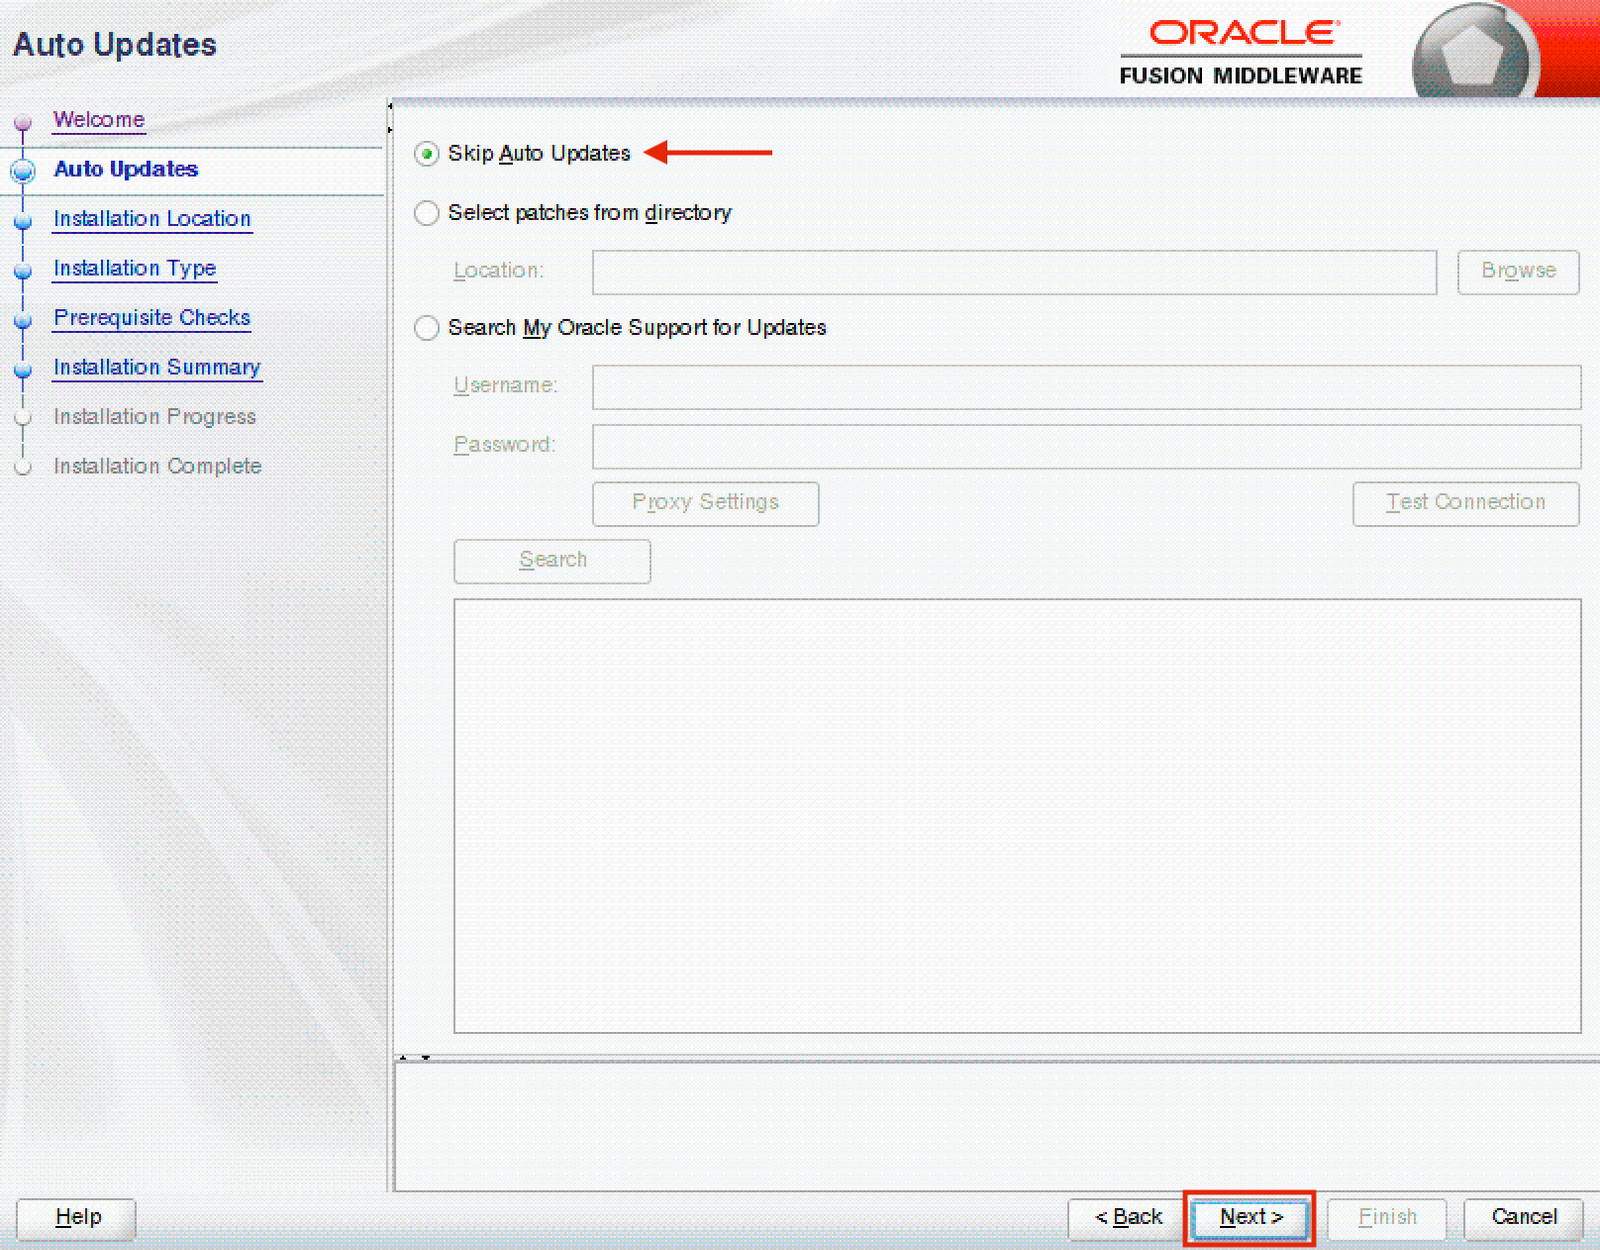
In the Auto Updates screen, tick the Skip Auto Updates radio button, and click on the Next button (Figure 2).
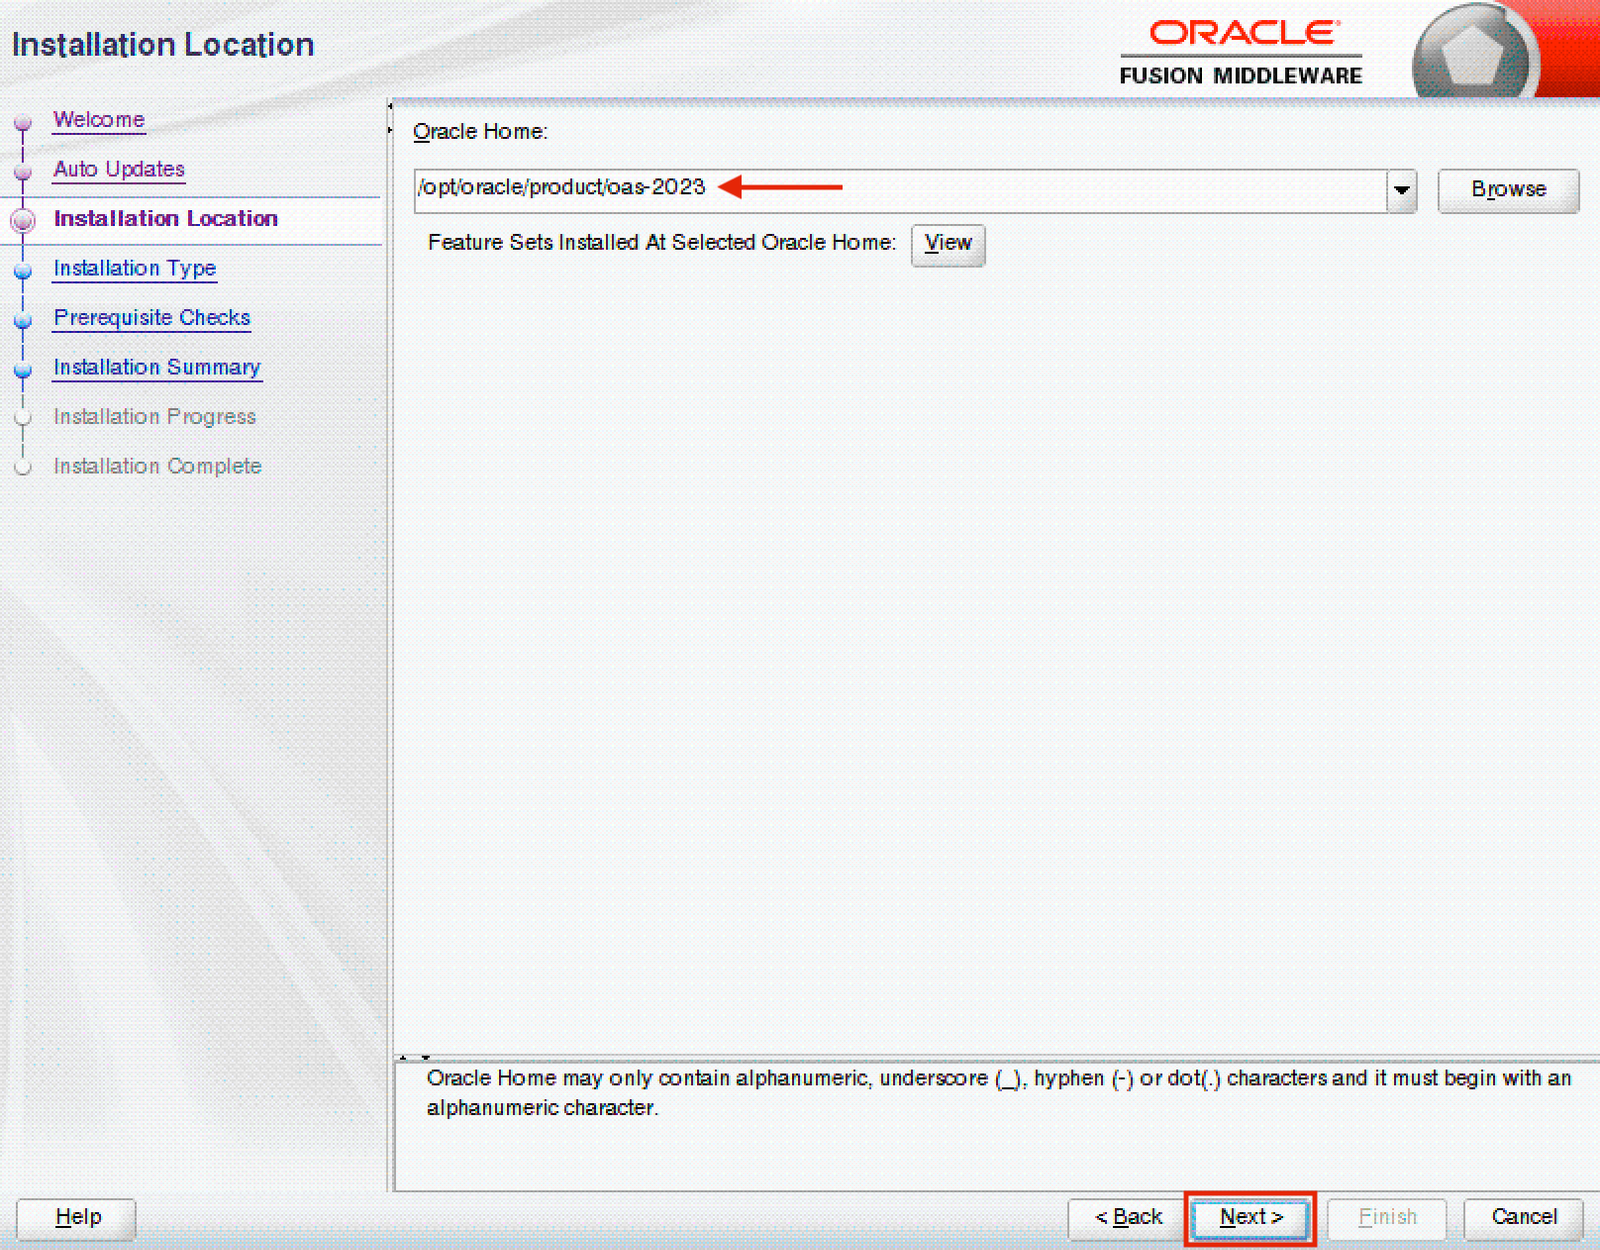
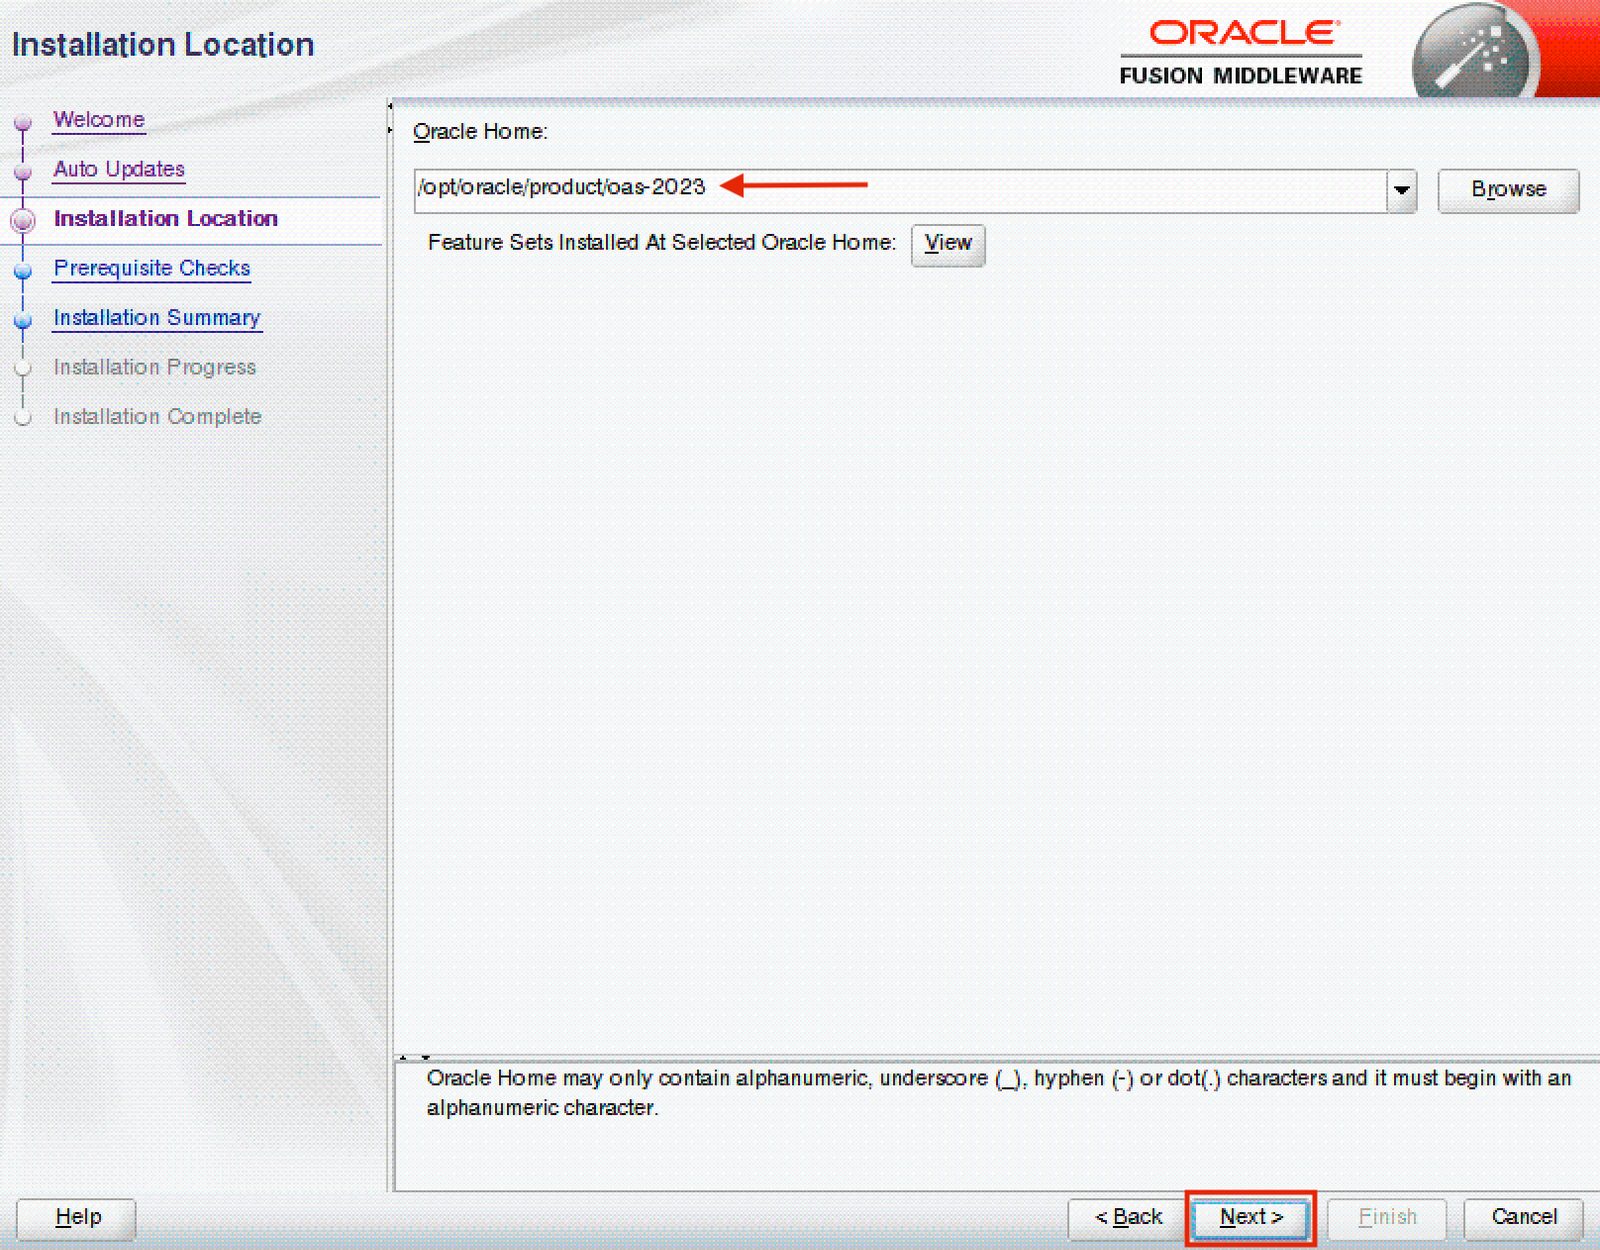
In the Installation Location screen, specify your Oracle home, and click on the Next button (Figure 3).
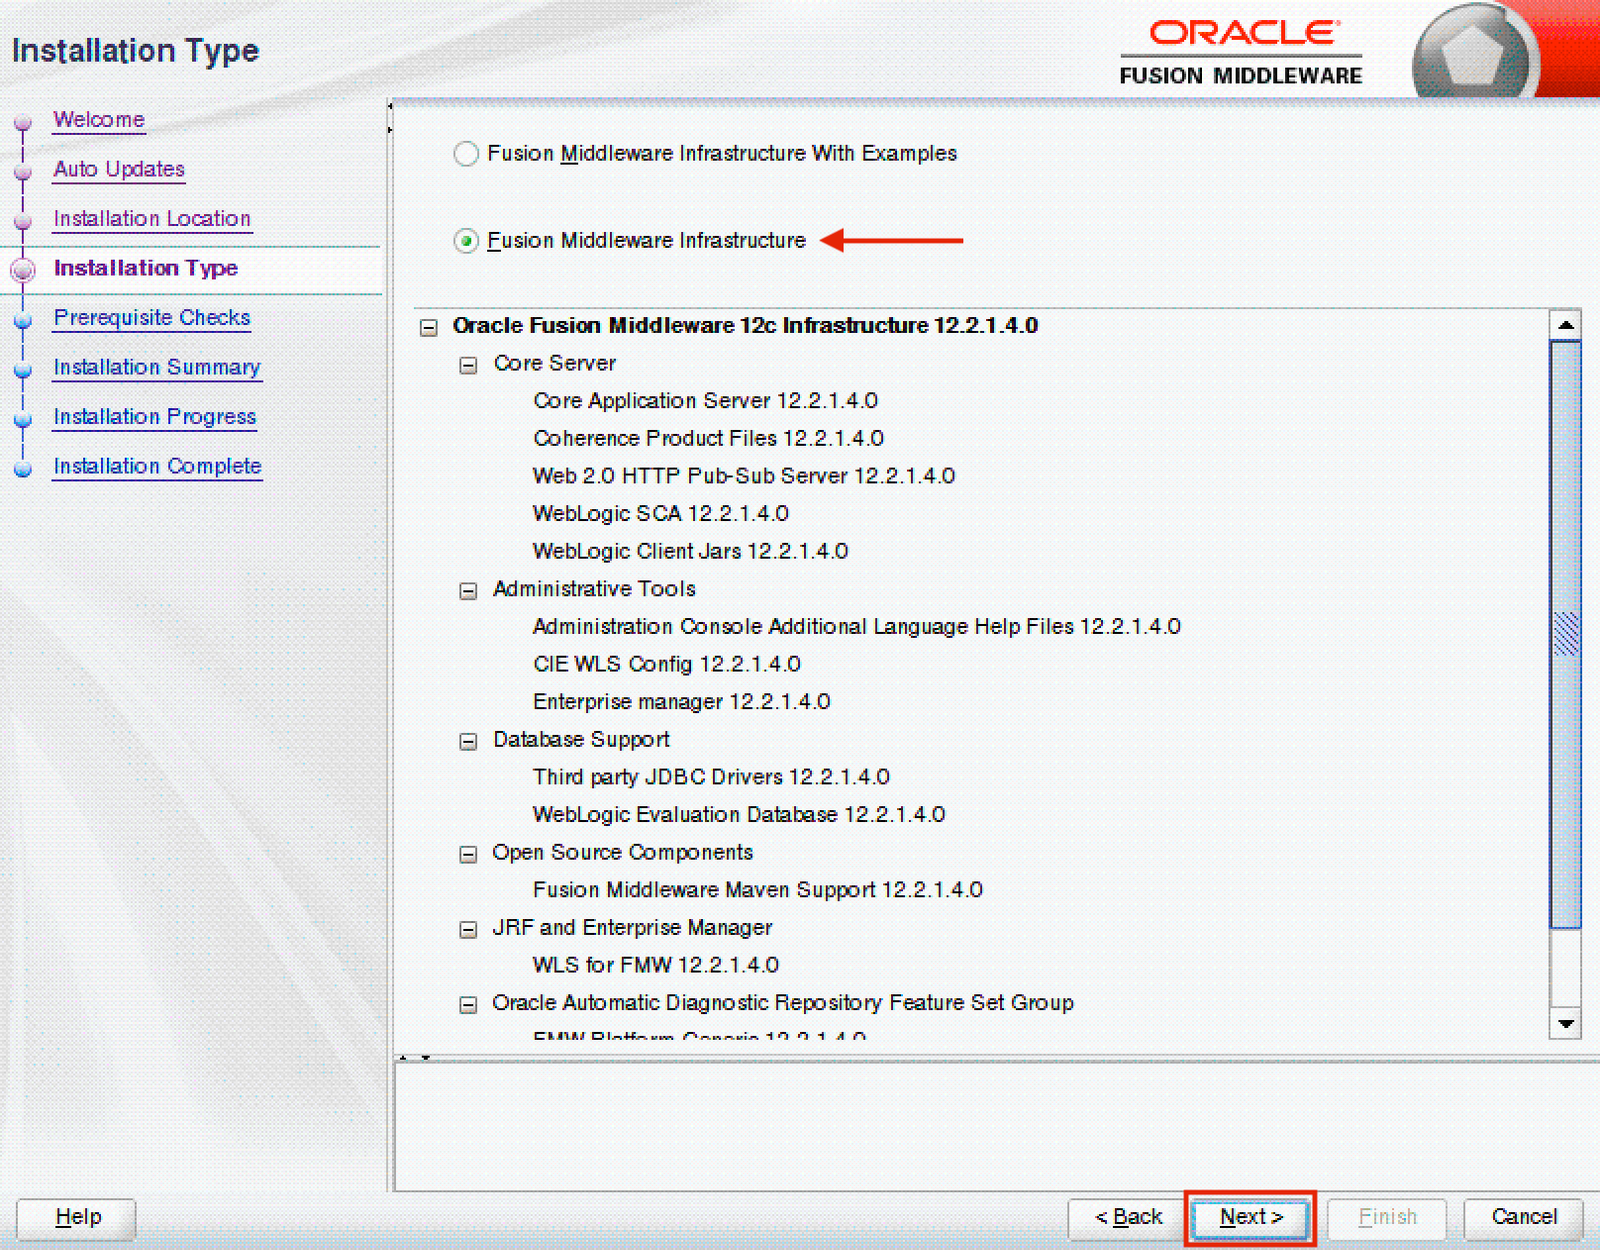
In the Installation Type screen, tick the Fusion Middleware Infrastructure radio button, and click on the Next button (Figure 4).
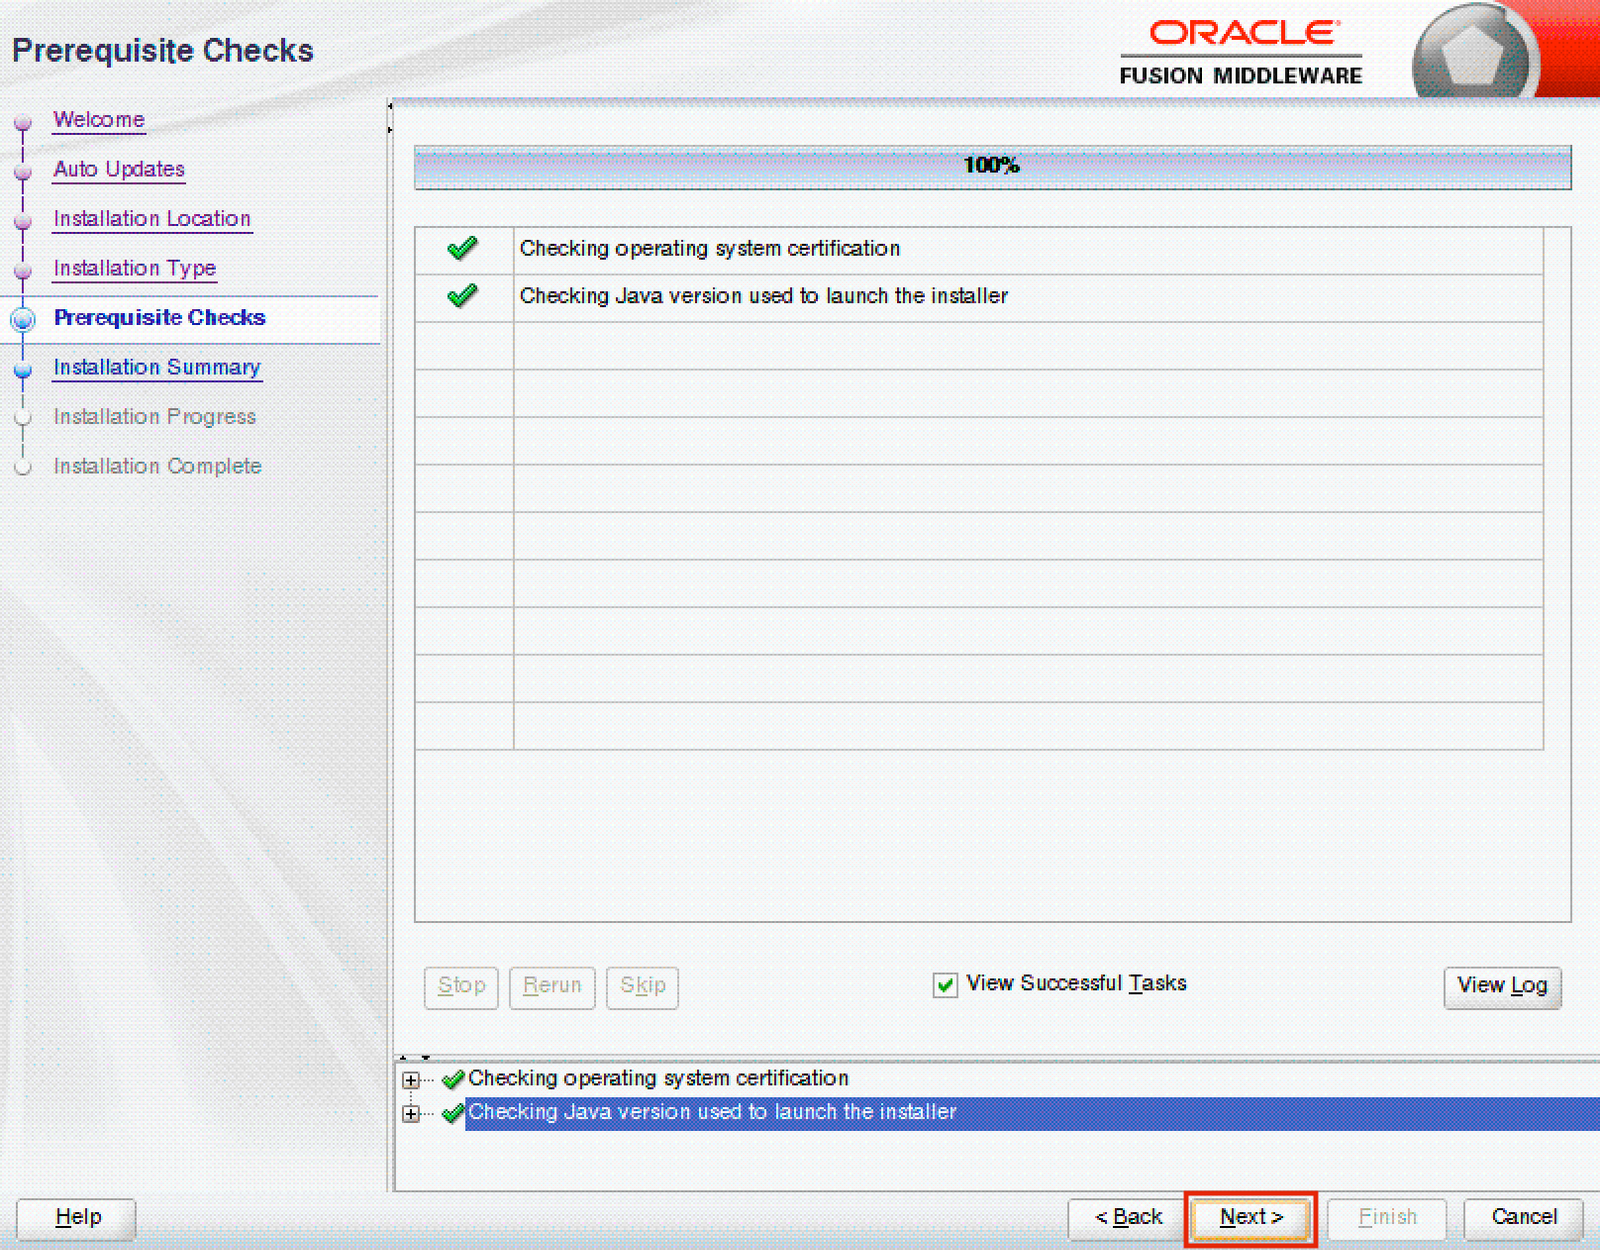
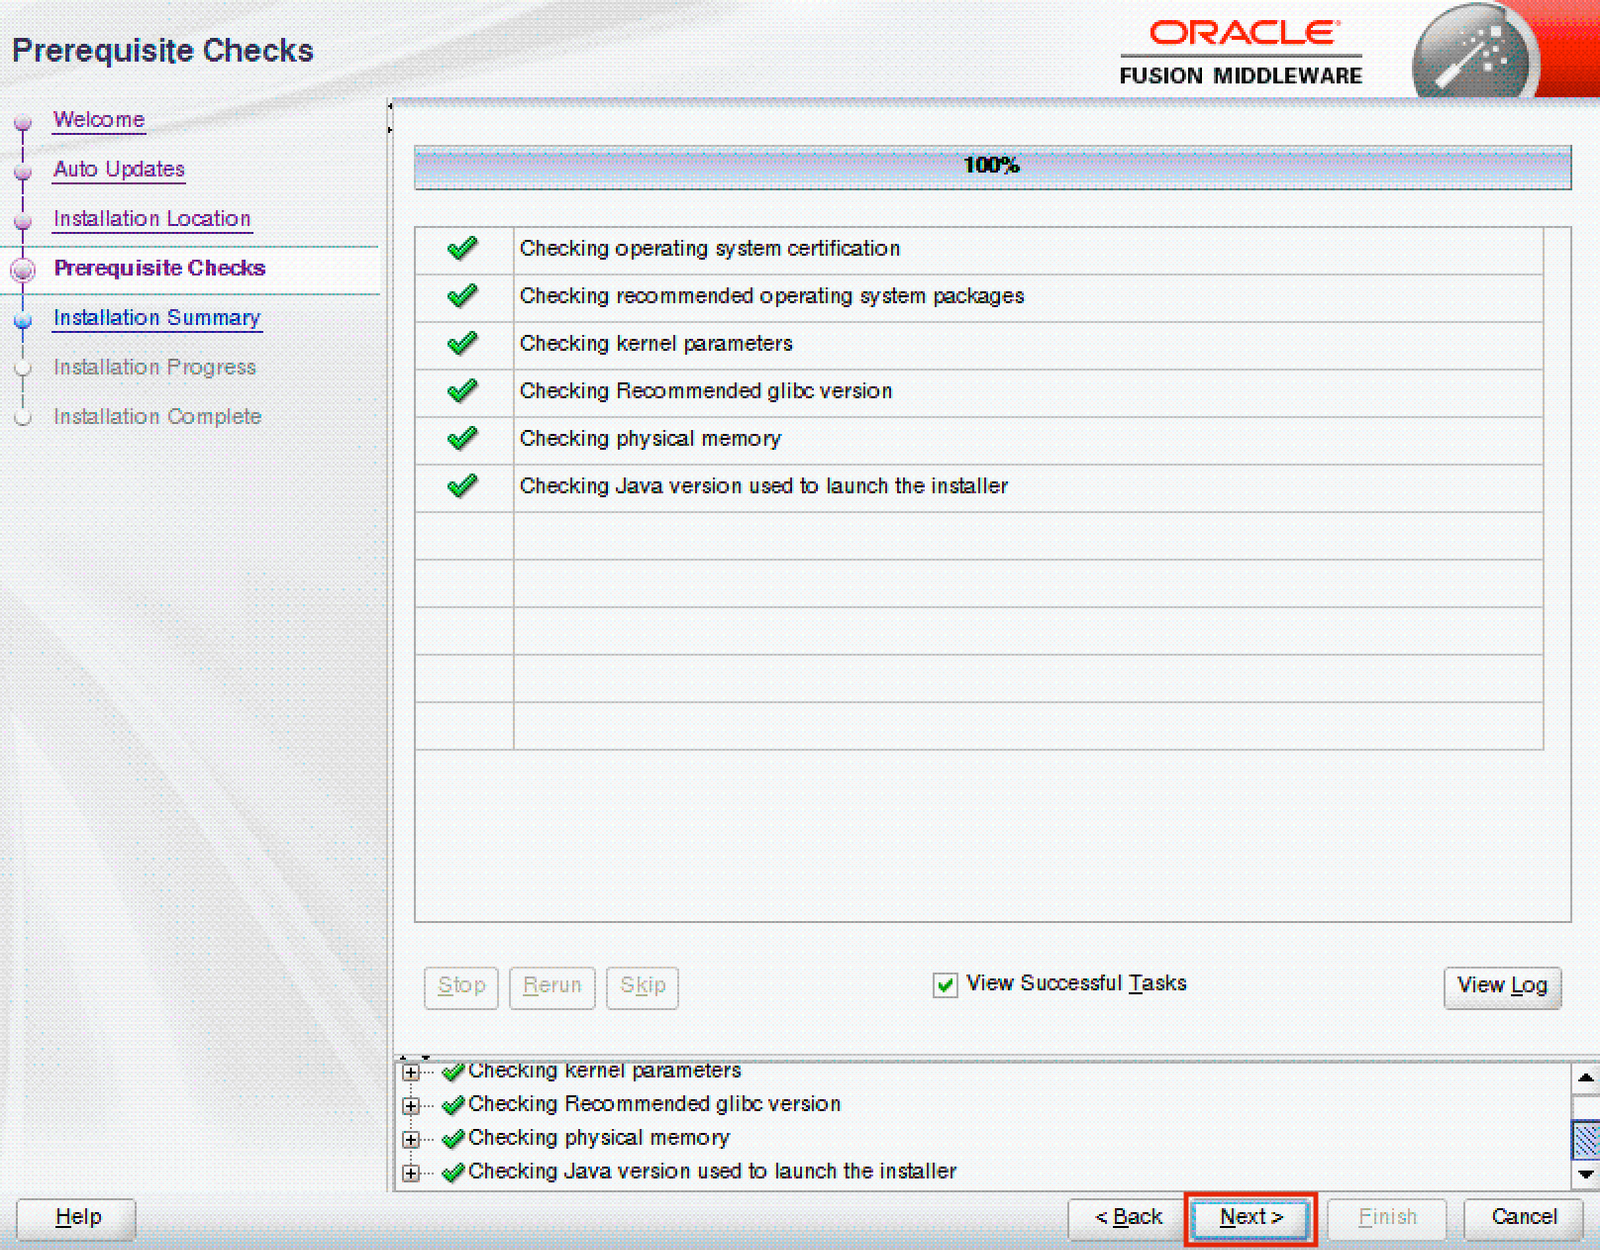
In the Prerequisite Checks screen, verify that all prerequisites have been met, and click on the Next button (Figure 5).
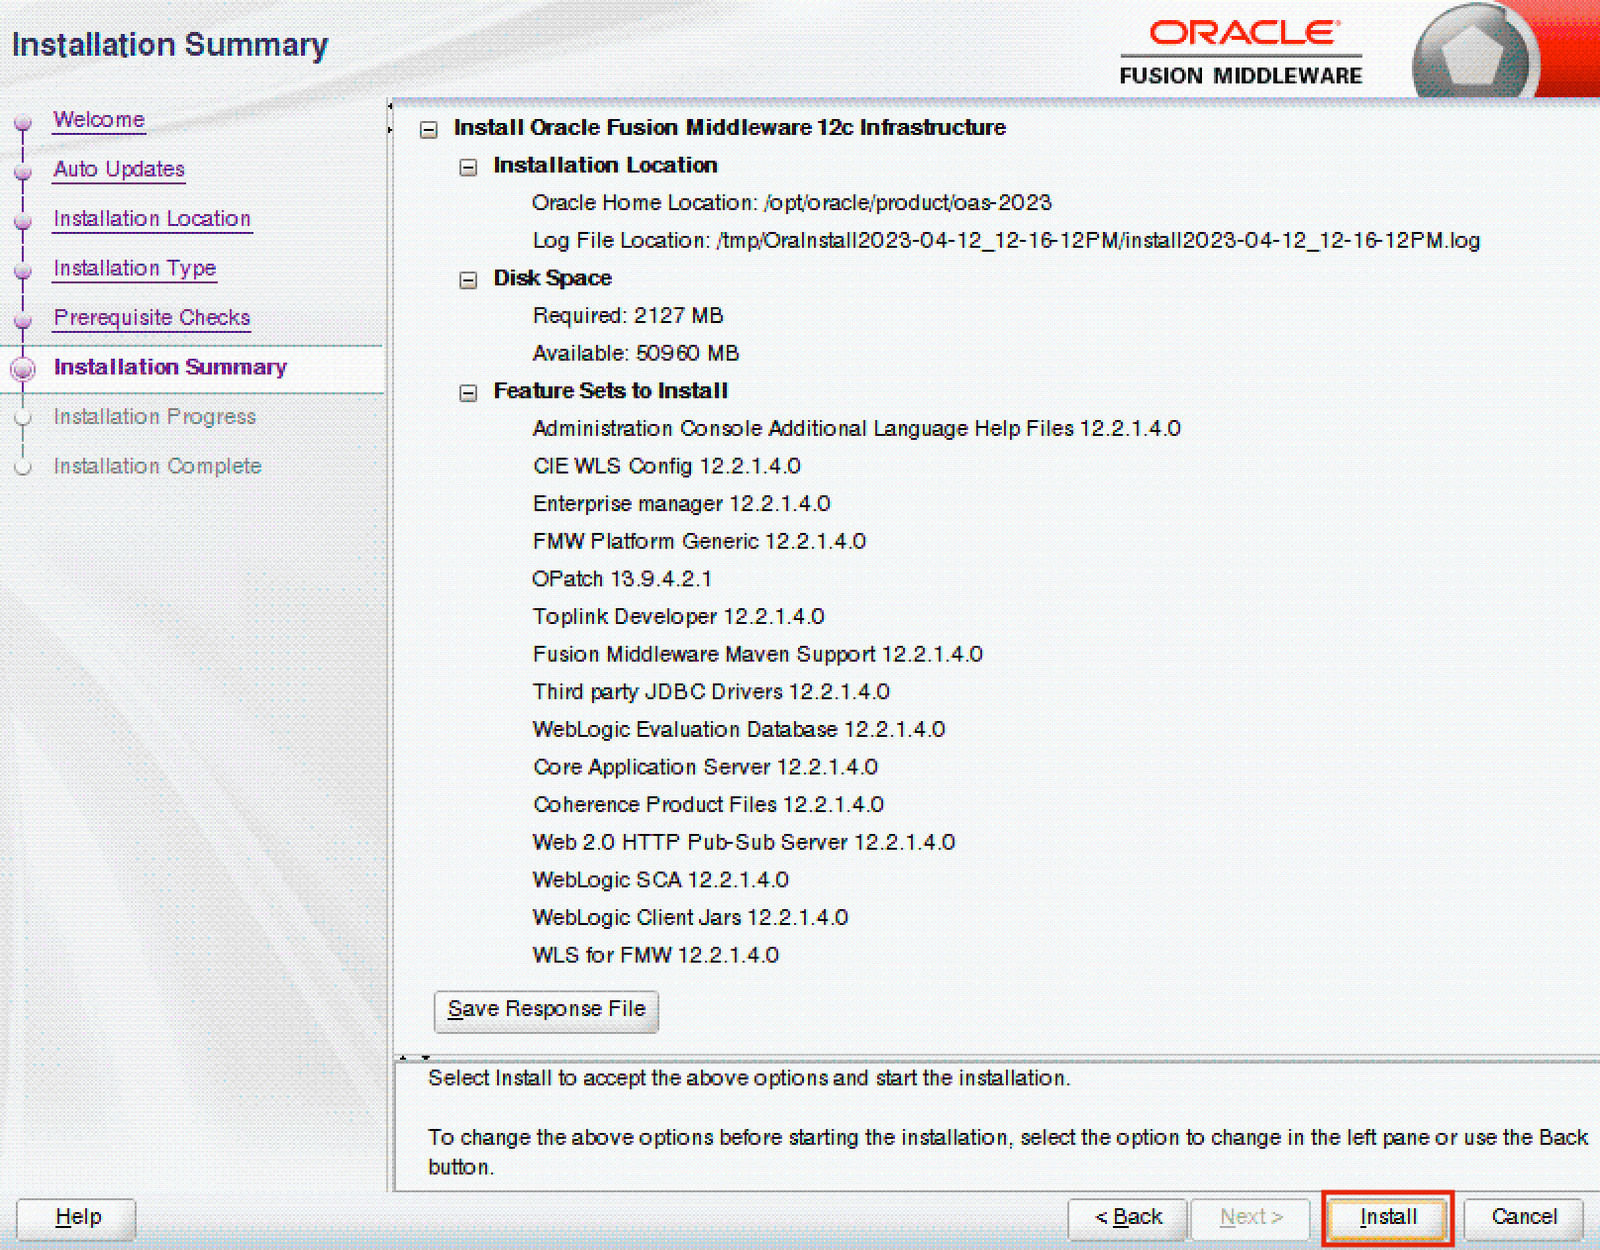
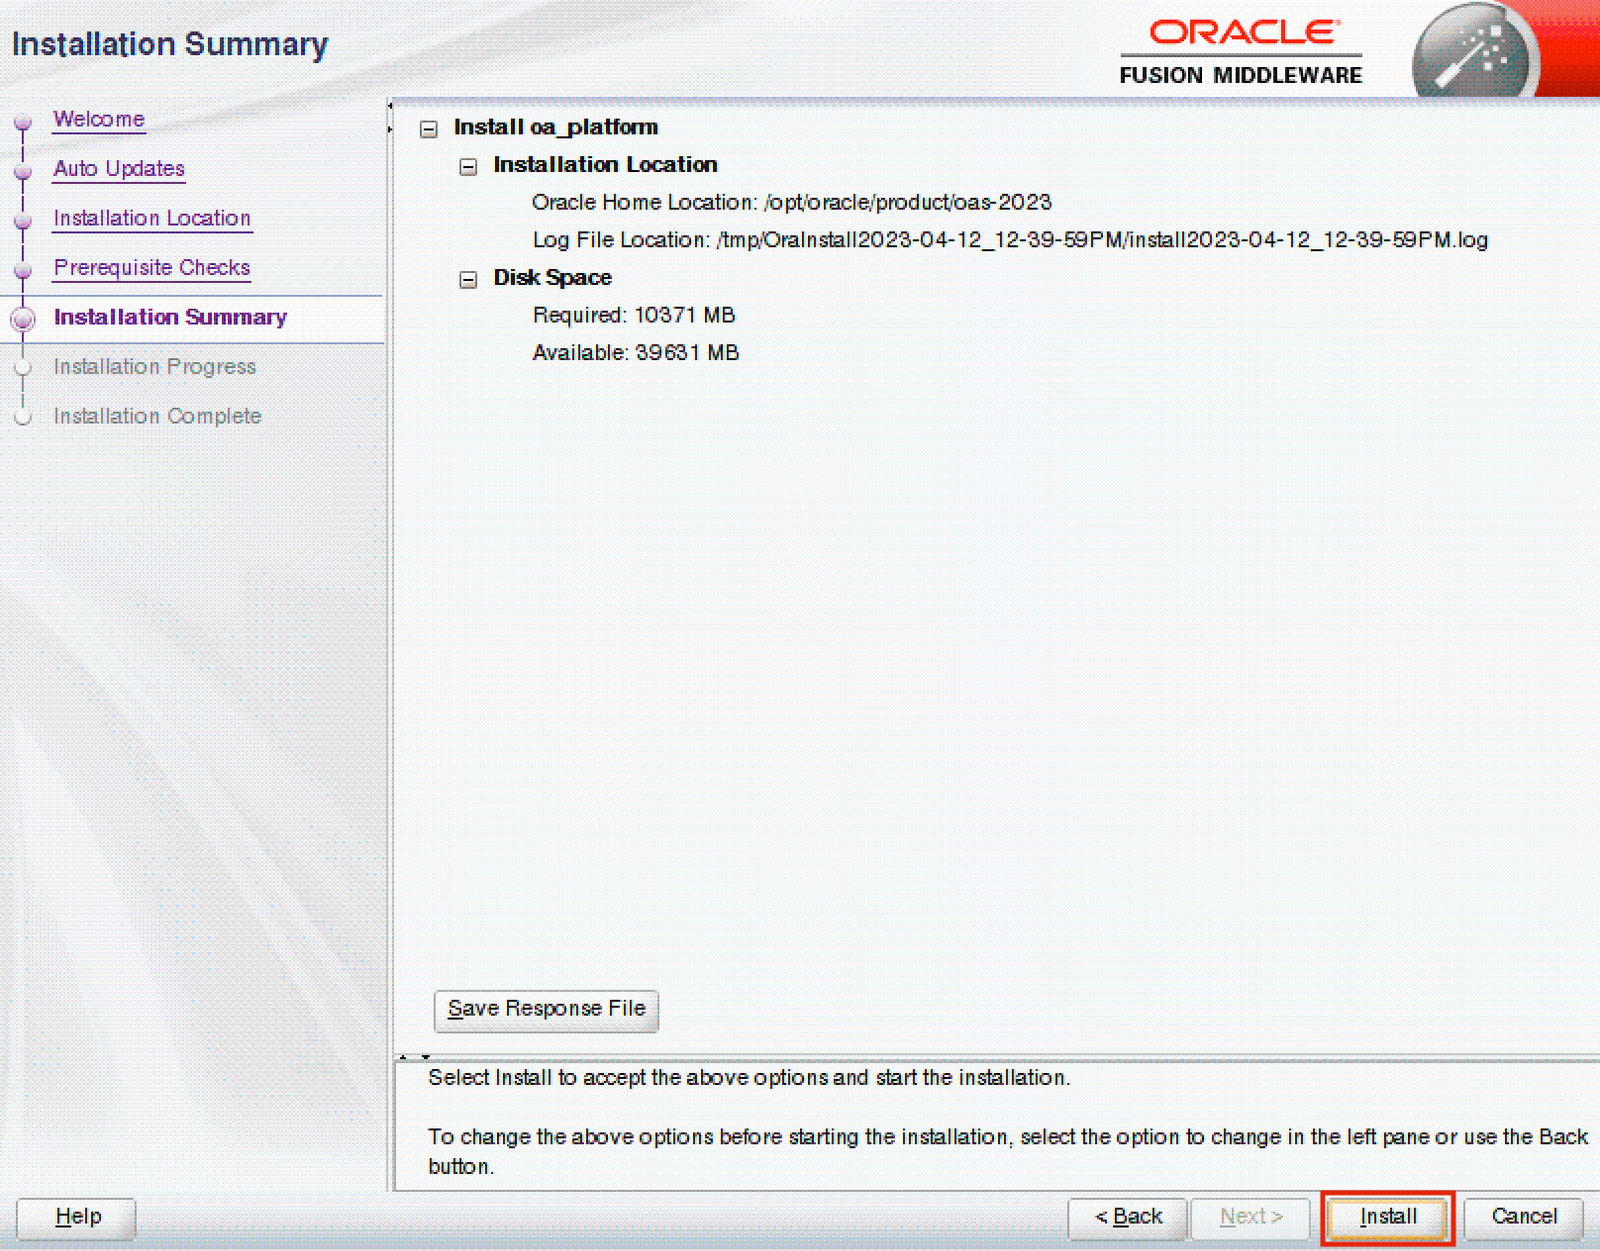
In the Installation Summary screen, click on the Install button (Figure 6). Do not forget to click on the Save Response File button if you want to save a response file (with all the values provided so far) that can be used to install Oracle Fusion Middleware Infrastructure in silent mode in other environments.
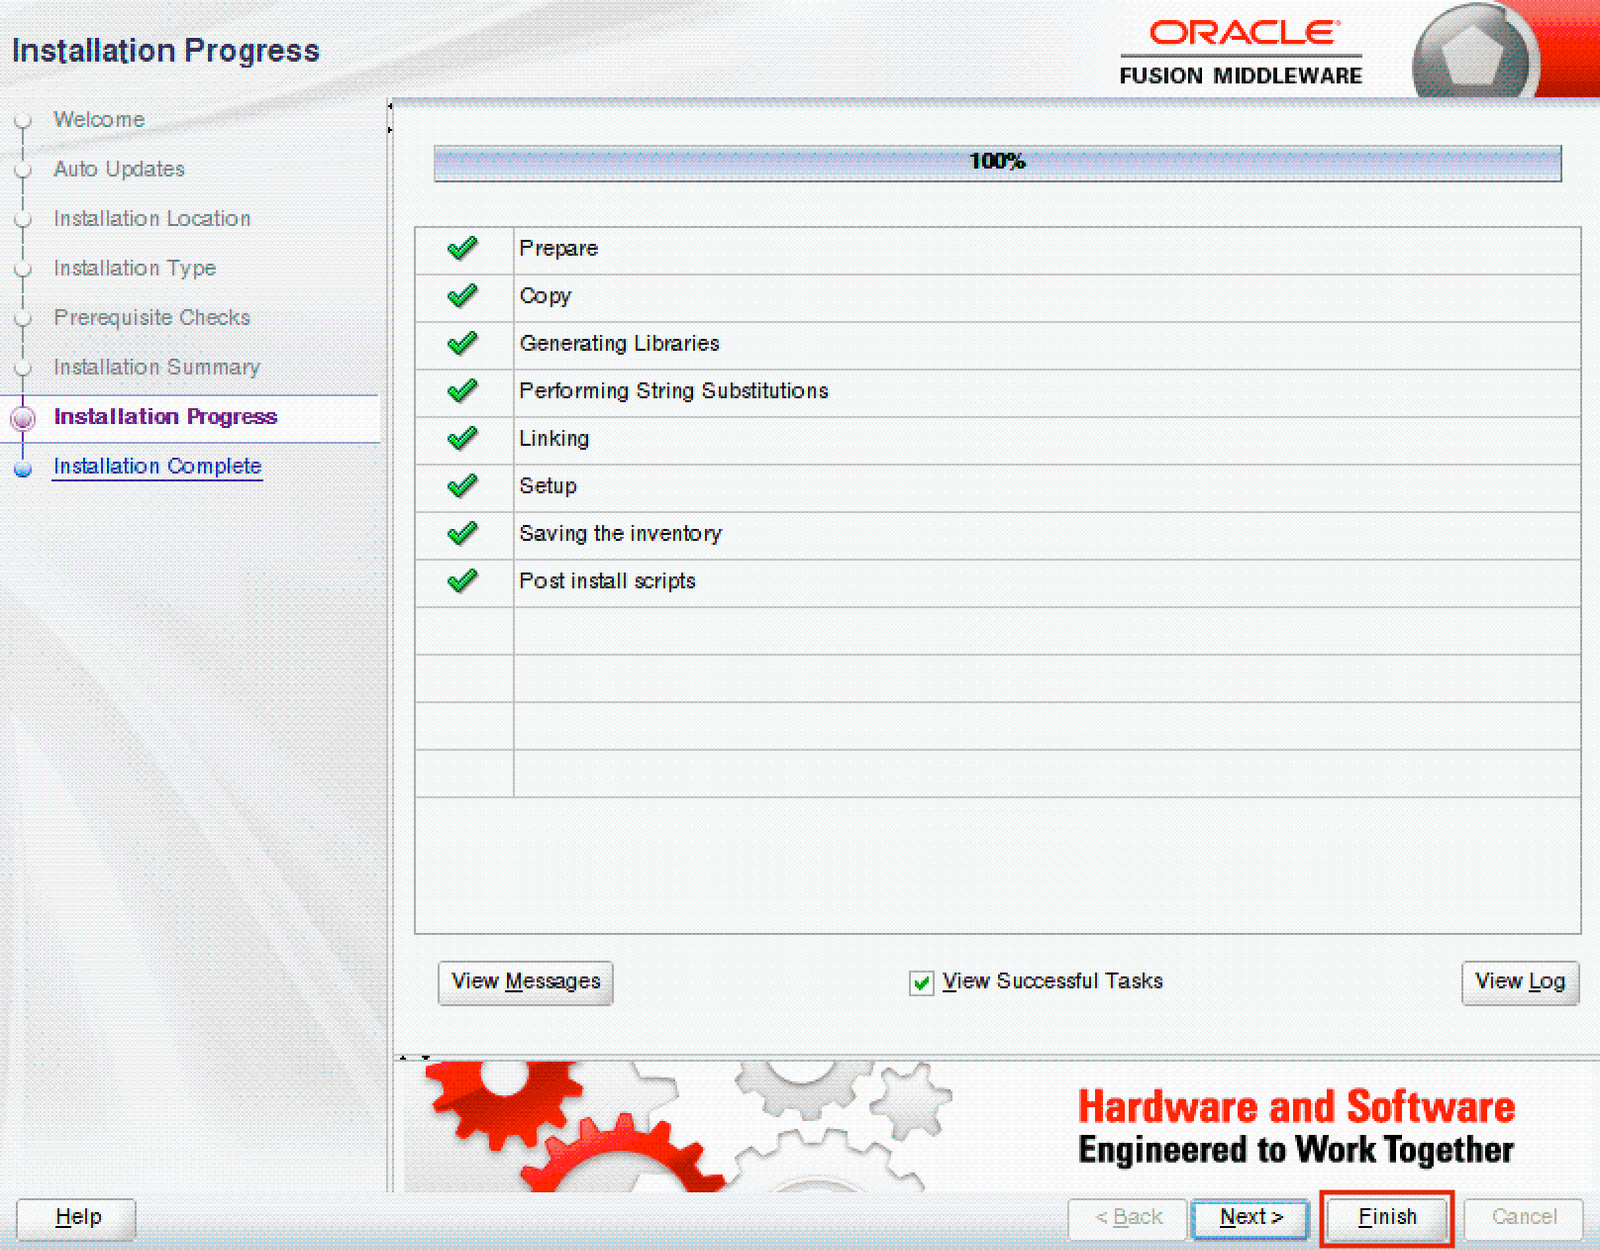
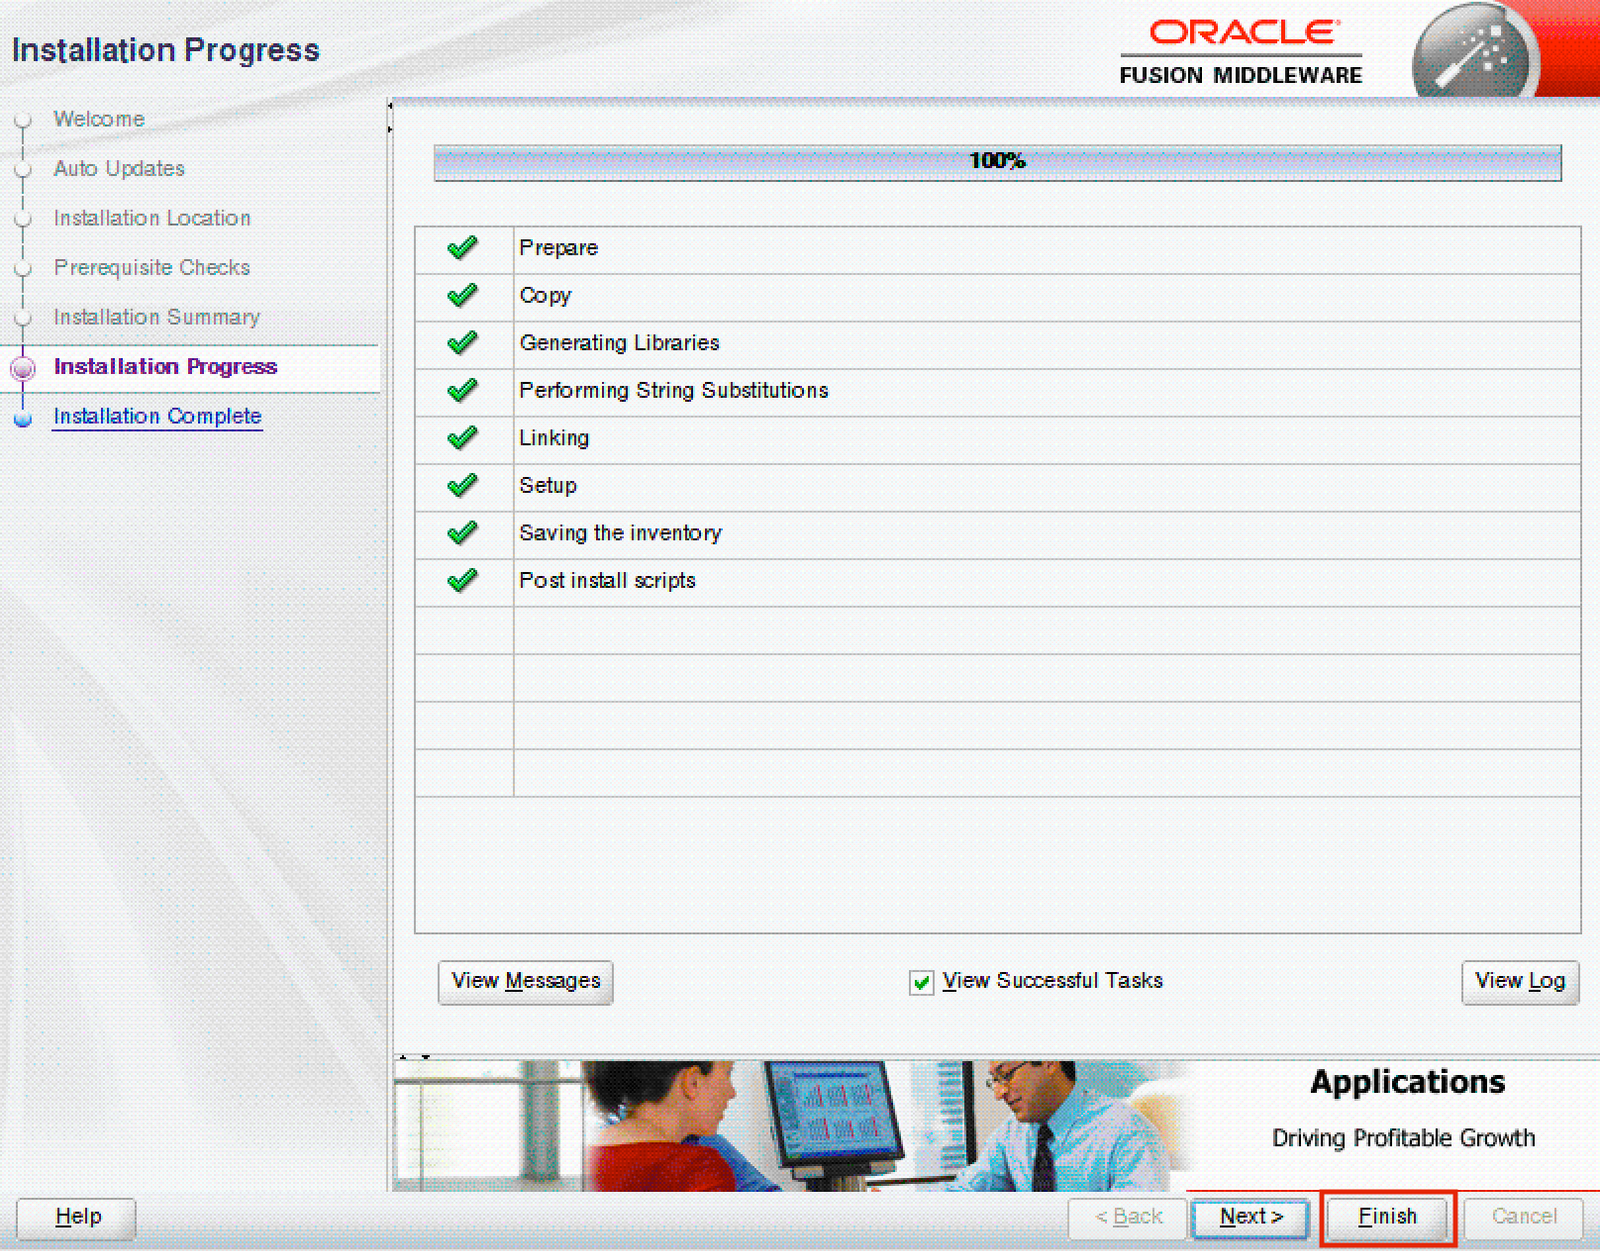
In the Installation Progress screen, click on the Finish button once the progress bar shows 100% to close the installer (Figure 7).
To install the Oracle Fusion Middleware Infrastructure in silent mode using a response file on additional servers, execute the following command:
java -jar fmw_12.2.1.4.0_infrastructure.jar -silent -responseFile <RESPONSE_FILE> -invPtrLocation <INVENTORY_FILE_LOCATION>Installing Oracle Analytics Server
oracle user (or an equivalent one), and assume that all required files are available in the /home/oracle folder.Unzip the Oracle Analytics Server 2023 Update file, and start the installer:
unzip V1034351-01.zip -d ./install/tmp_oas
cd ./install/tmp_oas
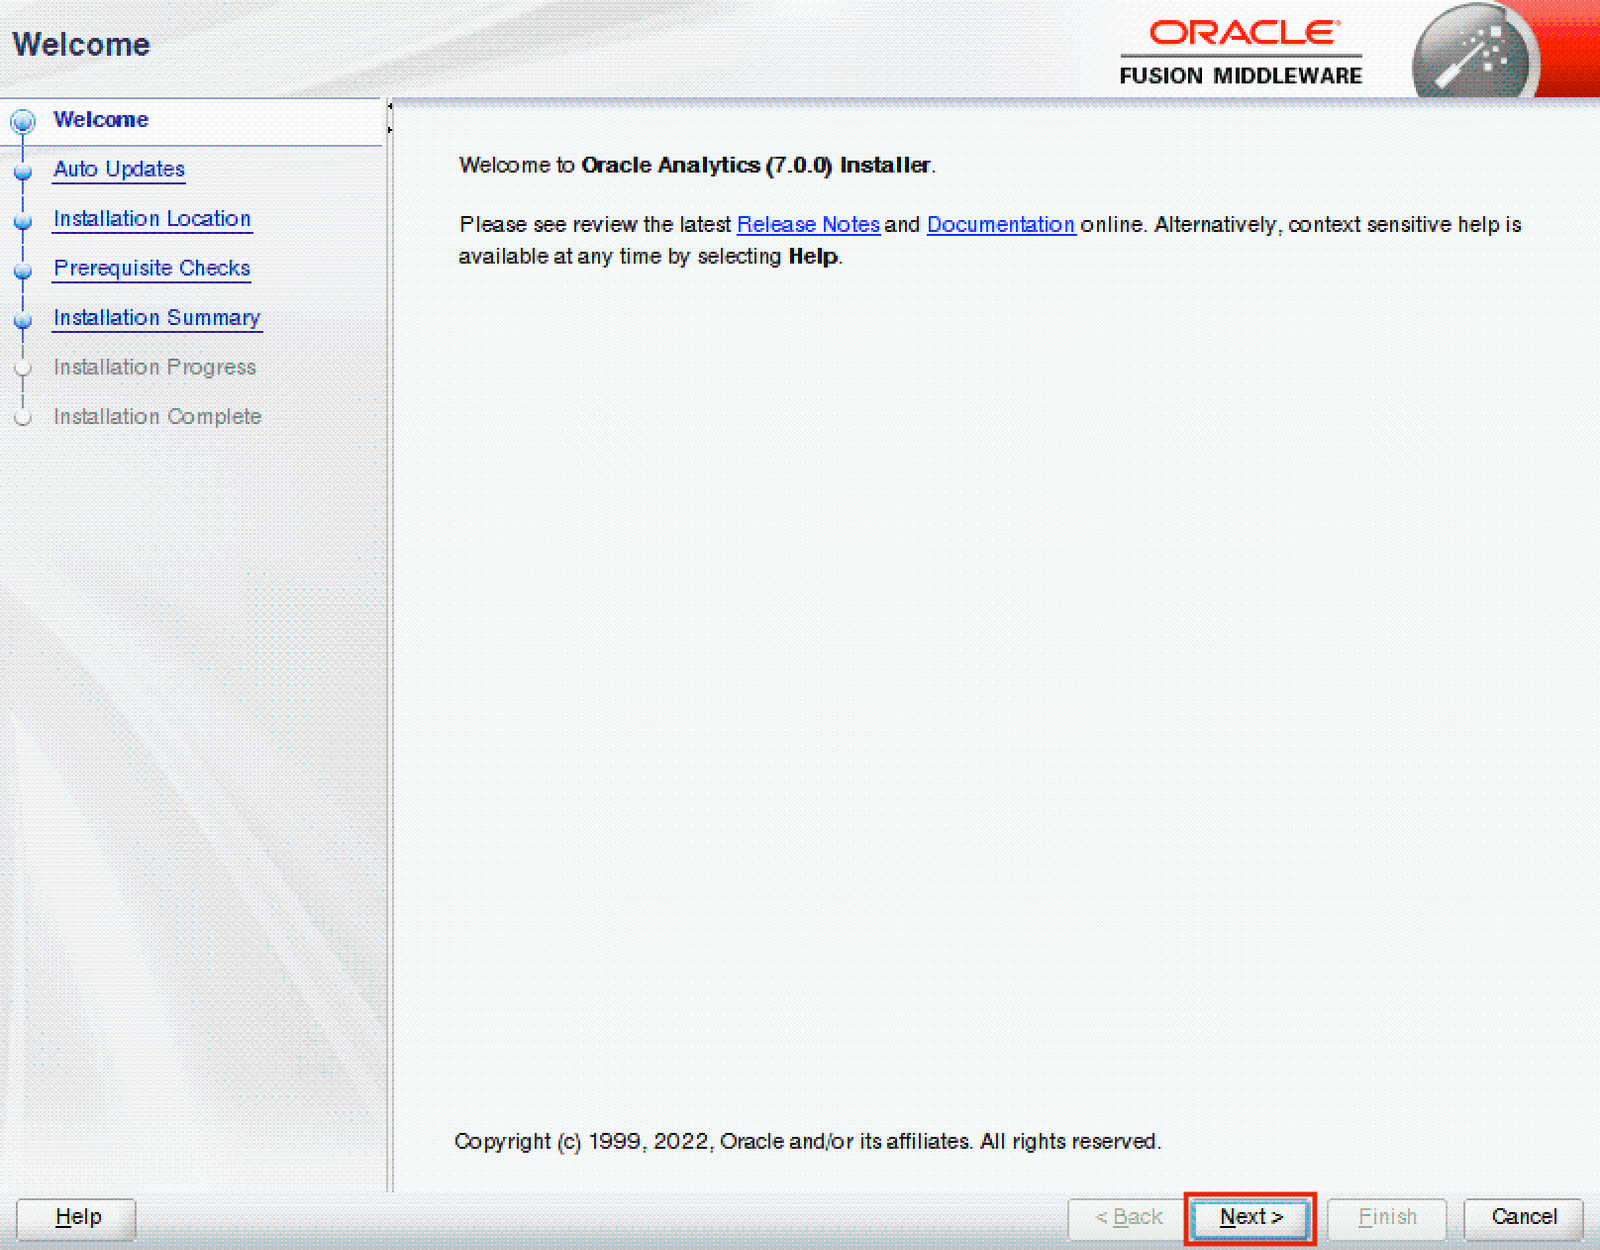
java -jar Oracle_Analytics_Server_2023_Linux64.jarIn the Welcome screen, click on the Next button (Figure 8).
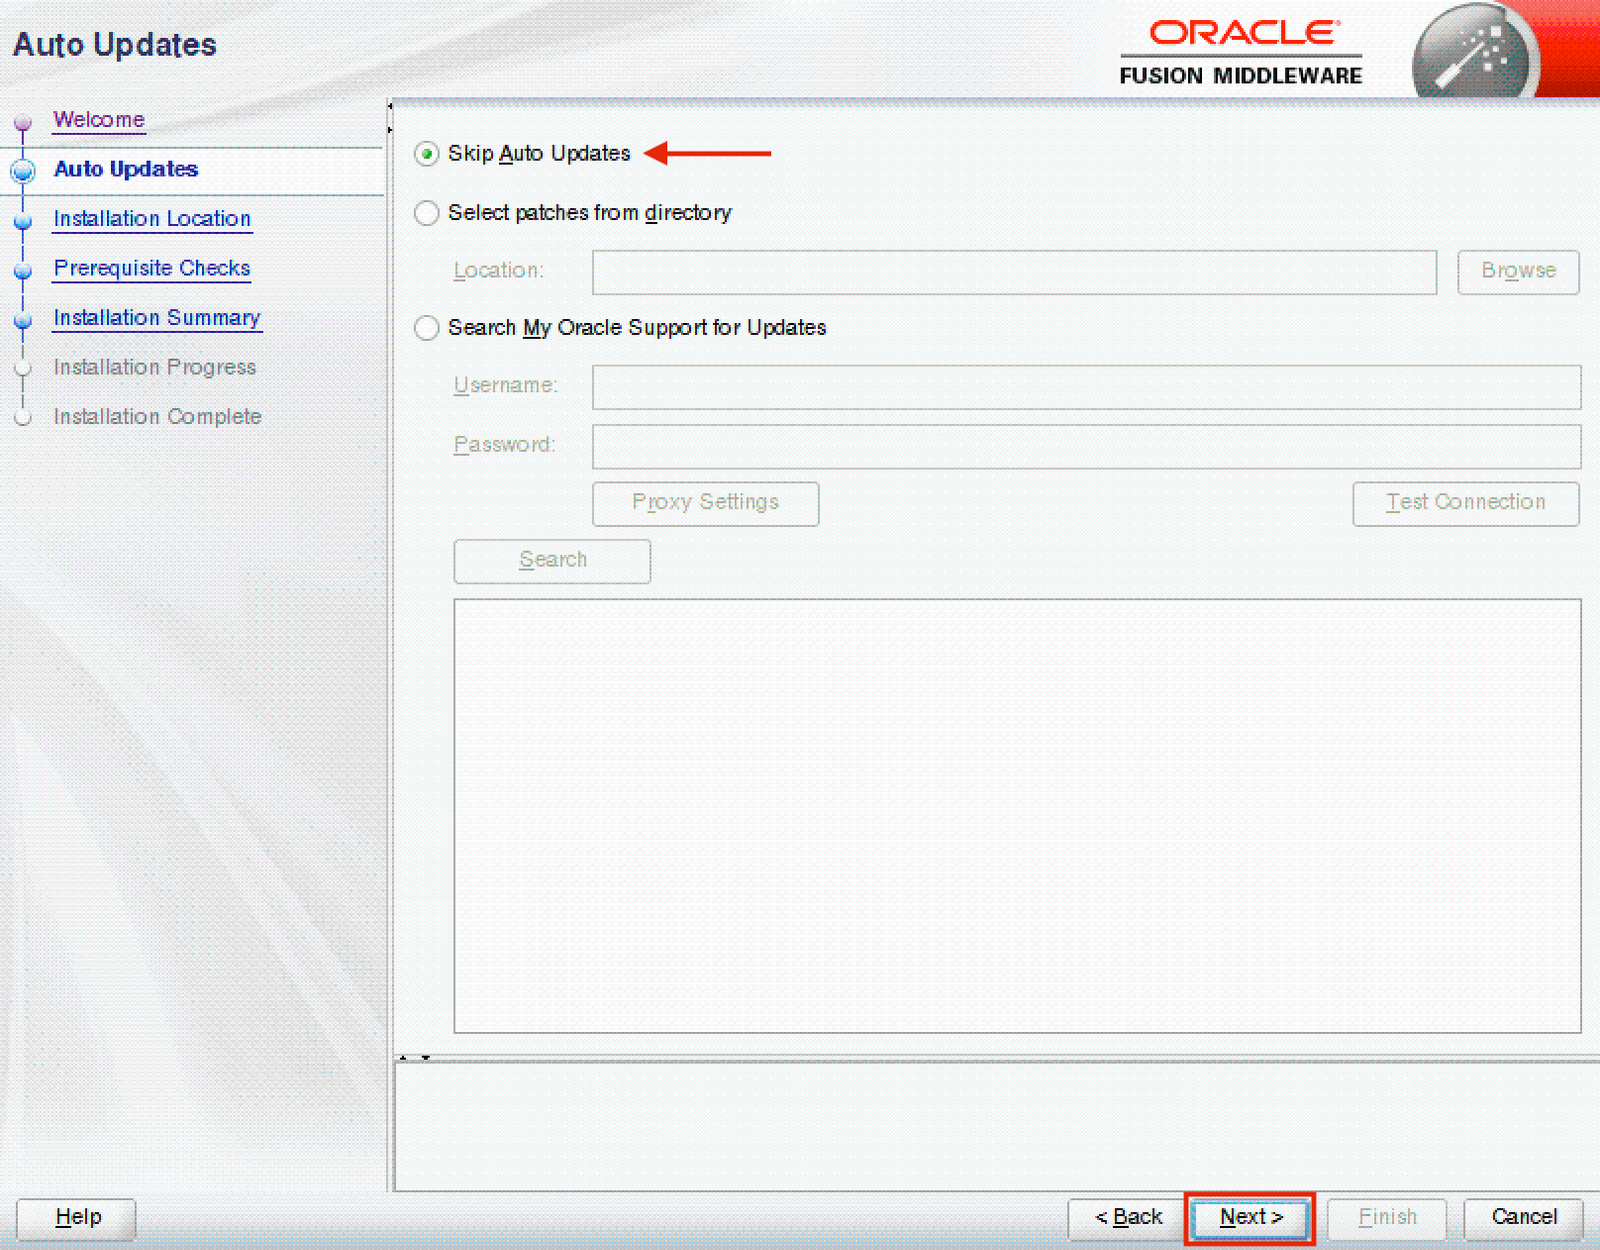
In the Auto Updates screen, tick the Skip Auto Updates radio button, and click on the Next button (Figure 9).
In the Installation Location screen, specify your Oracle home, and click on the Next button (Figure 10).
In the Prerequisite Checks screen, verify that all prerequisites have been met, and click on the Next button (Figure 11).
In the Installation Summary screen, click on the Install button (Figure 12). Do not forget to save a response file if you want to install Oracle Analytics Server in silent mode in other environments.
In the Installation Progress screen, click on the Finish button once the progress bar shows 100% to close the installer (Figure 13).
To install the Oracle Analytics Server in silent mode using a response file on additional servers, execute the following command:
java -jar Oracle_Analytics_Server_2023_Linux64.jar -silent -responseFile <RESPONSE_FILE> -invPtrLocation <INVENTORY_FILE_LOCATION>Applying Required Patches
oracle user (or an equivalent one), and assume that all required files are available in the /home/oracle folder.Upgrade OPatch to the latest version (Patch 28186730) before patching Oracle Fusion Middleware and Oracle Analytics Server:
unzip p28186730_1394211_Generic.zip -d ./install/patch


cd ./install/patch/6880880


java -jar ./install/patch/6880880/opatch_generic.jar -silent oracle_home=/opt/oracle/product/oas-2023 -invPtrLoc <INVENTORY_FILE_LOCATION>
Apply the Oracle WebLogic Server Stack Patch Bundle 12.2.1.4.230112 (Patch 34974729):
unzip p34974729_122140_Generic.zip -d ./install/patch


cd ./install/patch/WLS_SPB_12.2.1.4.230112/binary_patches


/opt/oracle/product/oas-2023/OPatch/opatch napply -silent -oh /opt/oracle/product/oas-2023 -phBaseFile linux64_patchlist.txt
Apply the Oracle Web Services Manager Bundle Patch 12.2.1.4.221128 (Patch 34839859):
unzip p34839859_122140_Generic.zip -d ./install/patch


cd ./install/patch/34839859


/opt/oracle/product/oas-2023/OPatch/opatch apply -silent -invPtrLoc <INVENTORY_FILE_LOCATION>
Apply Patch 34542329:
unzip p34542329_122140_Generic.zip -d ./install/patch


cd ./install/patch/34542329


/opt/oracle/product/oas-2023/OPatch/opatch apply -silent -invPtrLoc <INVENTORY_FILE_LOCATION>
Apply the Oracle ADF Bundle Patch 12.2.1.4.230103 (Patch 34944256):
unzip p34944256_122140_Generic.zip -d ./install/patch


cd ./install/patch/34944256


/opt/oracle/product/oas-2023/OPatch/opatch apply -silent -invPtrLoc <INVENTORY_FILE_LOCATION>
Apply the Oracle OPSS Bundle Patch 12.2.1.4.220311 (Patch 33950717):
unzip p33950717_122140_Generic.zip -d ./install/patch


cd ./install/patch/33950717


/opt/oracle/product/oas-2023/OPatch/opatch apply -silent -invPtrLoc <INVENTORY_FILE_LOCATION>
Apply the Oracle WebCenter Core Bundle Patch 12.2.1.4.220825 (Patch 34549208):
unzip p34549208_122140_Generic.zip -d ./install/patch


cd ./install/patch/34549208


/opt/oracle/product/oas-2023/OPatch/opatch apply -silent -invPtrLoc <INVENTORY_FILE_LOCATION>
Apply the Oracle OSS Bundle Patch 12.2.1.4.230128 (Patch 35024228):
Patch 35024228
unzip p35024228_122140_Linux-x86-64.zip -d ./install/patch


cd ./install/patch/35024228


/opt/oracle/product/oas-2023/OPatch/opatch apply -silent -invPtrLoc <INVENTORY_FILE_LOCATION>
Configuring the Oracle Analytics Server Domain
oracle user (or an equivalent one).Start the Configuration Assistant utility:
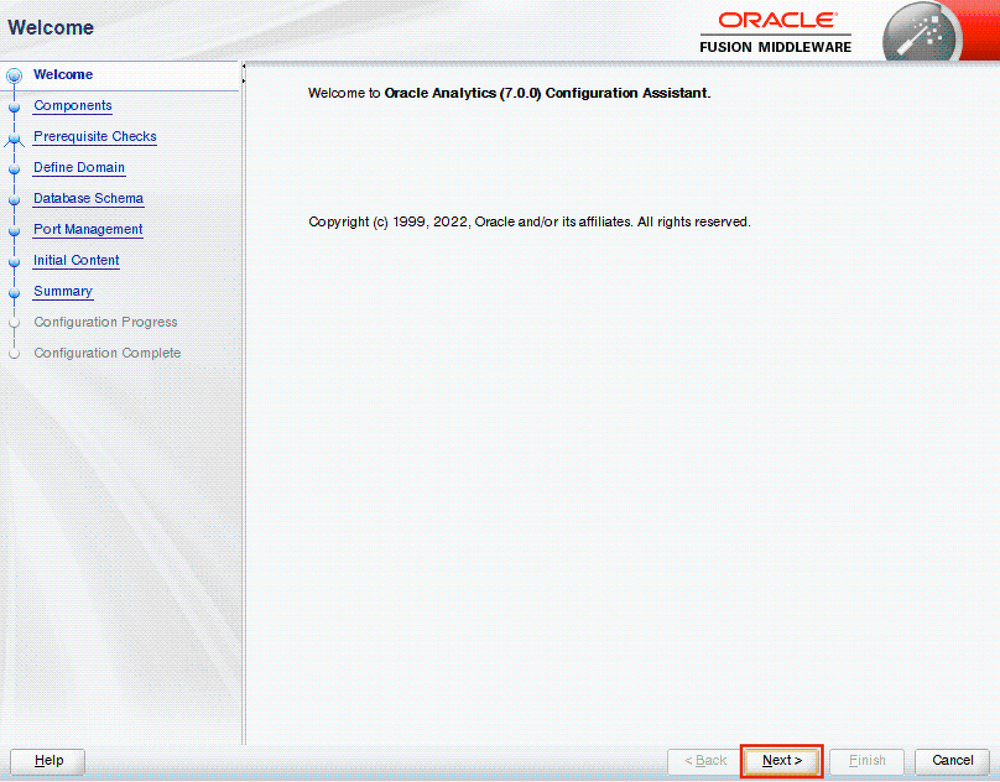
/opt/oracle/product/oas-2023/bi/bin/config.shIn the Welcome screen, click on the Next button (Figure 14).
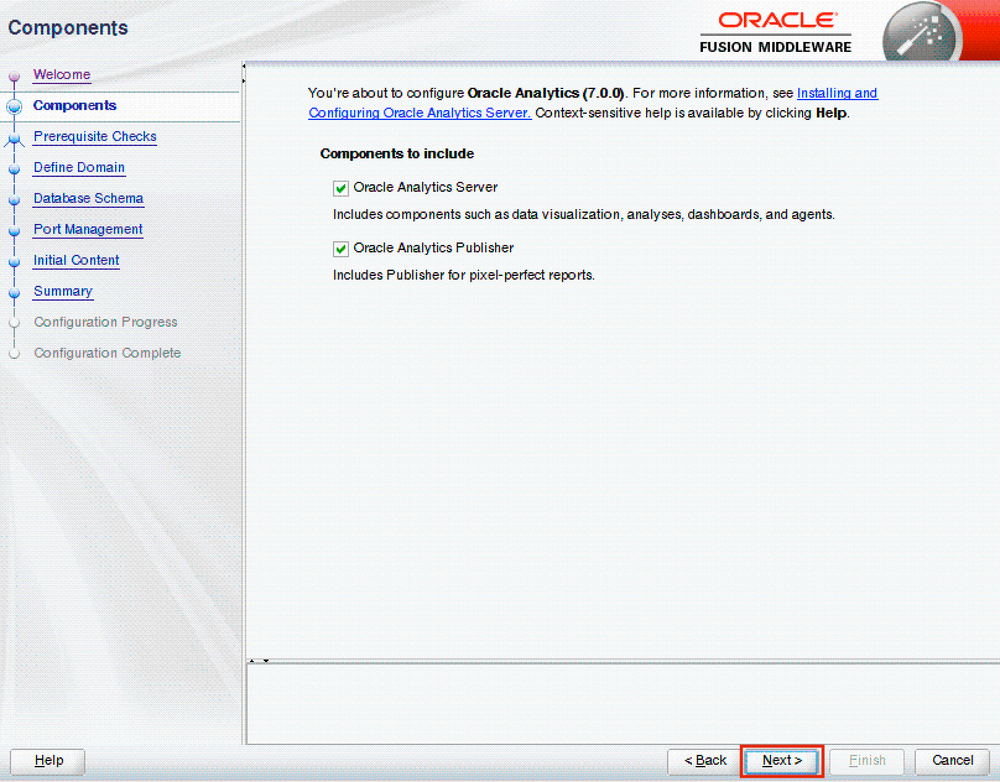
In the Components screen, select the components that you want to include in the domain, and click on the Next button (Figure 15). It's important to remember that once the domain has been configured, it's no longer possible to include additional components.
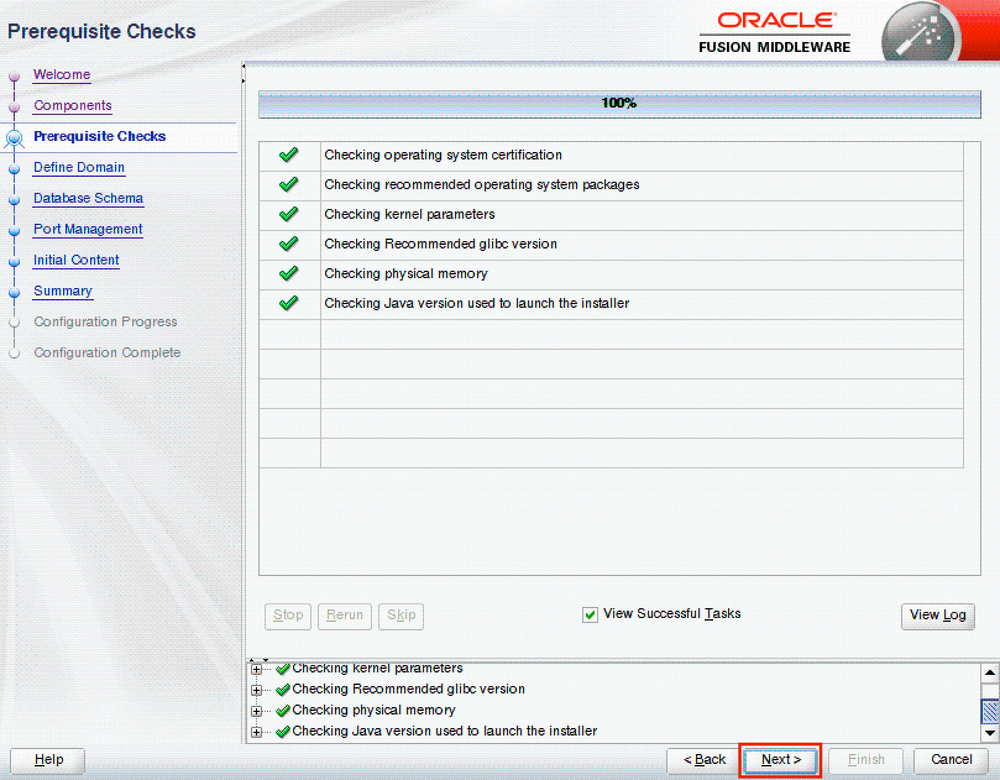
In the Prerequisite Checks screen, verify that all prerequisites have been met, and click on the Next button (Figure 16).
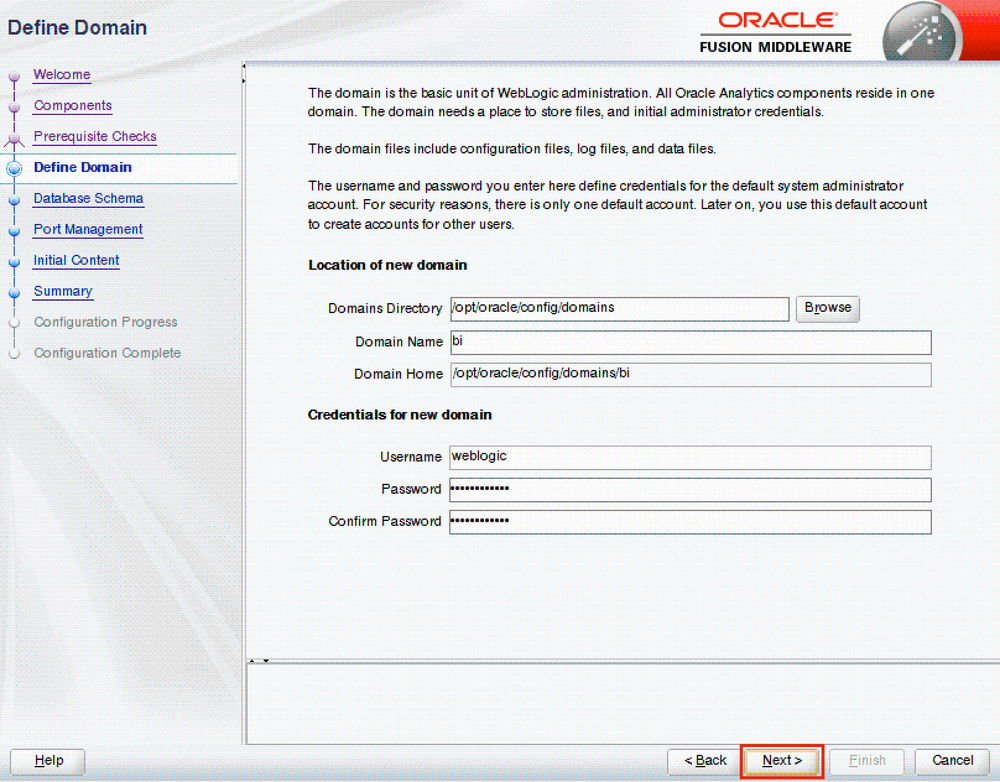
In the Define Domain screen, specify your domain home, domain name, and the credentials for the new domain. Then click on the Next button (Figure 17).
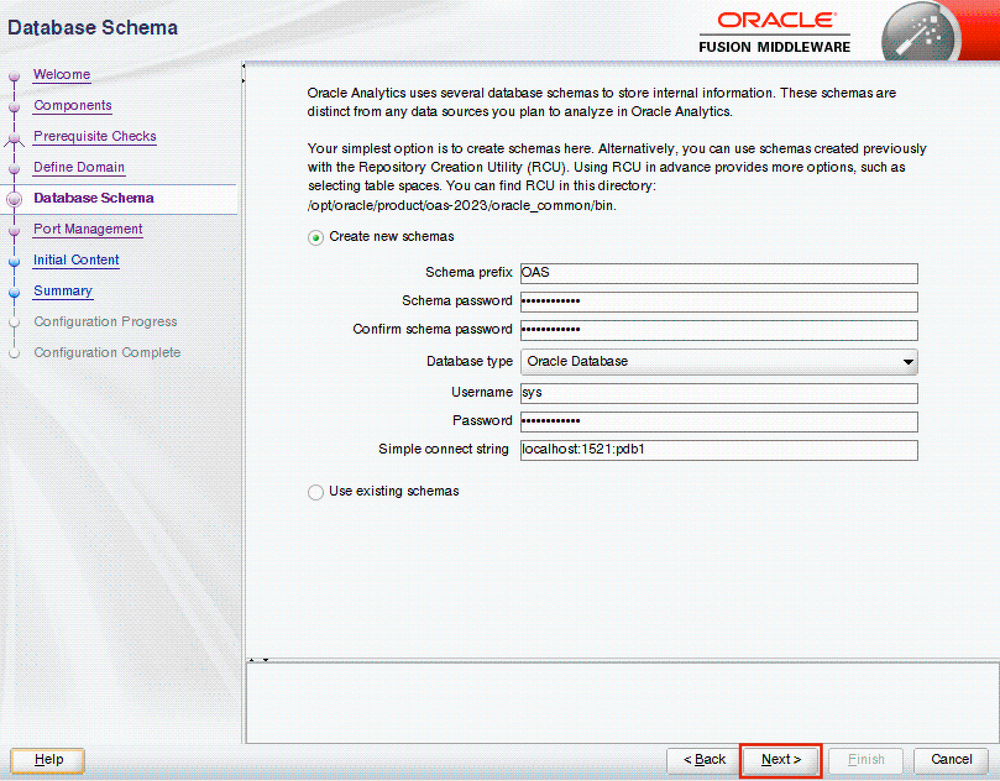
In the Database Schema screen, tick the Create new schemas radio button, specify the database details and credentials to create the required schemas, and click on the Next button (Figure 18). If you want more options for tablespace and schema management, the RCU schemas can also be created using the rcu command located in the $ORACLE_HOME/oracle_common/bin folder.
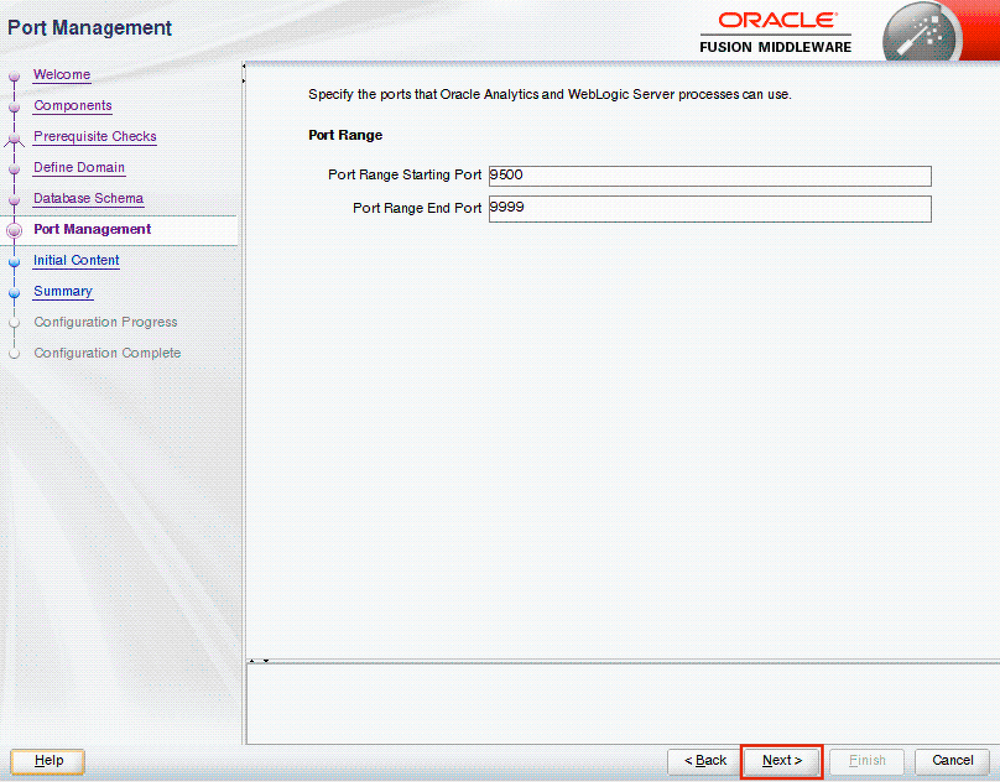
In the Port Management screen, accept the defaults, and click on the Next button (Figure 19).
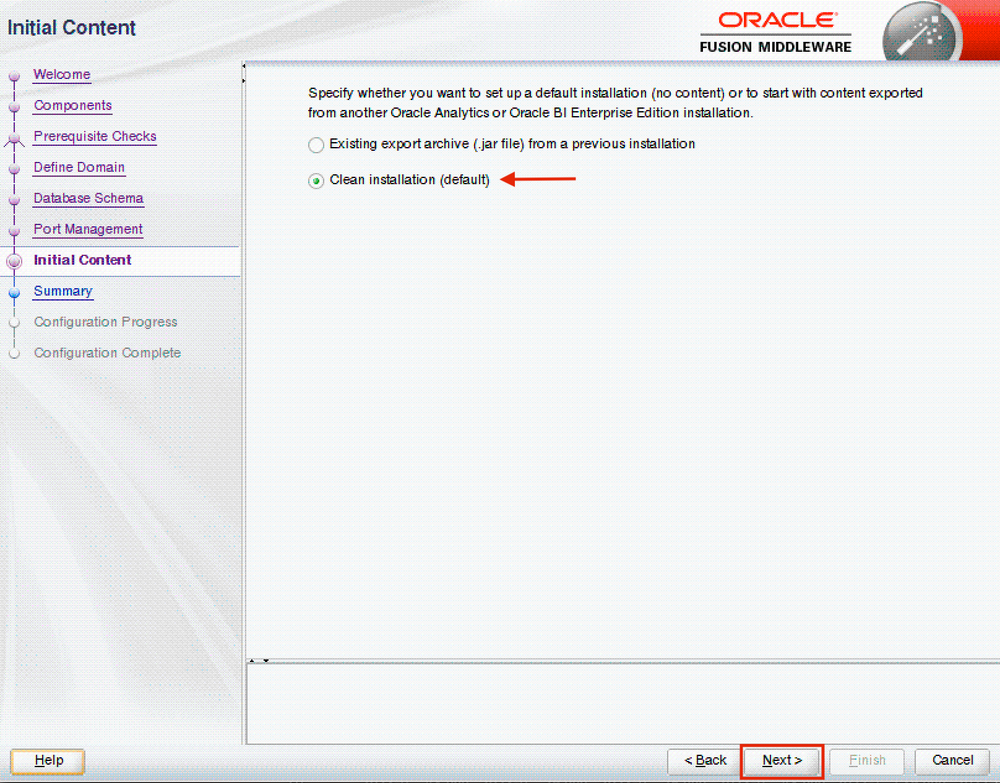
In the Initial Content screen, tick the Clean installation (default) radio button, and click on the Next button (Figure 20).
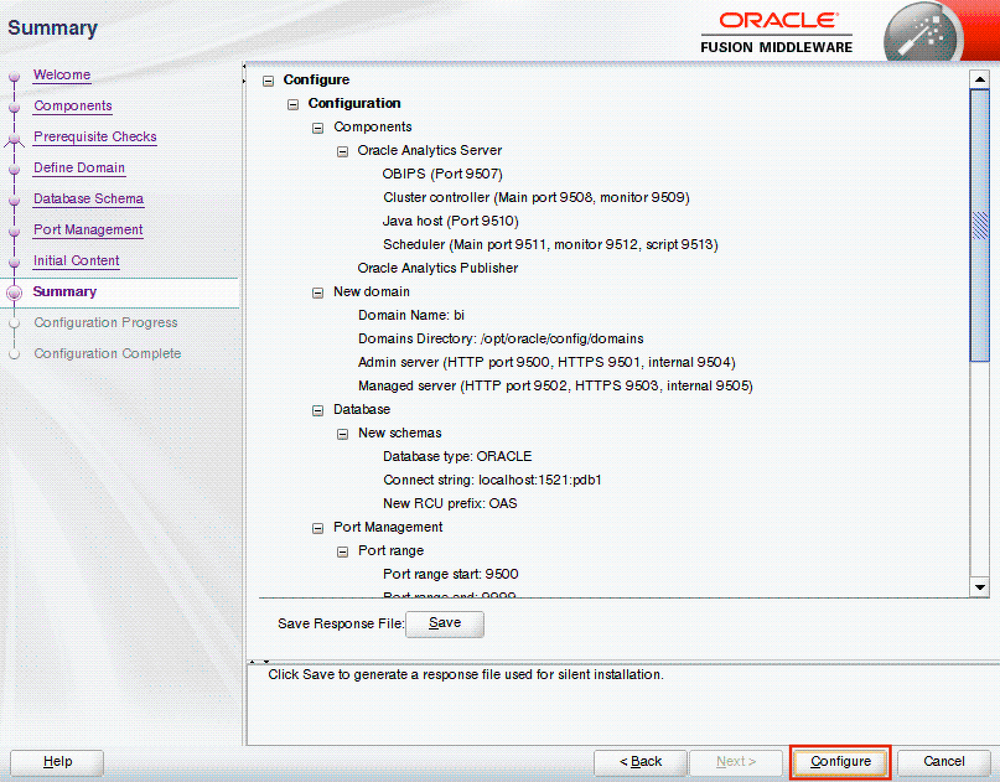
In the Summary screen, click on the Configure button to configure the Oracle Analytics Server domain (Figure 21). Do not forget to save a response file if you want to configure the domain in silent mode in other environments.
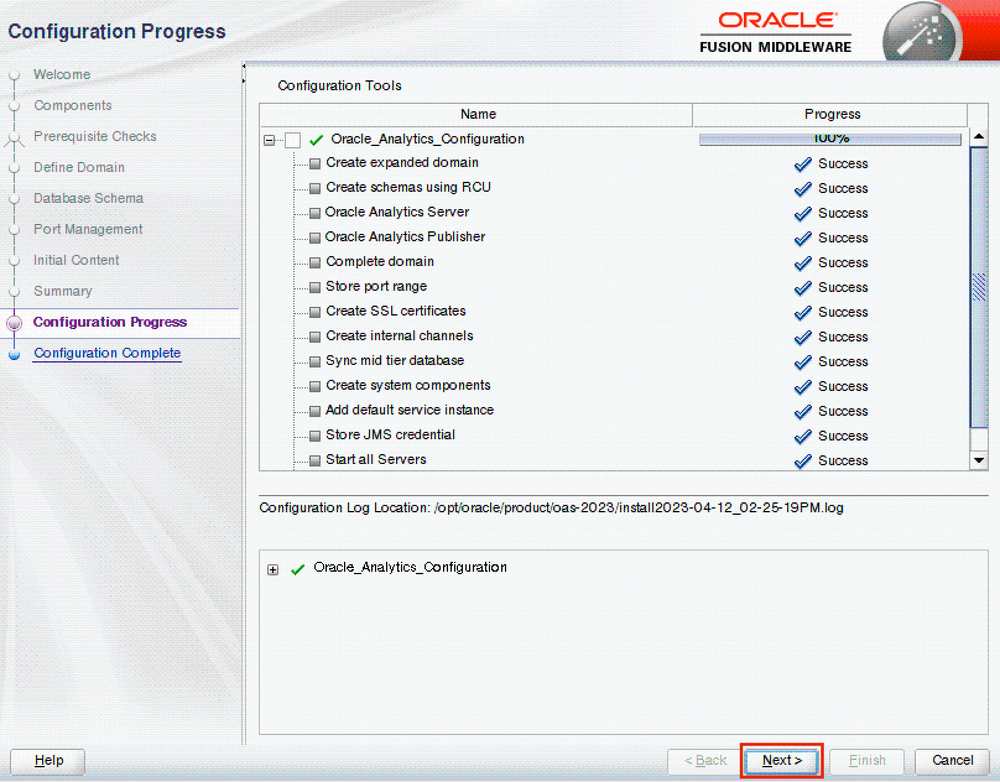
In the Configuration Progress screen, click on the Next button once the progress bar shows 100% (Figure 22).
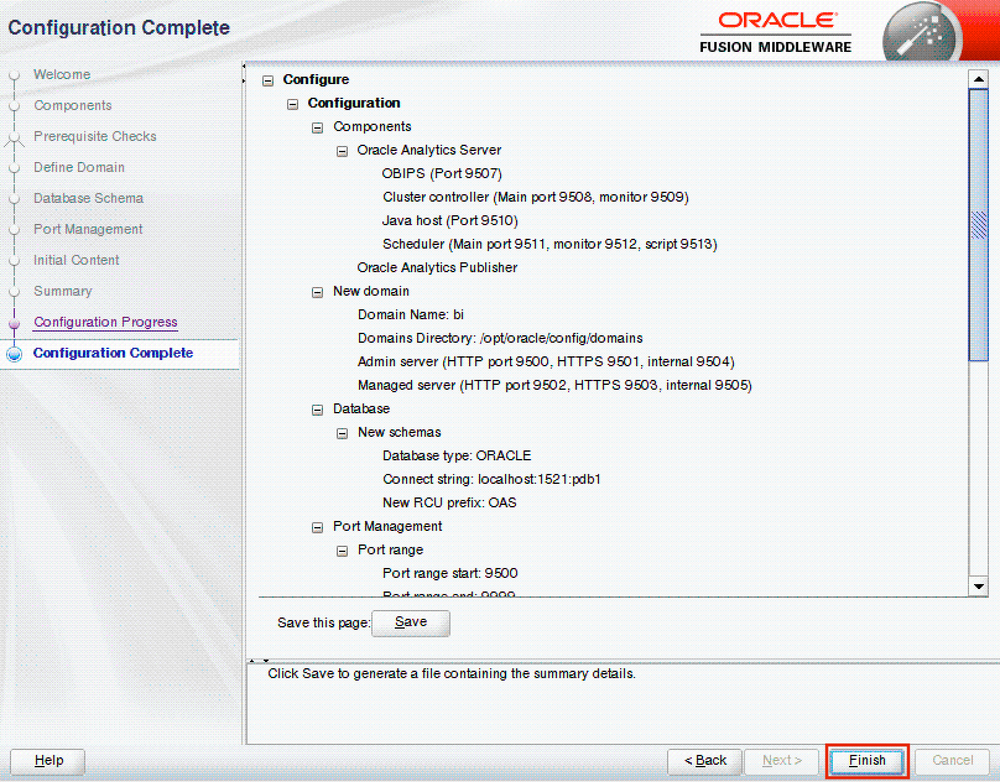
In the Configuration Complete screen, click on the Finish button to close the Configuration Assistant (Figure 23).
To configure the Oracle Analytics Server domain in silent mode using a response file on additional servers, execute the following command:
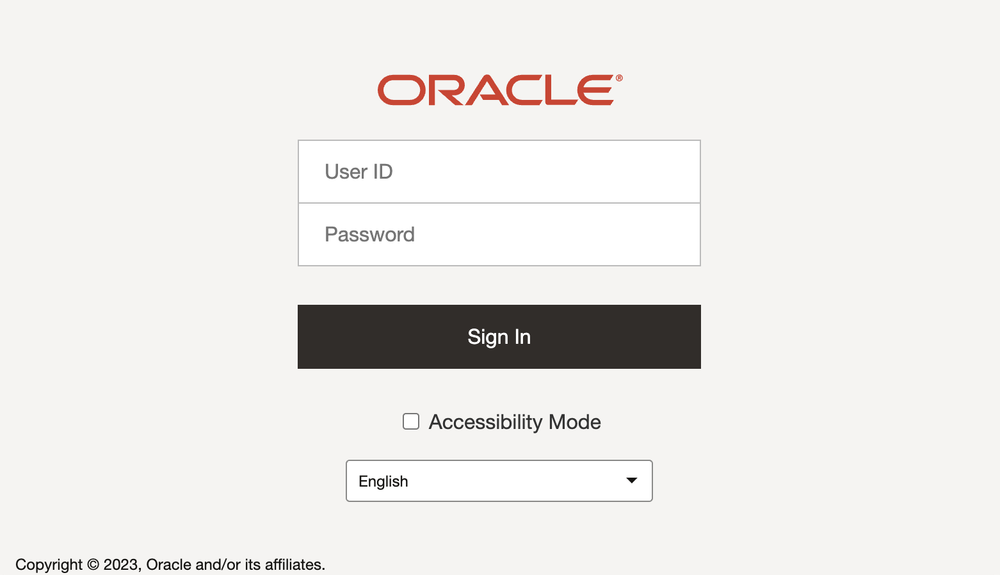
/opt/oracle/product/oas-2023/bi/bin/config.sh -silent -responseFile <RESPONSE_FILE> -invPtrLocation <INVENTORY_FILE_LOCATION>Congratulations, your Oracle Analytics Server should now be available at http://<SERVER_NAME>:9502/dv (Figure 24)!
Conclusion
The 2023 Update includes several new features, enhancements and fixes for Oracle Analytics Server that significantly improve the suite such as support for parameters in Data Visualization, files in datasets with multiple tables, a new Content Management page, OCI Functions and Vision integration, and many others.
If you are looking into Oracle Analytics Cloud and want to find out more, please do get in touch or DM us on Twitter @rittmanmead. Rittman Mead can help you with a product demo, training and assist within the migration process.