Deploy RStudio in an OCI Container


RStudio is a free interactive development environment or (IDE) designed specifically for the R language. It supports direct code execution, and tools for plotting, history, and debugging. It’s safe to say that almost no-one uses R without R Studio. RStudio Server is an application that provides a web based interface to R running on a server, so for all intents and purposes it is just a browser based R Studio.
If you want to run RStudio on an OCI instance without starting an instance and installing R & RStudio Server yourself, then the following are two quick ways to get you up and running:
- From the QuickStart menu on the OCI home page.
- From a Terraform template in the Resource Manager in Developer services.
Both of these do exactly the same thing and I will quickly show you how easy it is to set up either way.
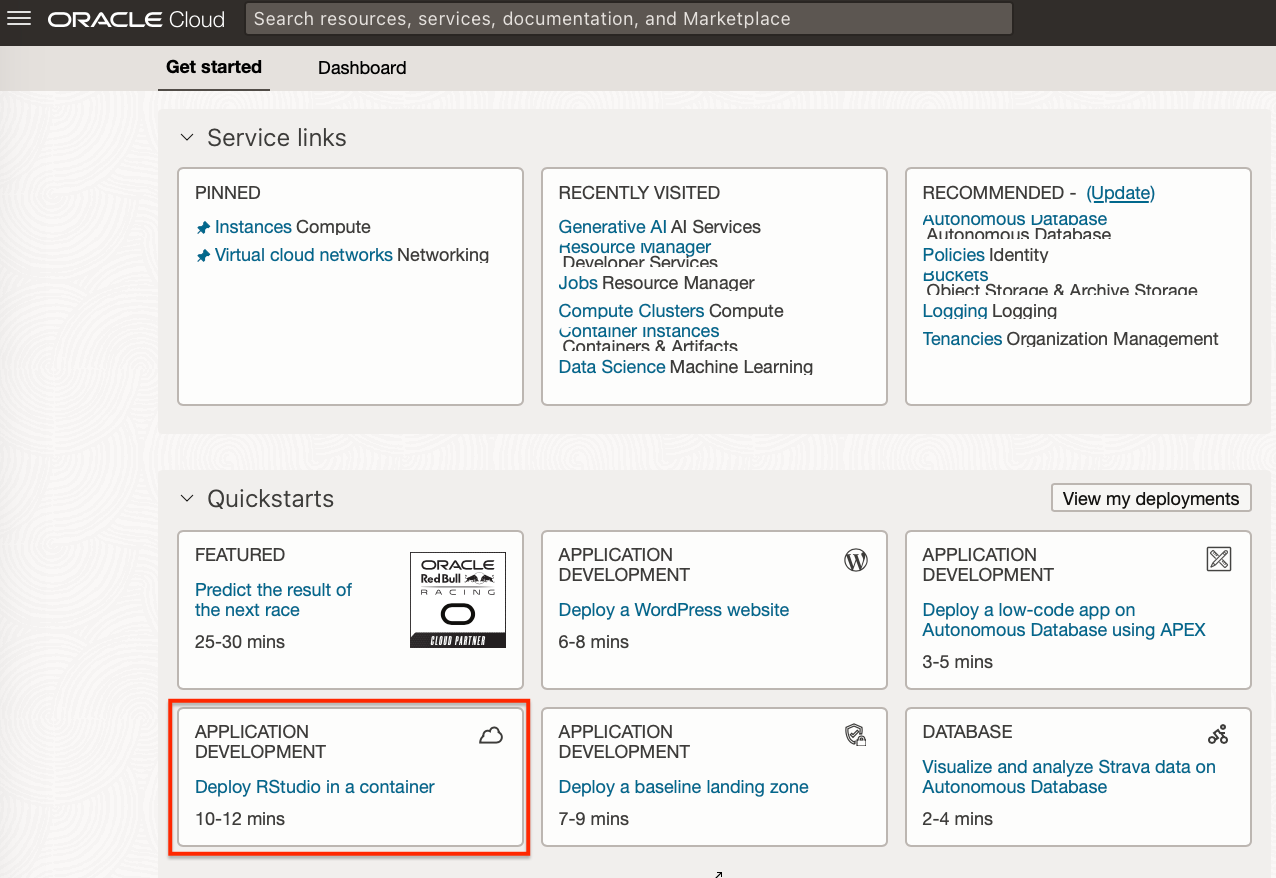
Create from the QuickStart menu on the OCI home page
From the OCI home page, under “Quickstarts” there is an option called “Deploy RStudio in a container”
Clicking this will then detail what steps this process will complete.
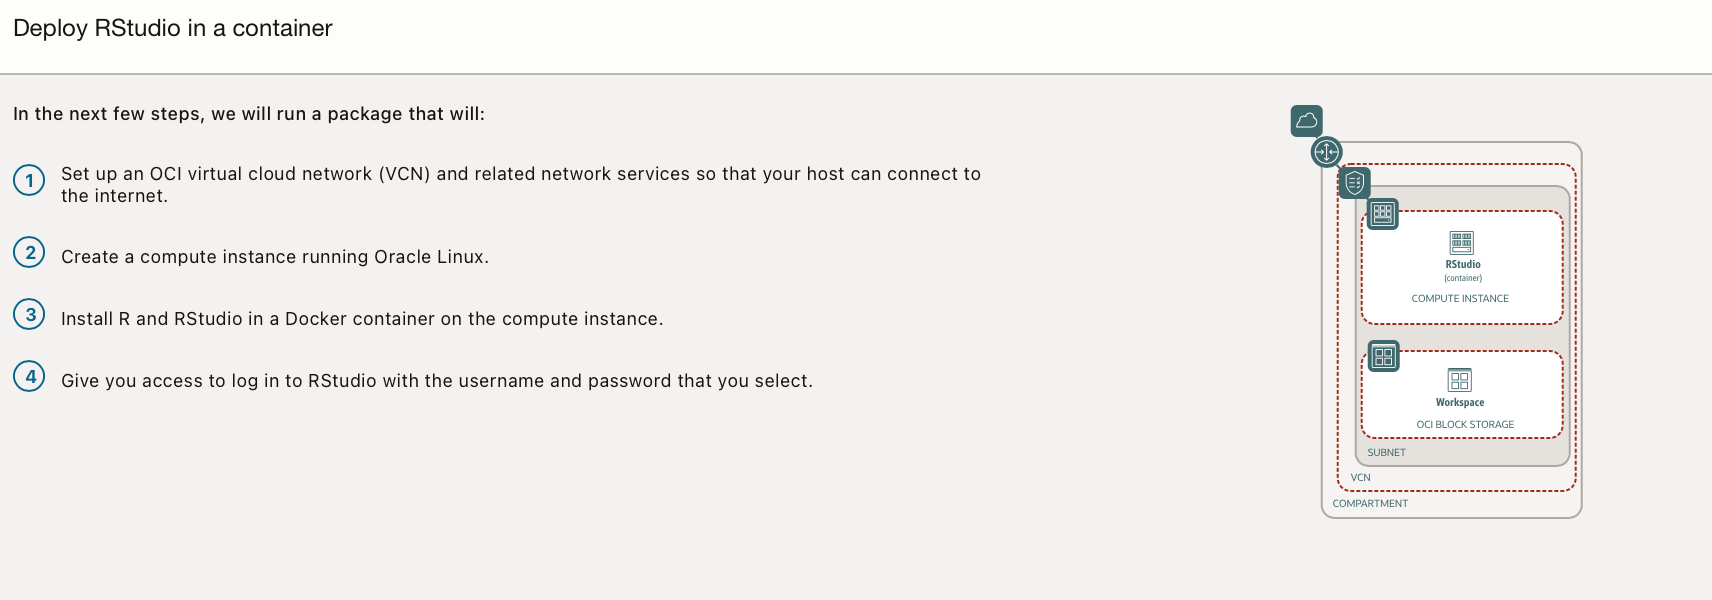
You can decide which compartment you wish this to be created in, and set a username and password for the RStudio Server Login.

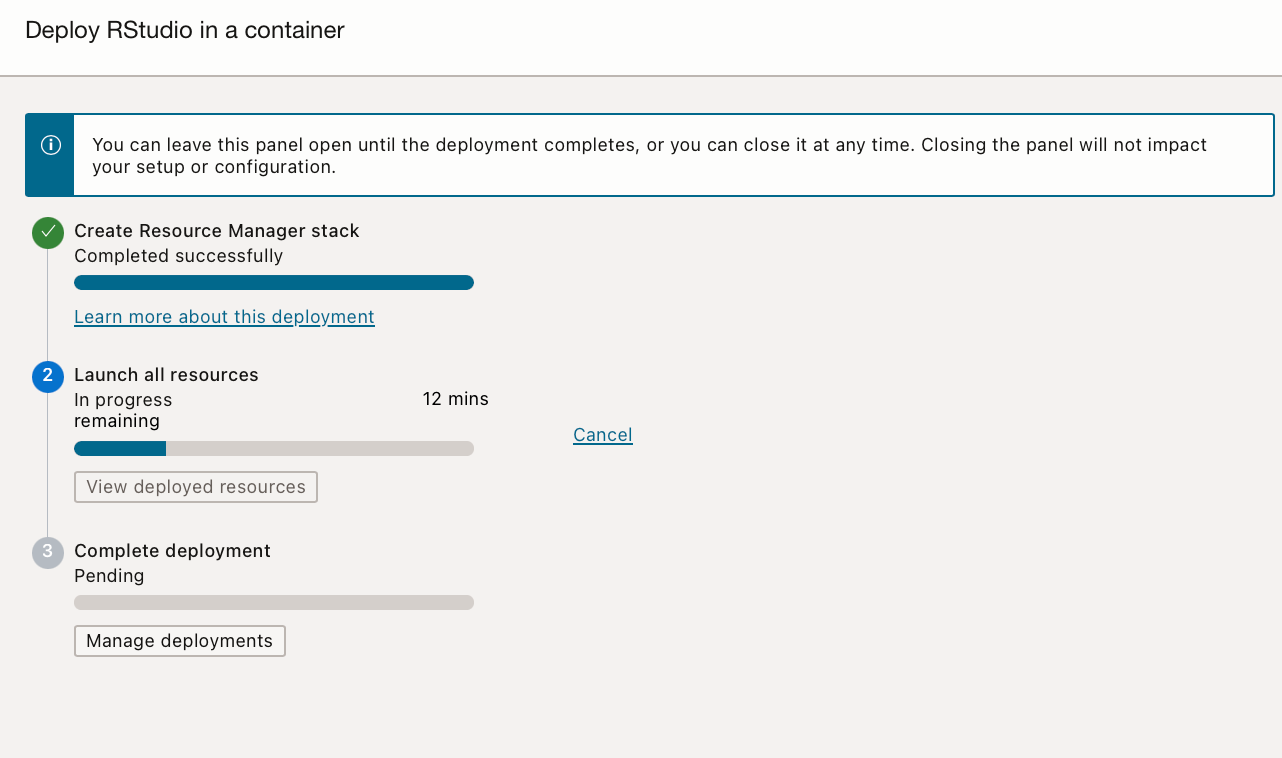
When you click “Start deployment” a resource manager stack will be created and the compute instance and docker image will be created & started, this will take a few minutes.
When it has completed click the “Open” button to go directly to the correct URL for RStudio Server.
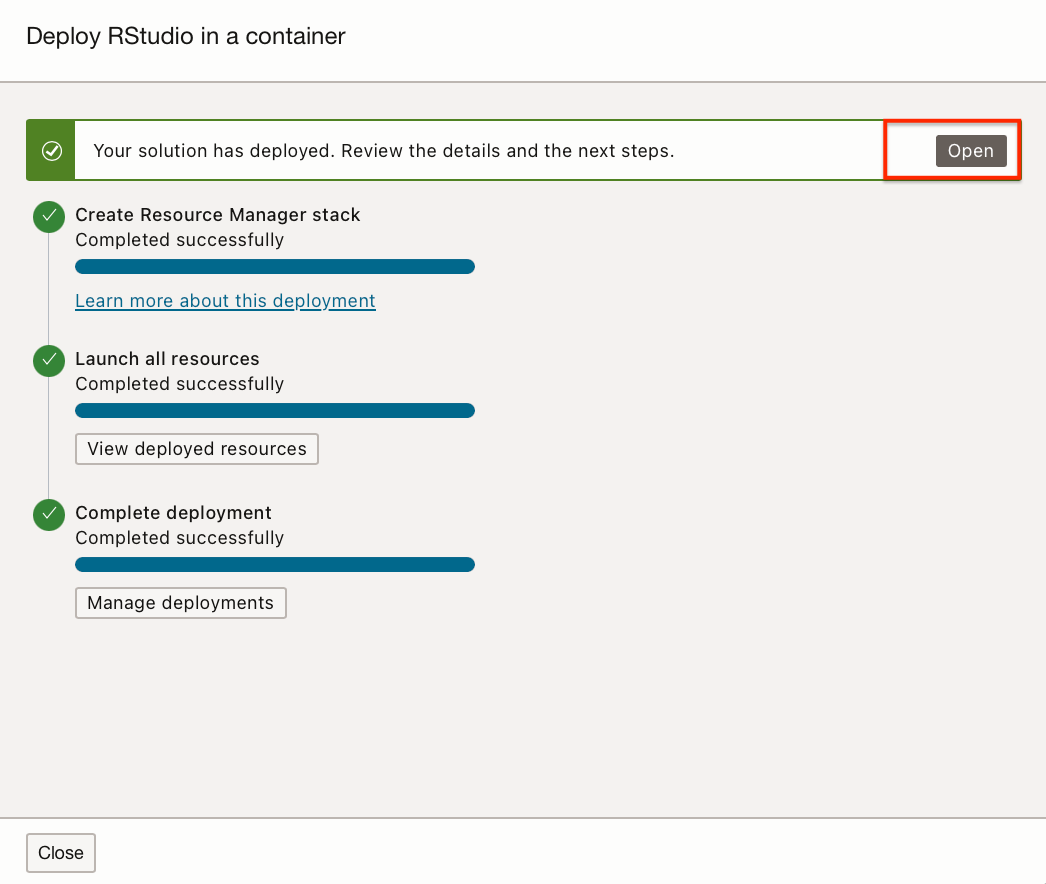
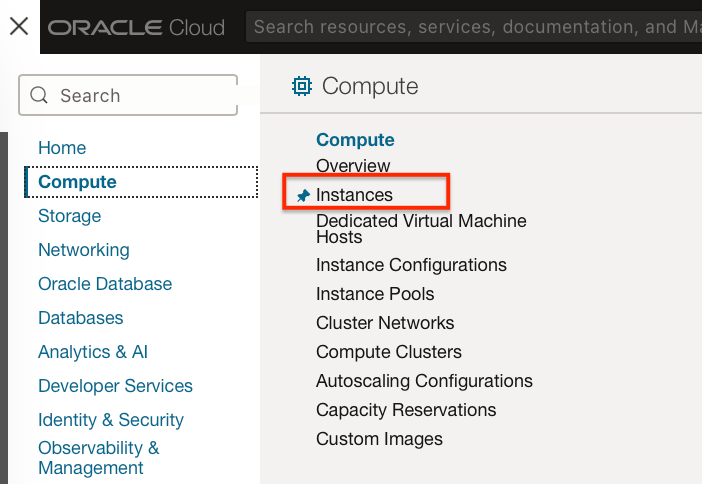
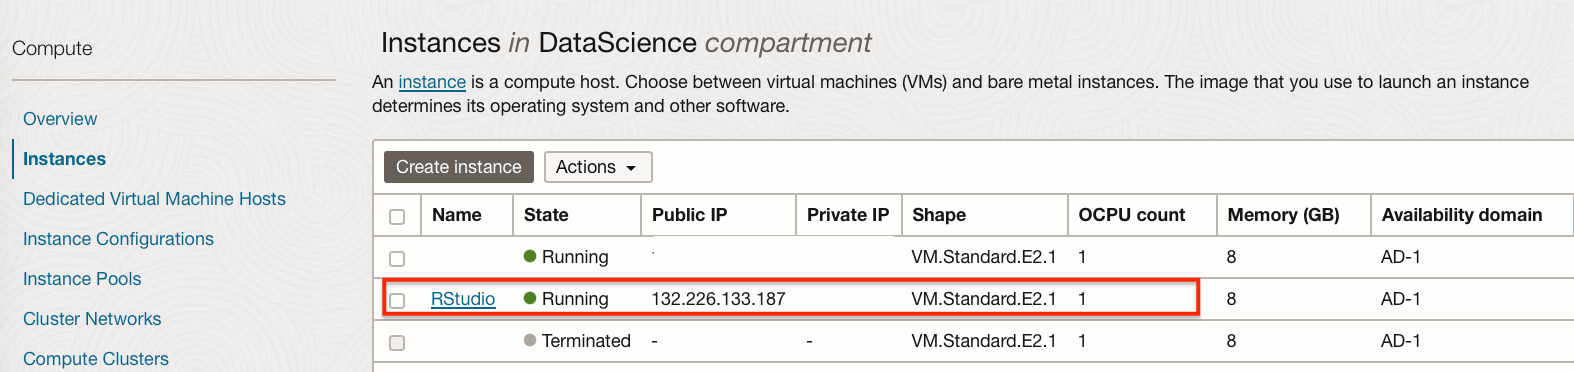
If you clicked close and need to know the URL, navigate to your compute instances, under Compute → Instances, and go to the compartment you chose in the setup steps above.
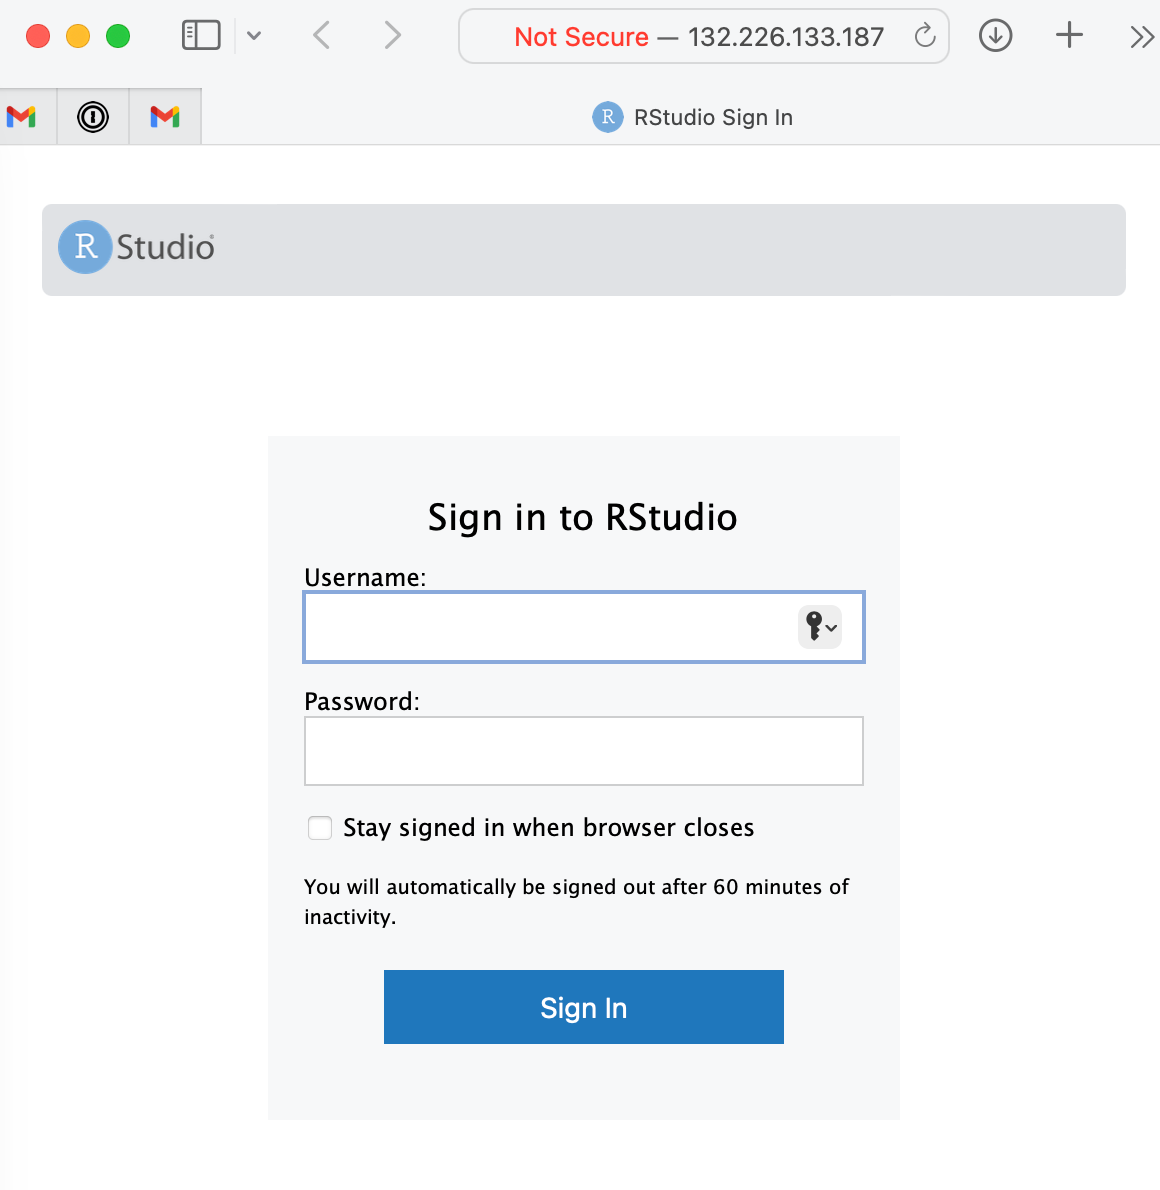
You should then be able to see the IP of your RStudio instance, and if you prefix this IP with http:// in your browser it will take you to the RStudio Server login page as above.
When you log into RStudio Server you will see the IDE, it has several panels dividing the screen: the console pane, the files pane, and the environment pane. You will also get a panel with Scripts in once you open or create one.
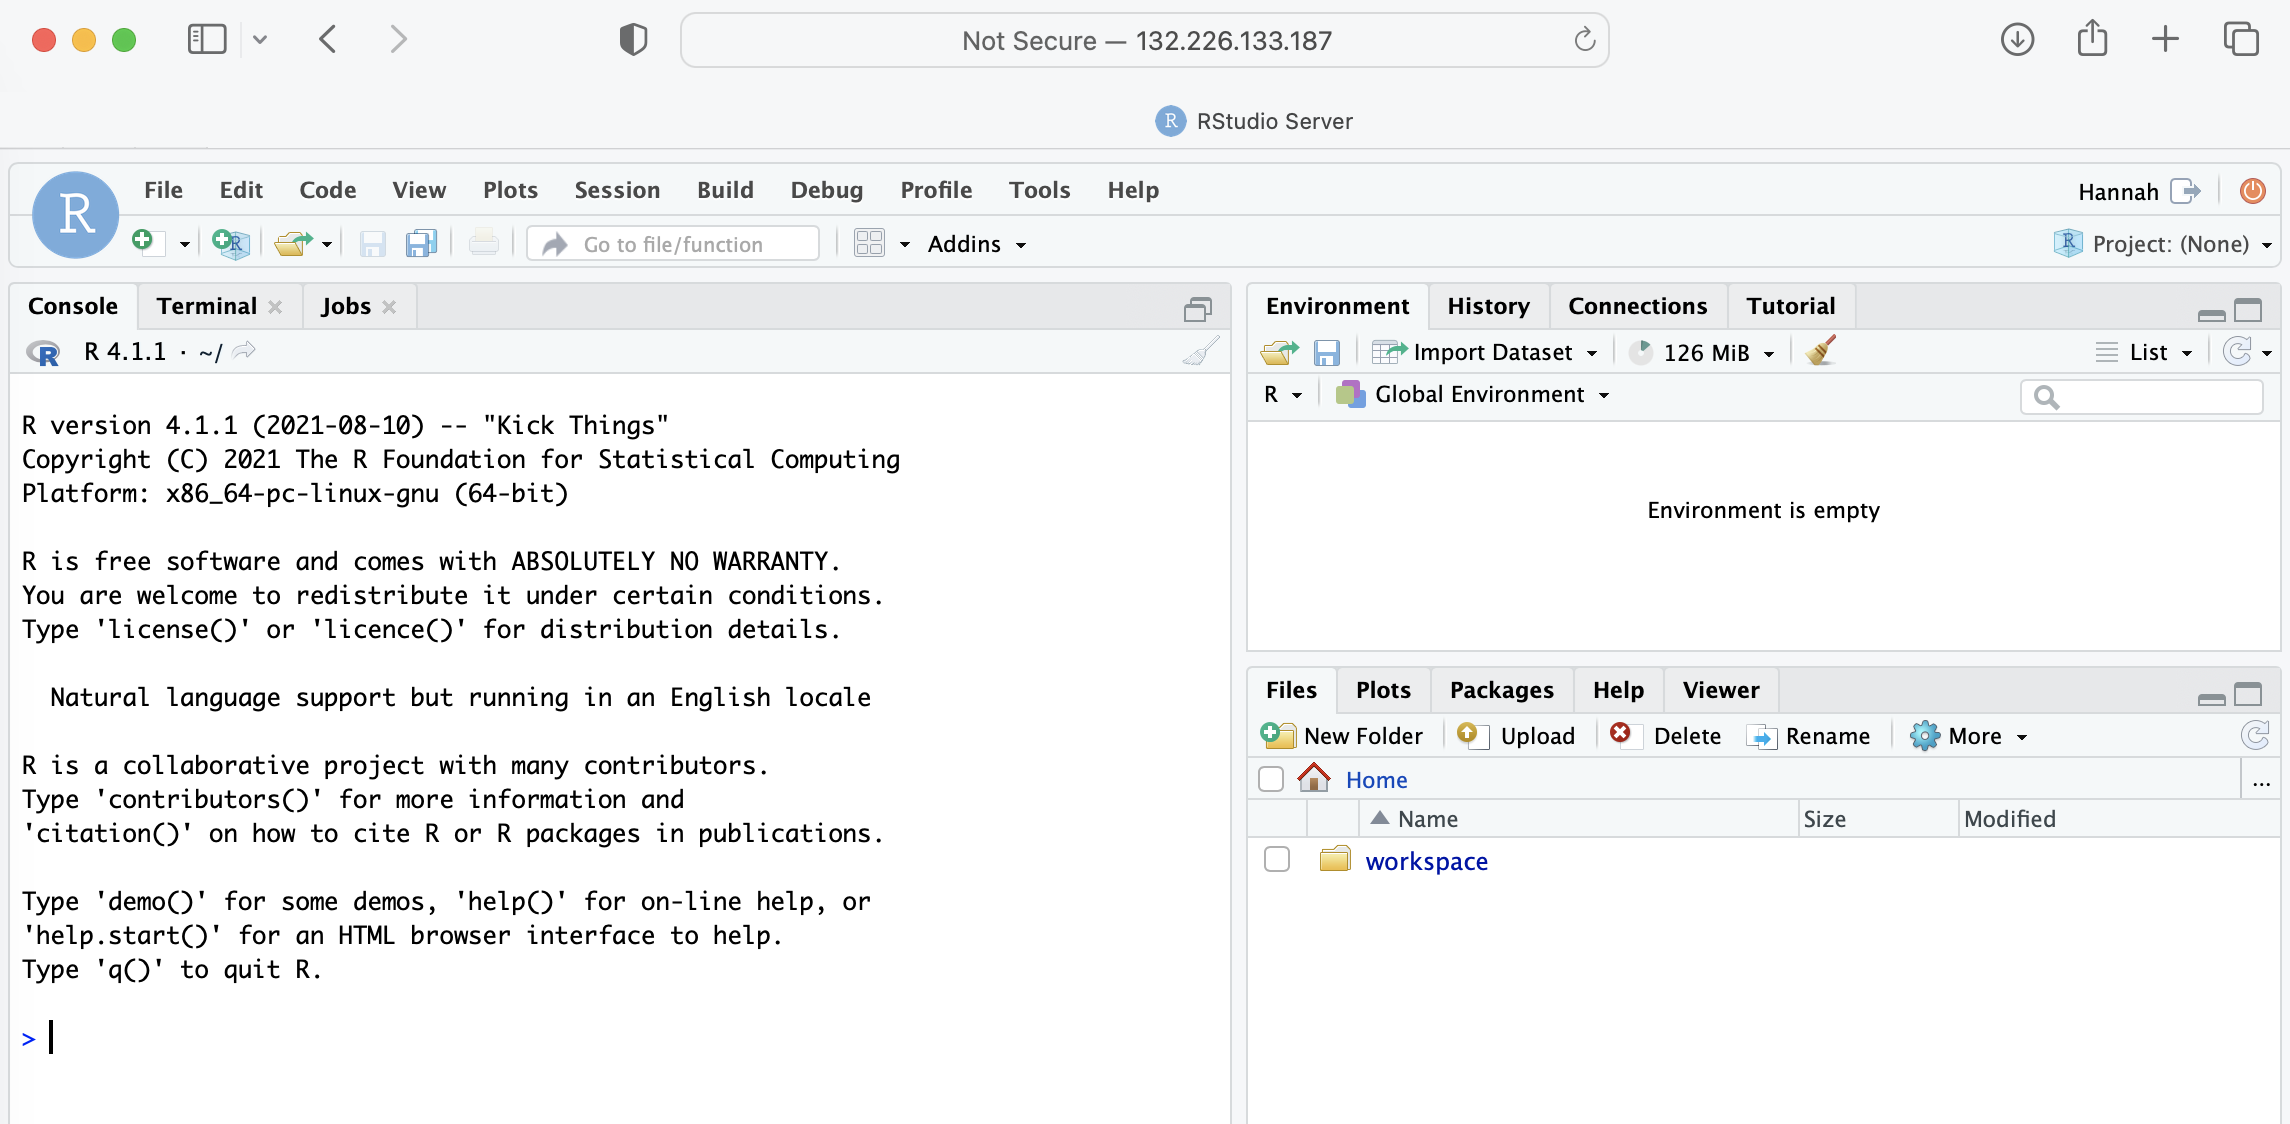
Briefly, the console pane lets you execute commands, the files pane lets you look at files, or visualise plots you create, as well as offer help with functions, and the environment pane lists the R objects you have in your current R session.
We can tell from this that the docker container on the compute instance that has been created is running R version 4.1.1 released on 2021/08/10. The latest release is R 4.3.3 released on 2024/02/29. (I will create a future blog post detailing how to edit the terraform template scripts to use a more up-to-date R docker image).
If you need to ssh onto this instance for any reason, for example to update or change the docker image manually you can find the created ssh keys under Resource Manager → Stacks → Your stack name (will start with rstudio_ ) → Stack Resources. This can be found in more detail at the end of this post.
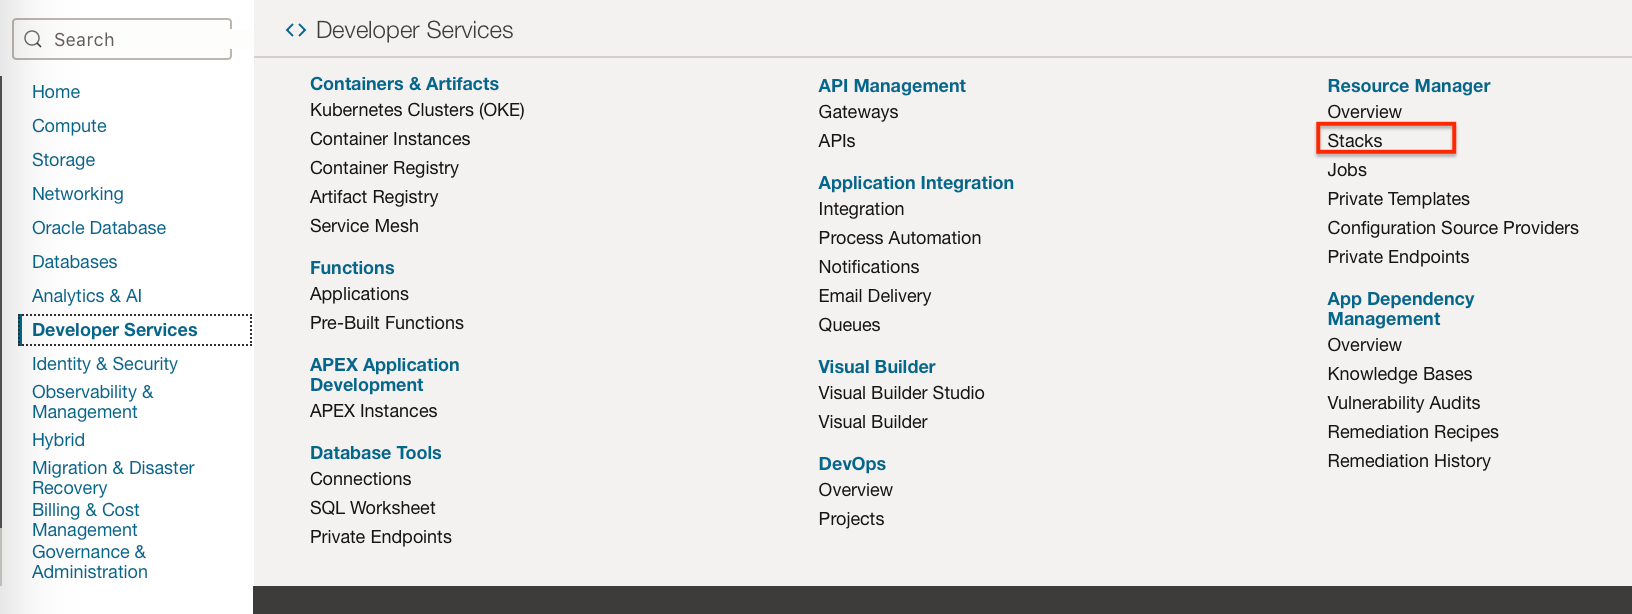
Create from Resource Manager
Deploying RStudio Server on an OCI Container can also be achieved using an Oracle Terraform template via the Resource Manager.
Note: This creates exactly the same resources as the above method.
Navigate to Developer Services → Resource Manager → Stacks, change the compartment to correspond to where you wish the instance created to be located.
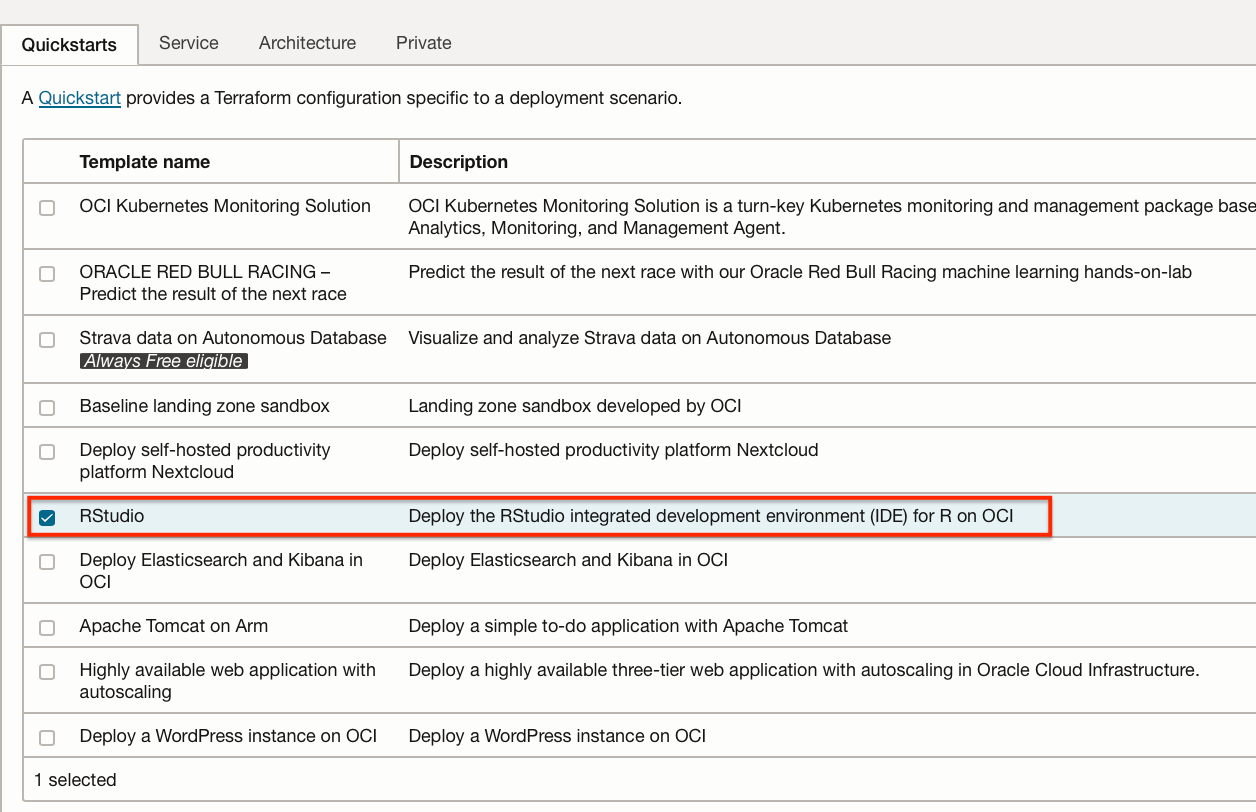
Click “Create stack”

Select the RStudio template under Quickstarts.
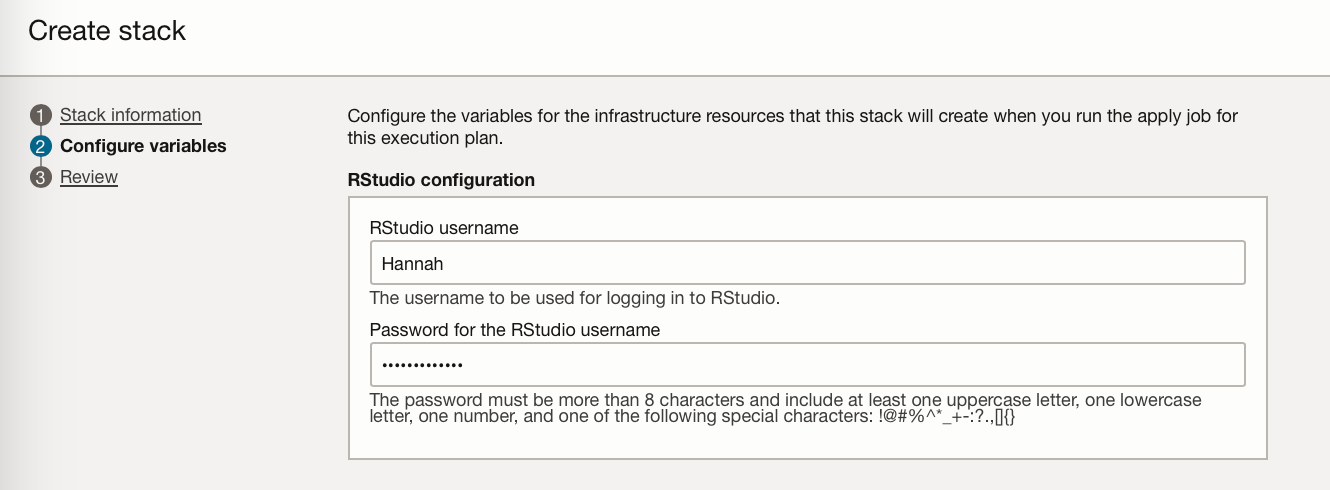
Make sure the compartment is correct and then click “Next” where you can specify the RStudio username and password.
In the review stage, make sure you check “Run apply” if you would like the resources required to be provisioned immediately. Then click “Create”.
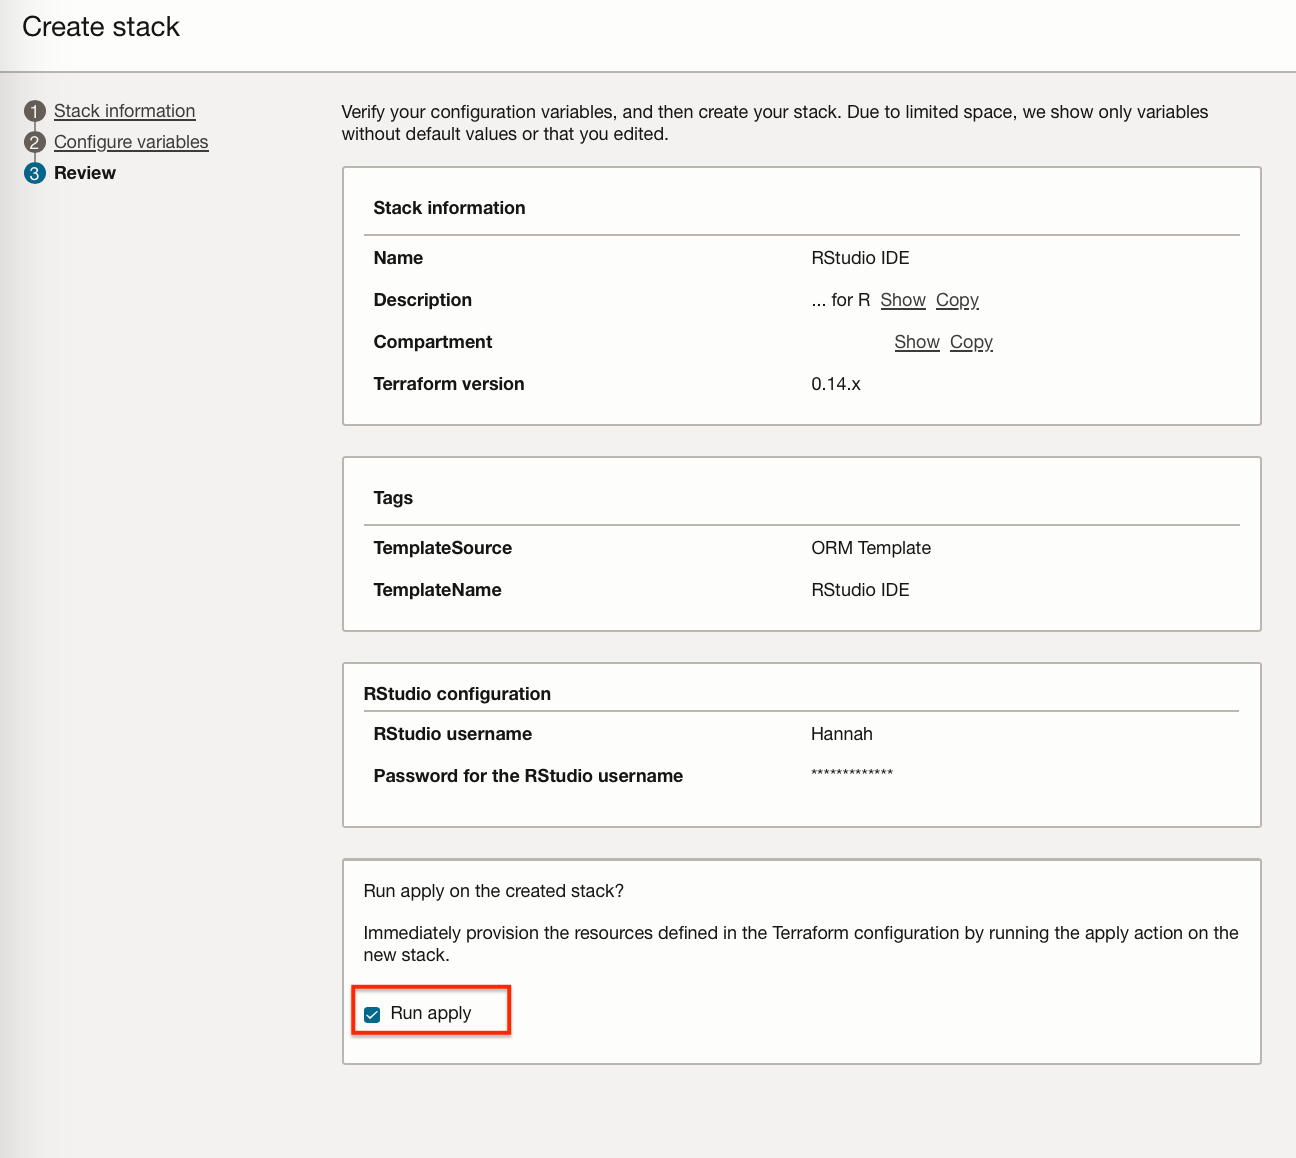
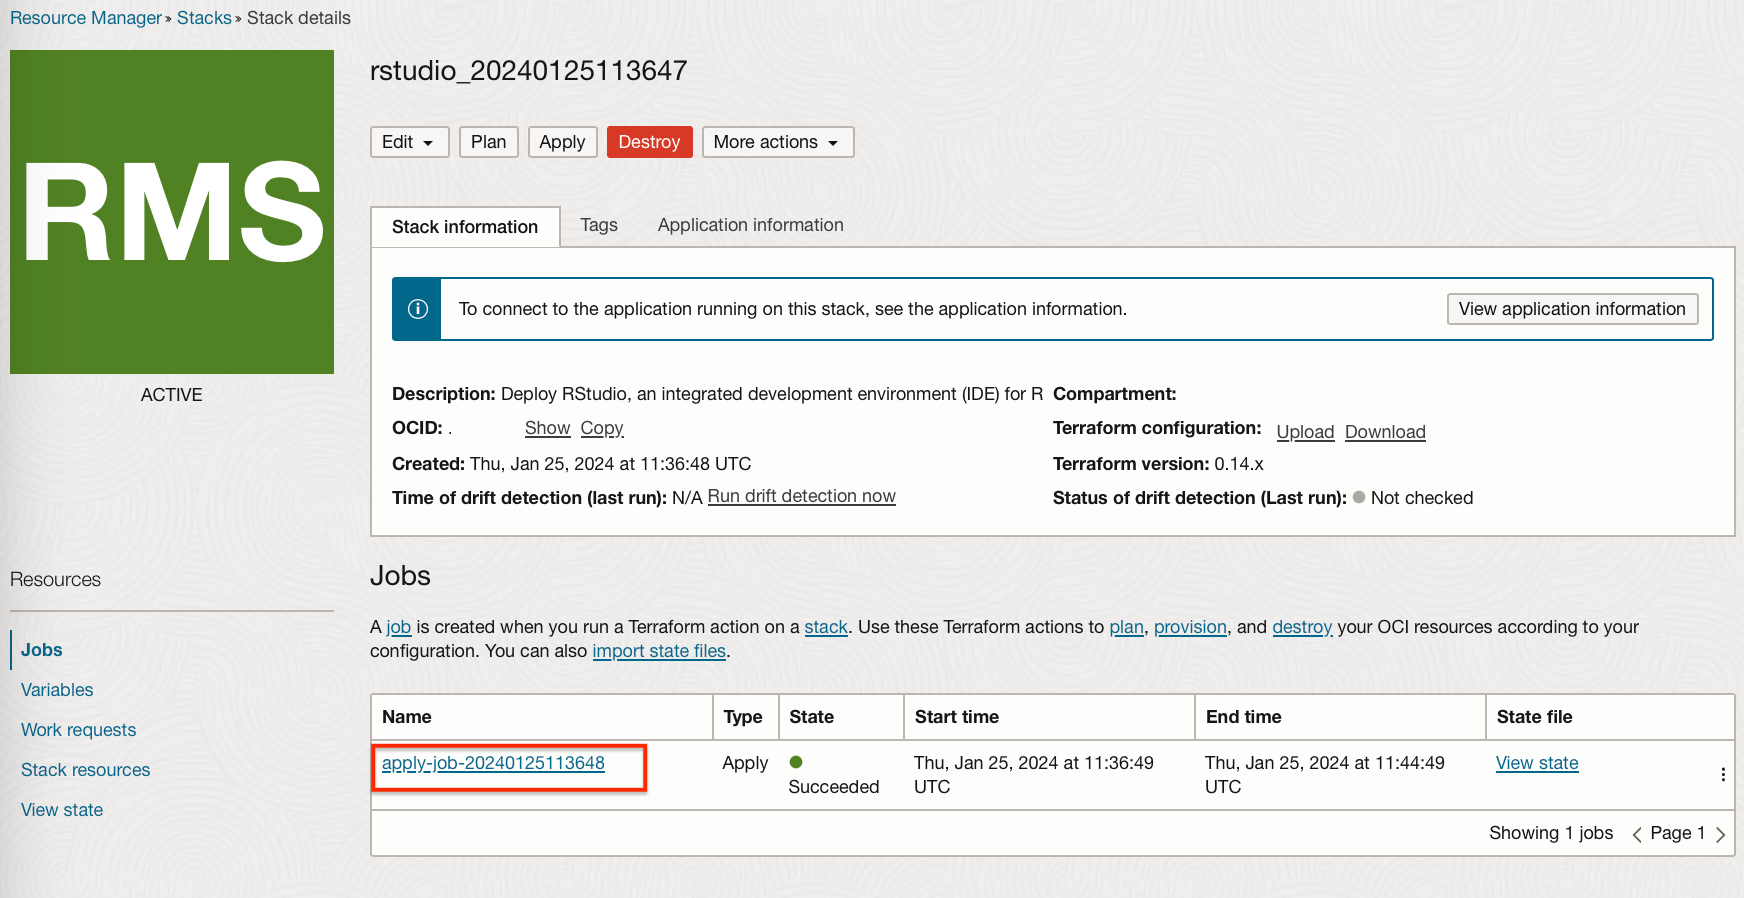
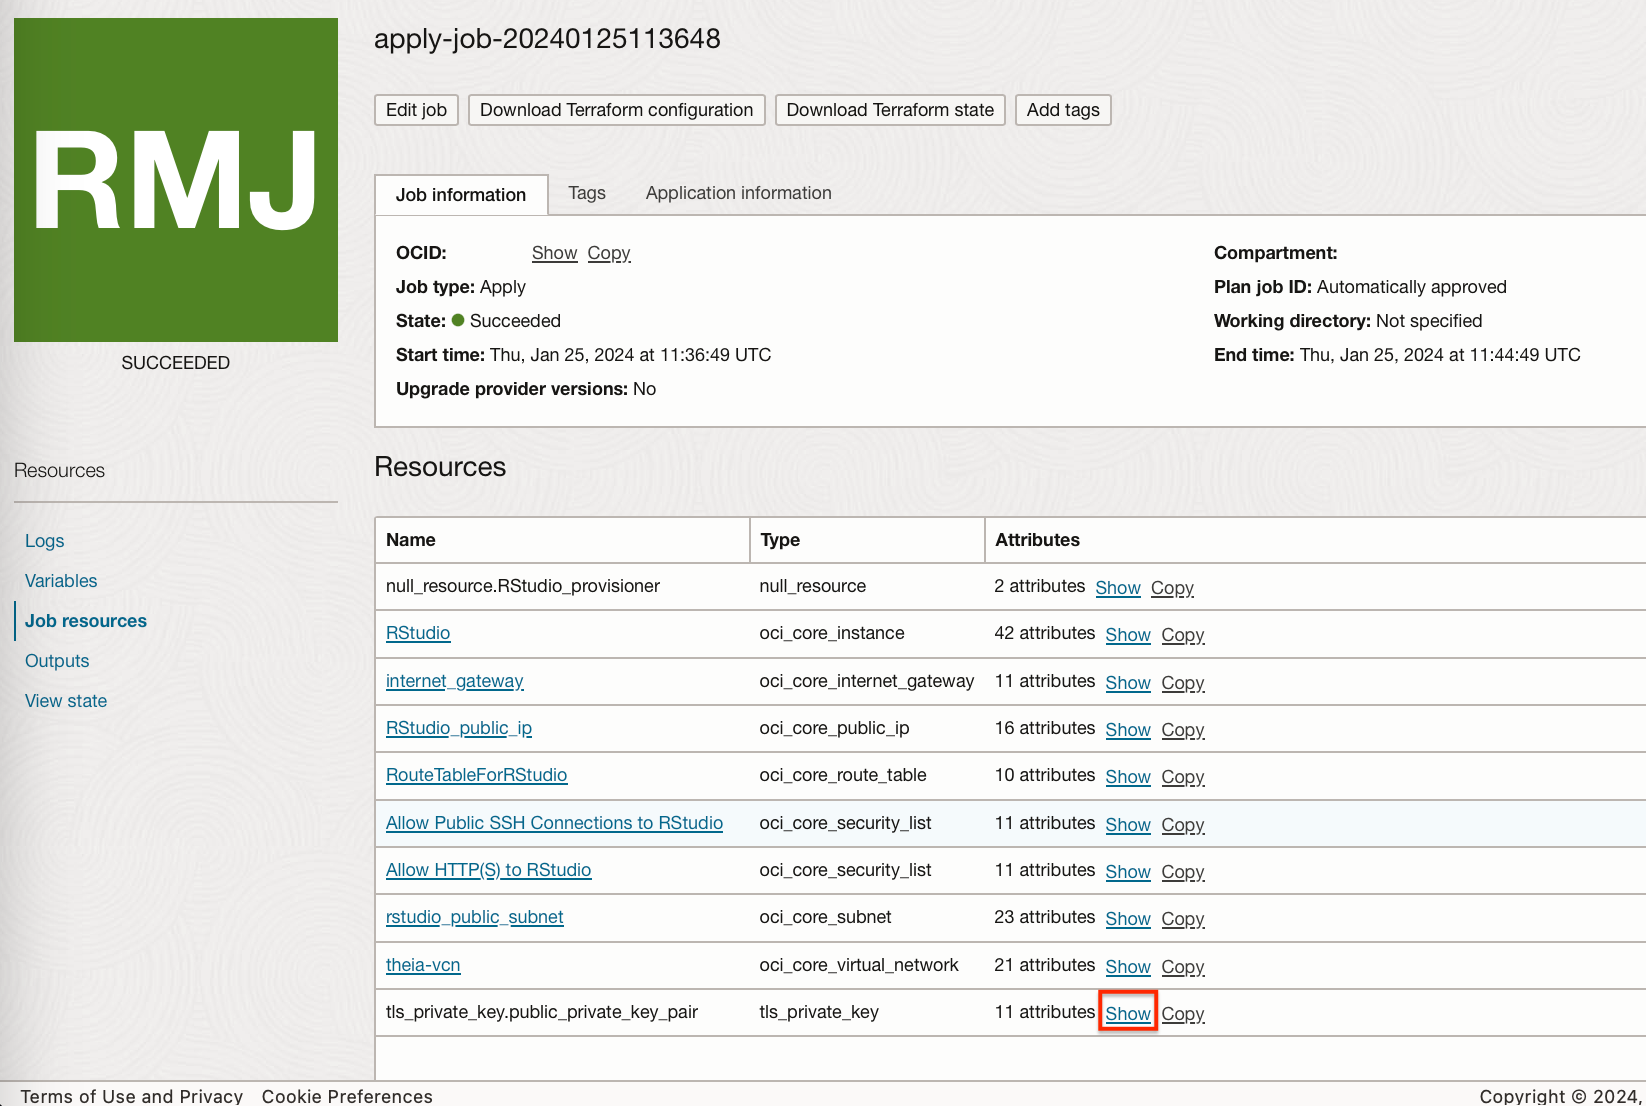
A job is then started to create your stack.

When this is completed the URL to log into RStudio Server can be seen at the bottom of the logs.
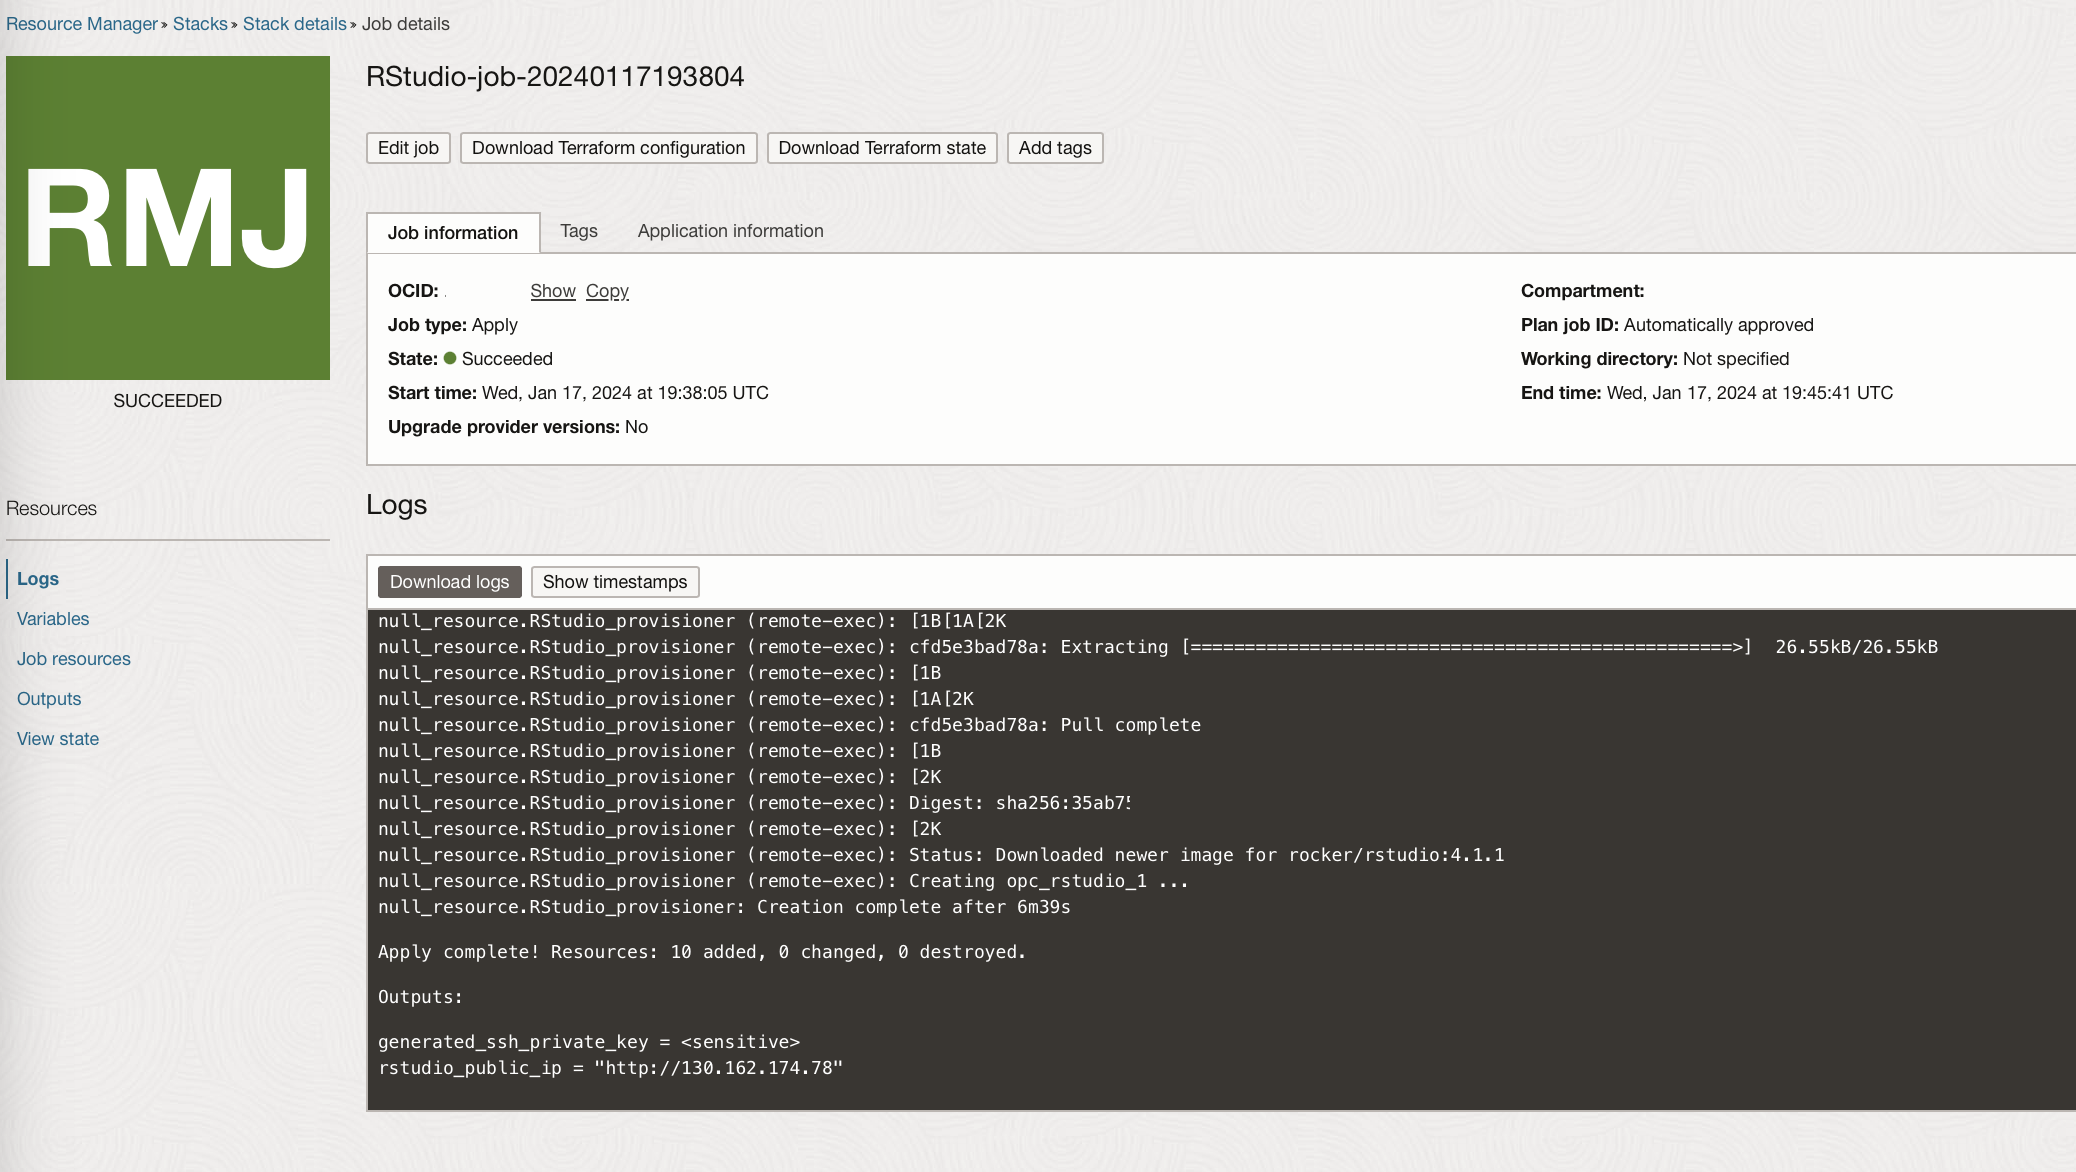
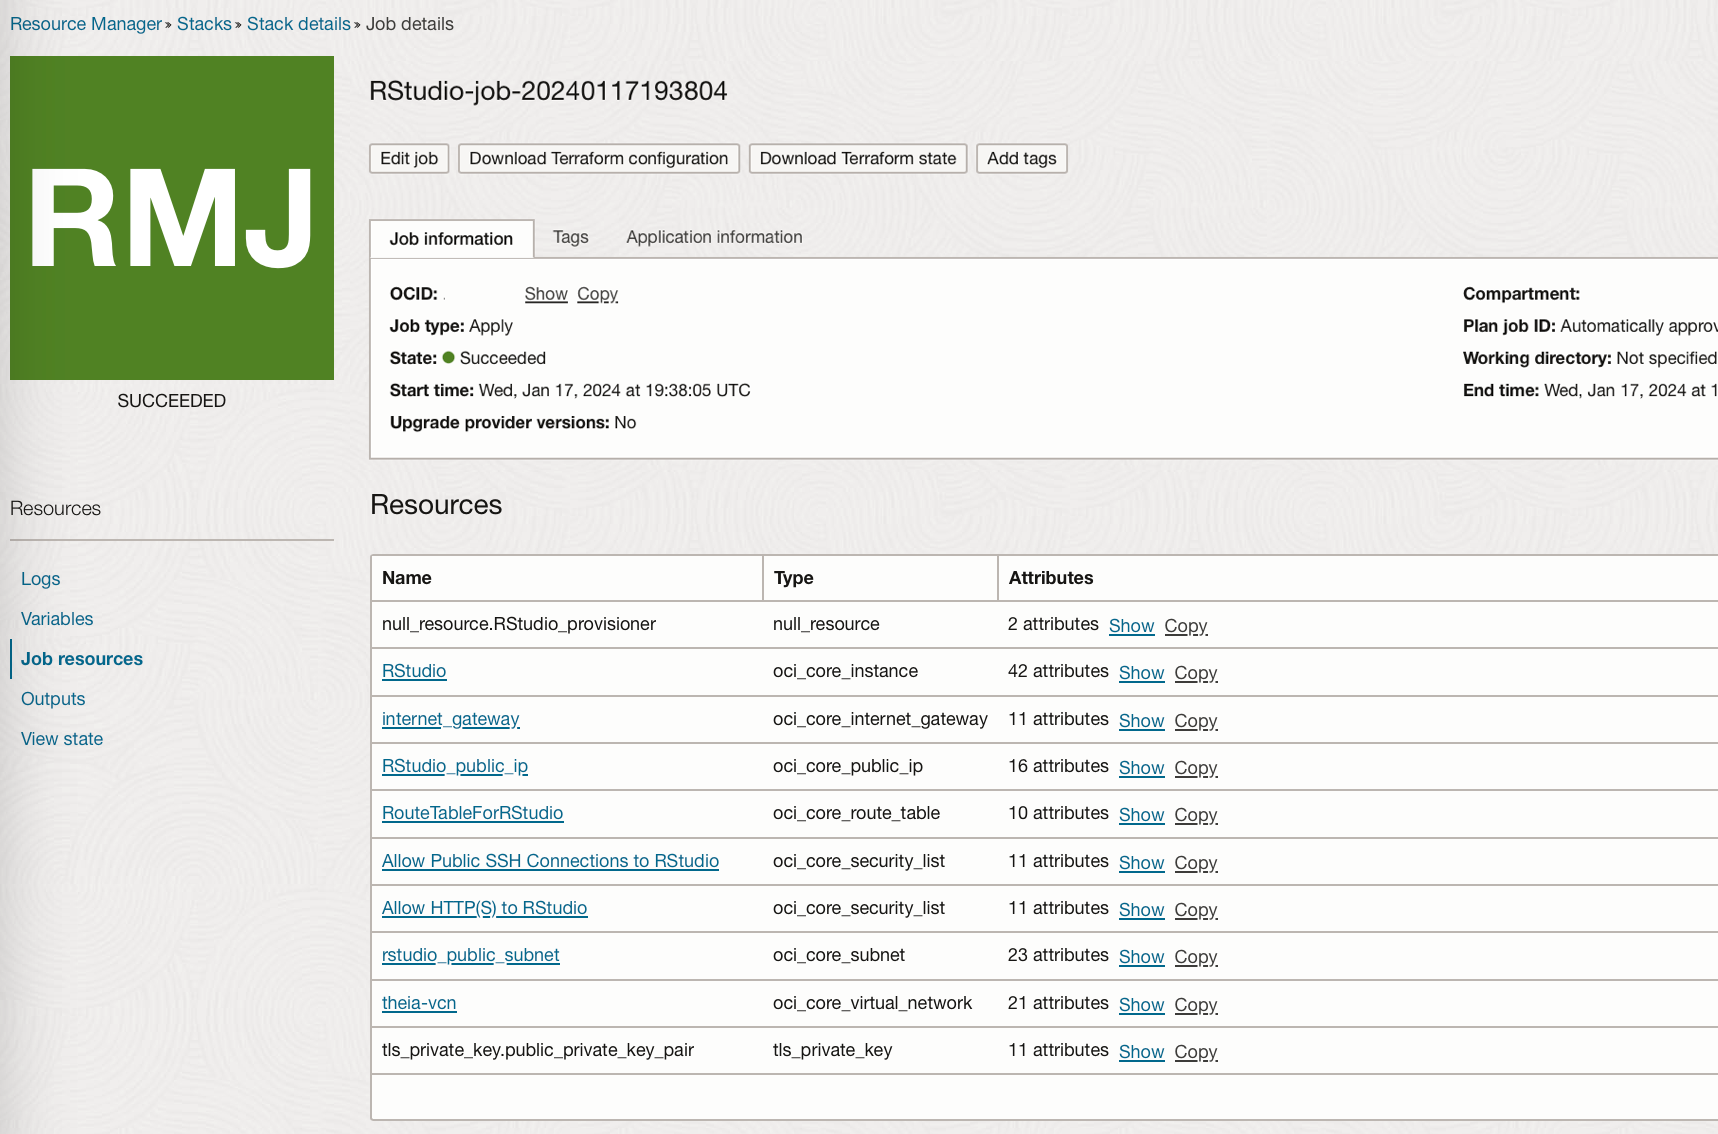
A list of every resource created can be found under the “Job Resources” tab under the Job details, and the ip address can be found under the “Outputs” tab.
Connecting to the underlying instance
To SSH onto the underlying compute instance you will need the private key, this was created automatically when the infrastructure was provisioned in the steps above.
Using either method above creates an instance via a job, so all of the instructions below will be the same (for either method). Details for the job can be found under Developer Services → Resource Manager → Stacks.

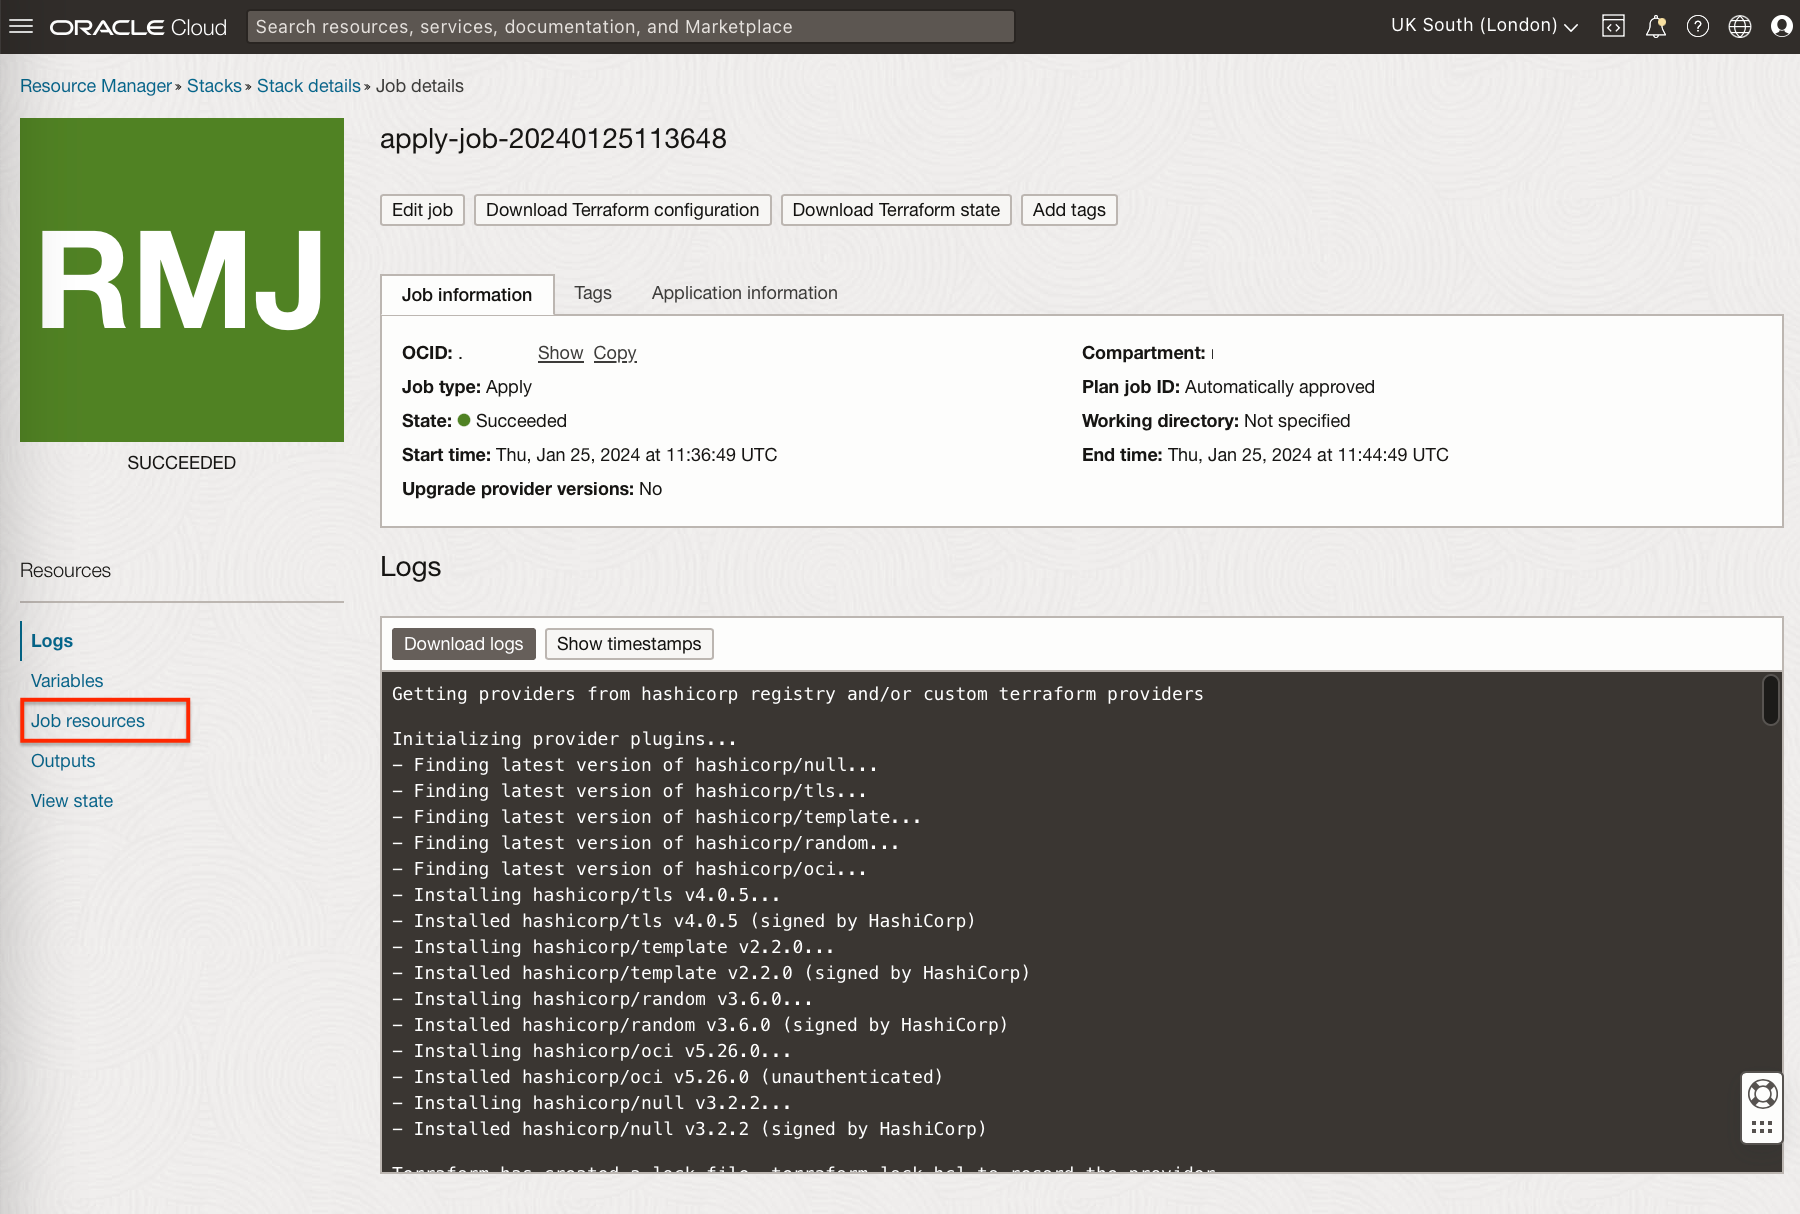
If you used the Quickstart method then the stack name will start with rstudio_, if you created the stack yourself via the second method the default name will start with RStudio-. Under the stack you will find at least one “Job” and under the job there will be a “Job Resources” tab.
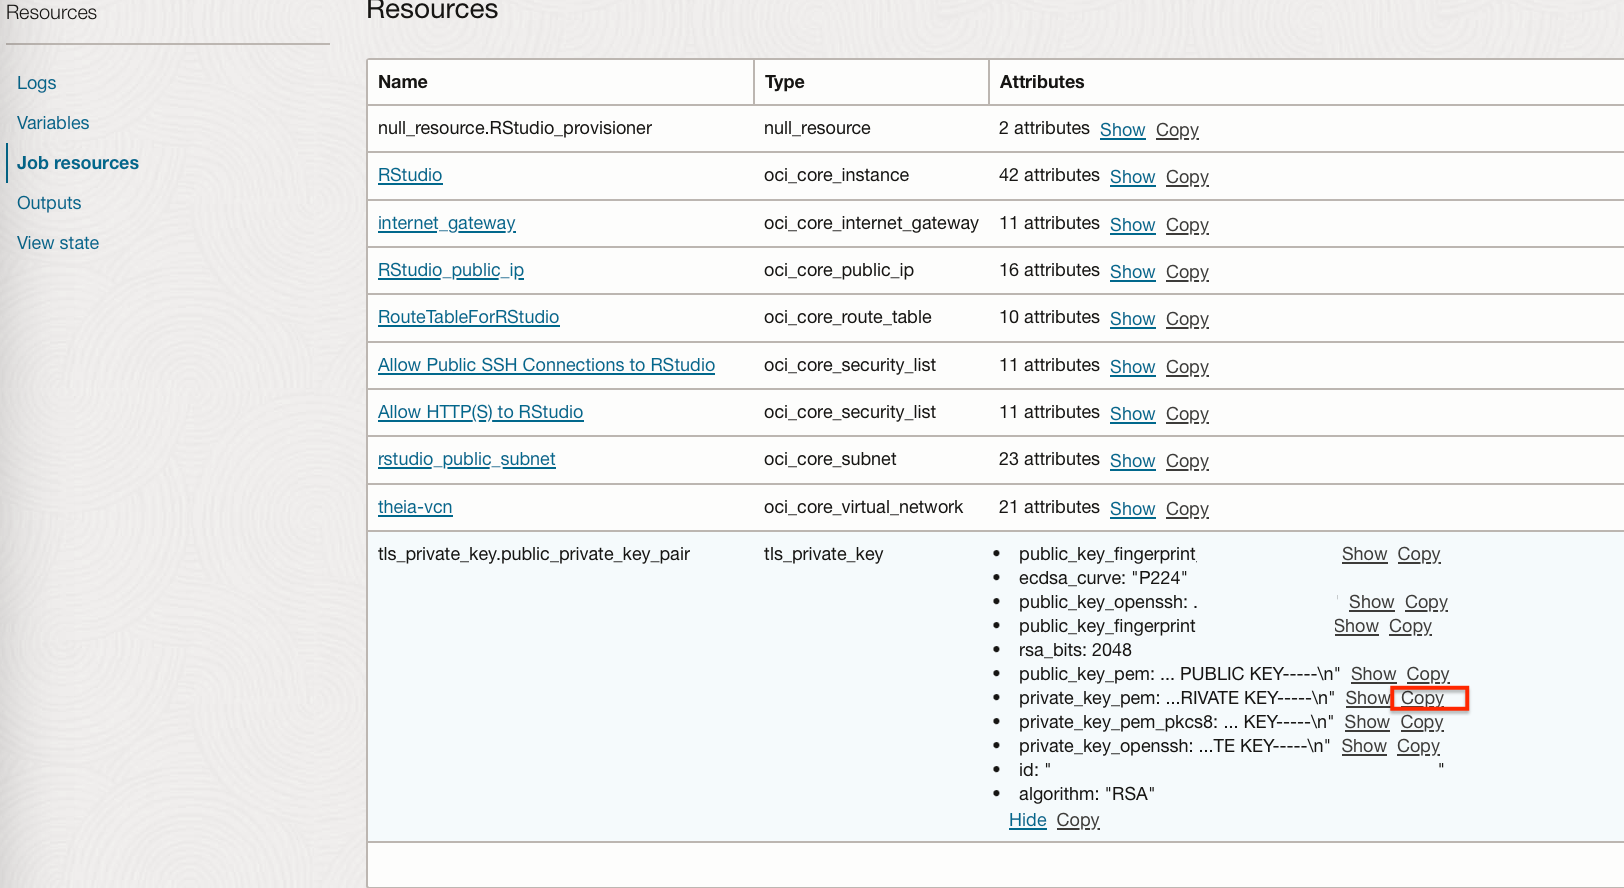
We can list all the job resources including the created entities by looking under the Job resources tab.
Within here we can find the public and private keys created when the instance is provisioned.
Copying the private key into a file and replacing any \n’s with new lines allows this to be used to ssh onto the instance.

From here you could make changes on the instance or Docker Container. For example: change the Docker Image to one running a more up-to-date version of R, or create additional R Studio Server users on the container.
In my next blog post, I will show you how to change the terraform template directly to create the stack with a new docker image, this would be particularly useful if you are spinning up a lot of these environments.