Oracle Analytics Server Step by Step Installation
Step by Step guide of Oracle Analytics Server 5.5 installation

Oracle Analytics Server is available! There is already a blog post talking about how to have a docker version up and running in minutes. My one explains the GUI process, providing hints on how to automate the whole installation using response files. The steps are very similar to an OBIEE12c installation, let's check the details.
Supported OS and Database
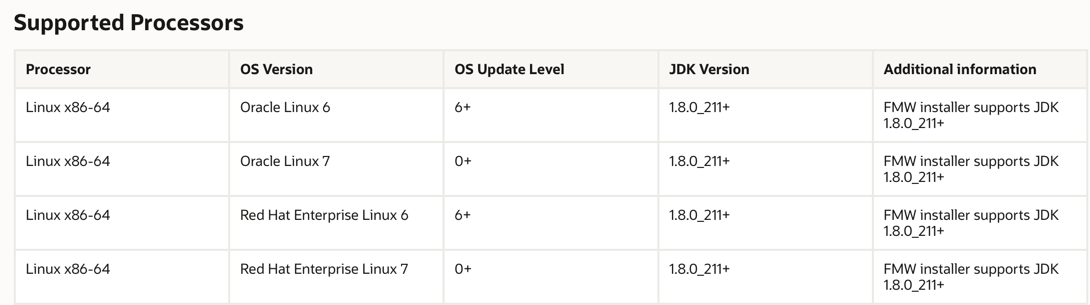
Before installing is always a good practice to check which are the supported OS and Databases (for the RCU schemas). A news for Oracle Analytics Server is that the certification matrix migrated from an Excel sheet to a website making it easier to find informations.
For this initial OAS release, the supported os is Linux, with Oracle Linux 6 being the minimal release. Windows support will come later in the year
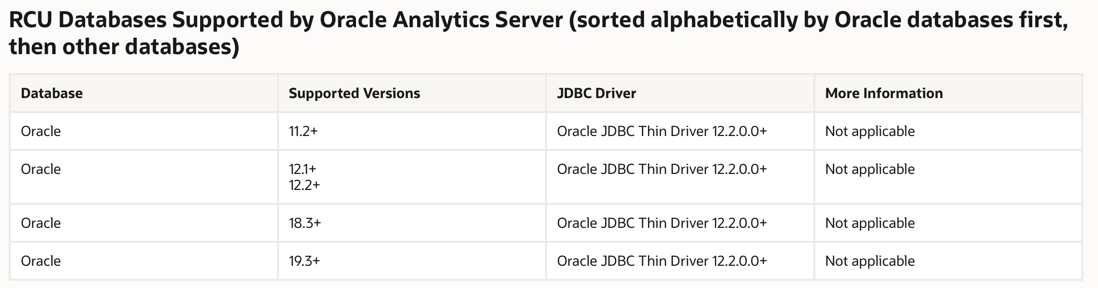
Also worth mentioning that as per documentation, the OAS RCU is supported only in Oracle Databases, starting from 11.2, support for other databases will come in the future.
Once cleared the pre-reqs, let's see now how we can install OAS!
Files Download
The first step is to download files from e-delivery

You can avoid downloading the Oracle VM Virtual Appliance since it's not needed and will save you from downloading an extra 2.8GB

One of the prerequisites is the java JDK 1.8 8u211 or newer, which can be downloaded from the oracle website.
Edit: You can find all the files now in a unique place.
Before starting the installation, let's have a look at the recommended directory structure: as for OBIEE12c Oracle documentation suggests to keep the ORACLE_HOME and DOMAIN_HOME separate. This is not just a good practice, by keeping binaries and configurations separate we avoid having problems when new OAS versions will be released since they'll be installed in new ORACLE_HOMEs while the configurations and applications data will always reside in the DOMAIN_HOME.

Be aware that the OAS default configuration step will suggest to create the DOMAIN_HOME under the ORACLE_HOME, you'll need to set the DOMAIN_HOME externally to be compliant to what the documentation suggests!
Installation
The first step is to unzip the files V988574-01.zip and V983368-01.zip then we can start the Fusion Middleware installation by
java -jar fmw_12.2.1.4.0_infrastructure.jar
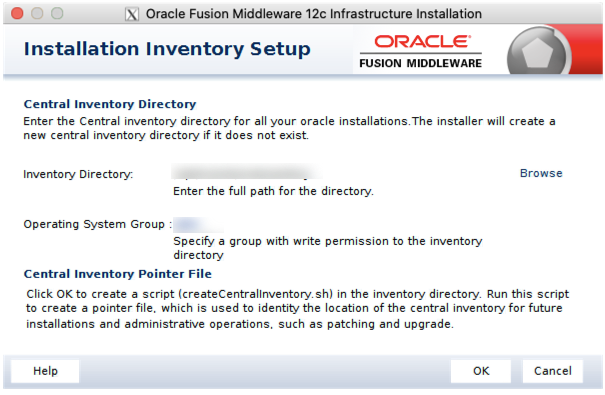
This will open up the installation GUI asking to setup the Oracle Inventory Directory and the OS Group, if not already configured in the same server
The next steps require to choose the ORACLE_HOME as per diagram before we selected the /opt/oracle/product/oas55 which gives also a hint on the OAS version we're installing
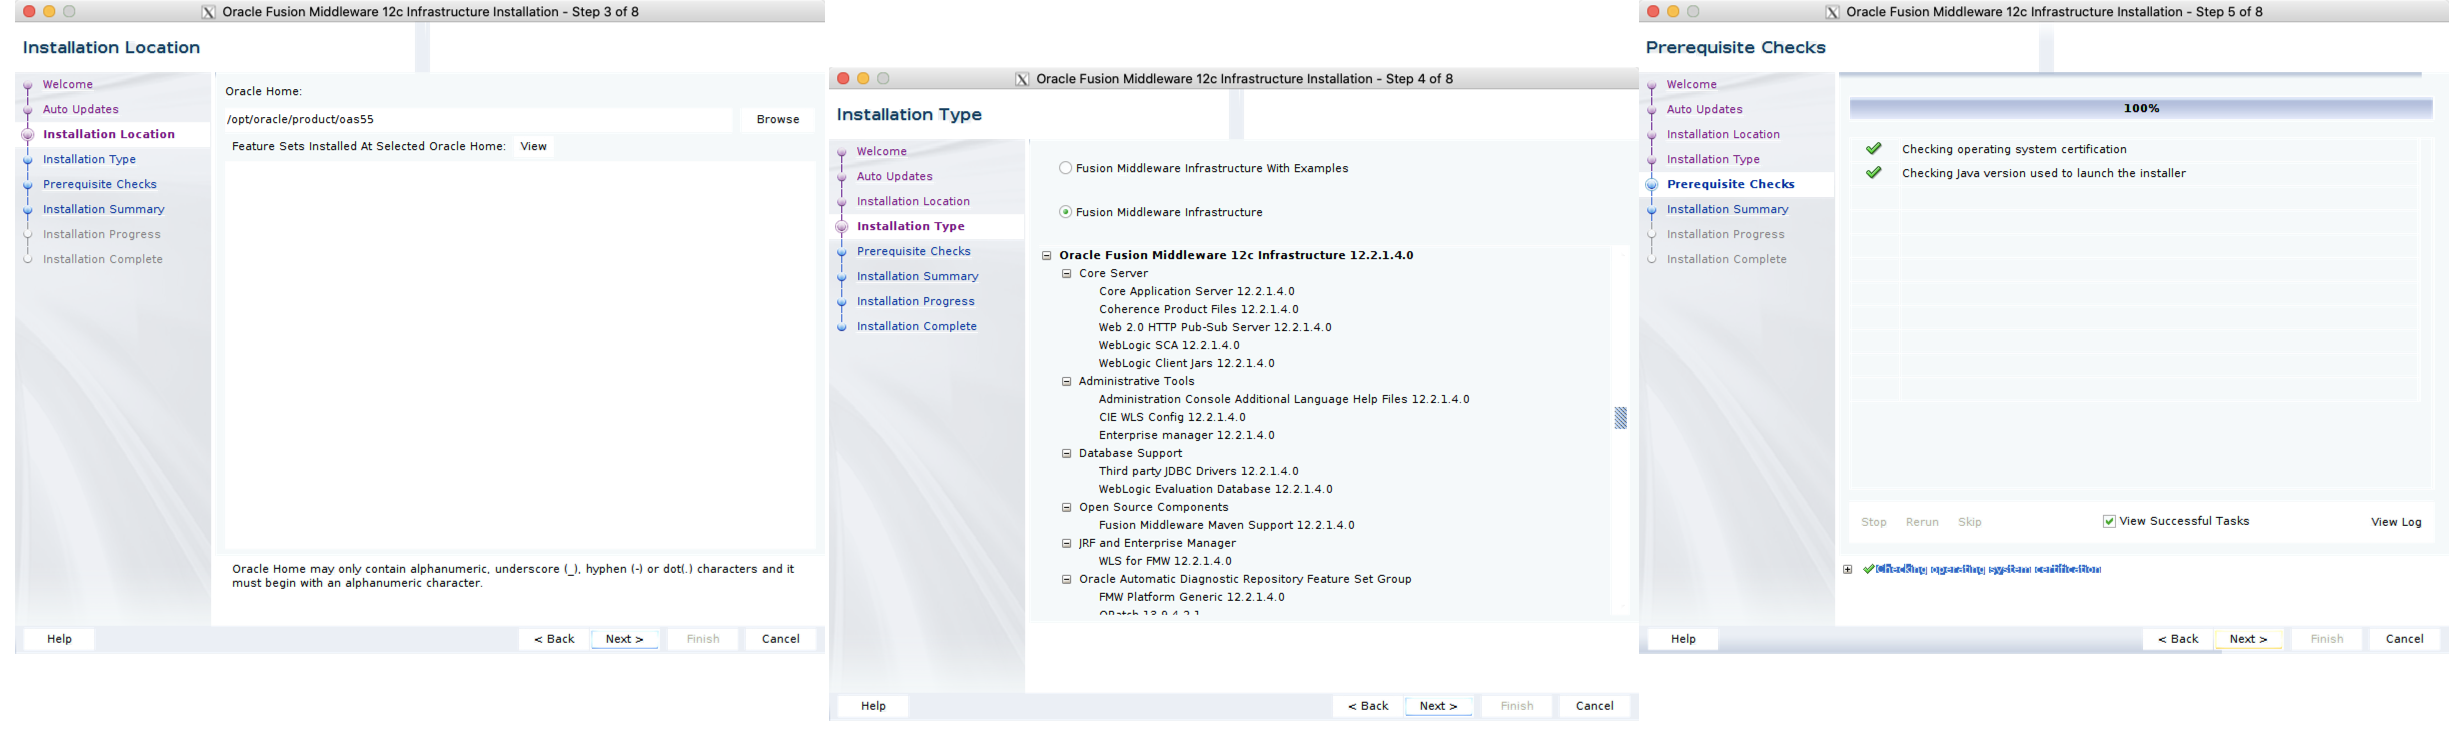
The rest of the FMW installation is, selecting the installation type, verifying the prerequisites and checking the installation summary. An important step, if you want to reproduce the same installation via script in other environments is to save the response file. The file (in the following command named fmw.rsp) contains all the details of the setup, and, by changing some parameters, it can be reused for other installations.
java -jar name fmw_12.2.1.4.0_infrastructure.jar -silent -responseFile fmw.rsp -invPtrLoc <INVENTORY_FILE_LOCATION> After installing, we need to apply the 30657796 patch which was downloaded from e-delivery. To do that, we simply need to unzip the V988922-01.zip file which will create the 30657796 folder and then
cd 30657796
export PATH=$ORACLE_HOME/Opatch:$PATH
opatch apply
If the patching is successful we'll get a message like
Patching component oracle.fmwconfig.common.wls.shared.internal, 12.2.1.4.0...
Patch 30657796 successfully applied.
Log file location: /....log

OPatch succeeded.
Next step is OAS installation, we can do it by running
java -jar Oracle_Analytics_Server_5.5.0.jarAfter skipping the auto-upgrades we just need to select the ORACLE_HOME (same one defined on top) and verify that all the prerequisites are met.
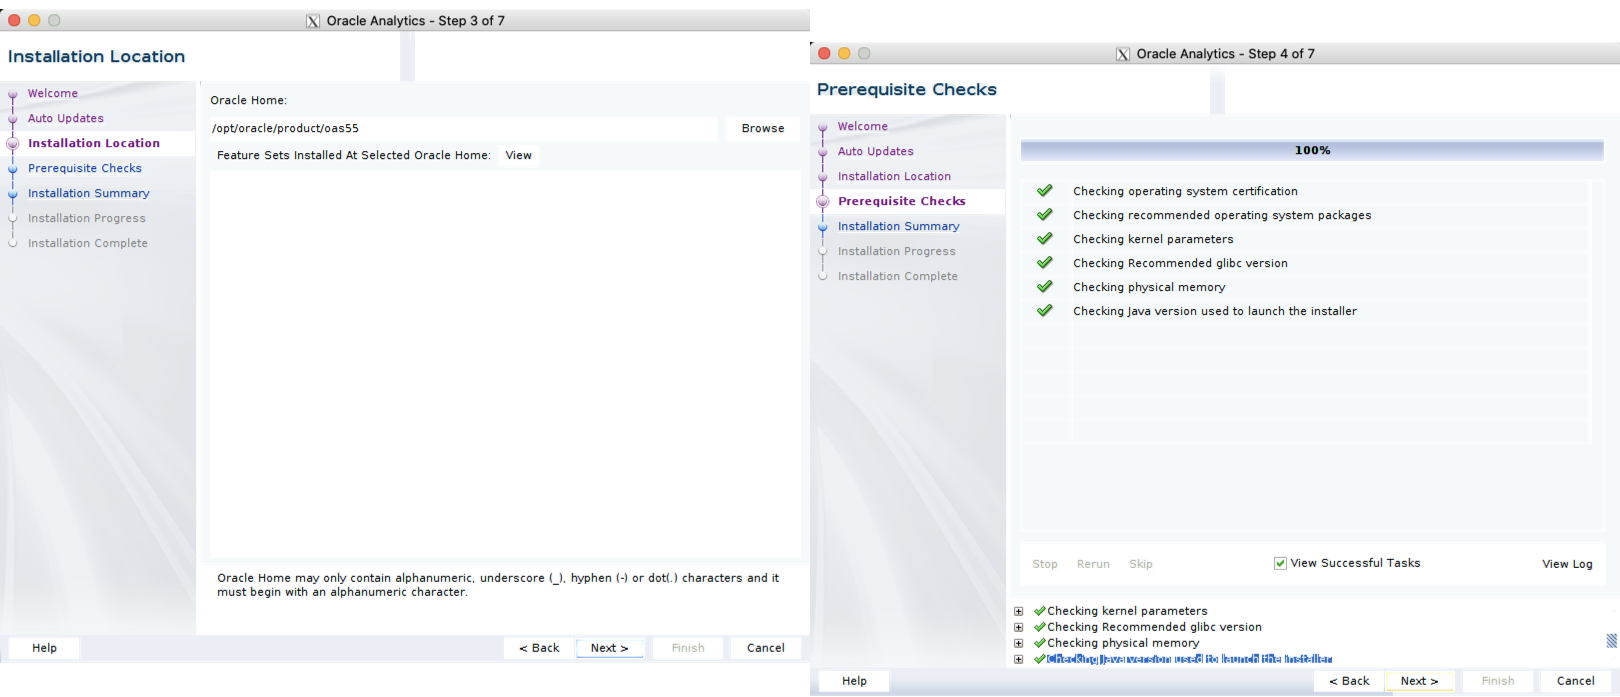
Again, you may want to save the response file for later in case you want to reproduce the silent installation in another server.
Repository
Next step is to create the database schemas required by OAS, by executing the rcu command.
cd $ORACLE_HOME/oracle_common/bin
./rcu
The GUI will ask for Database location and credentials used to create the schemas
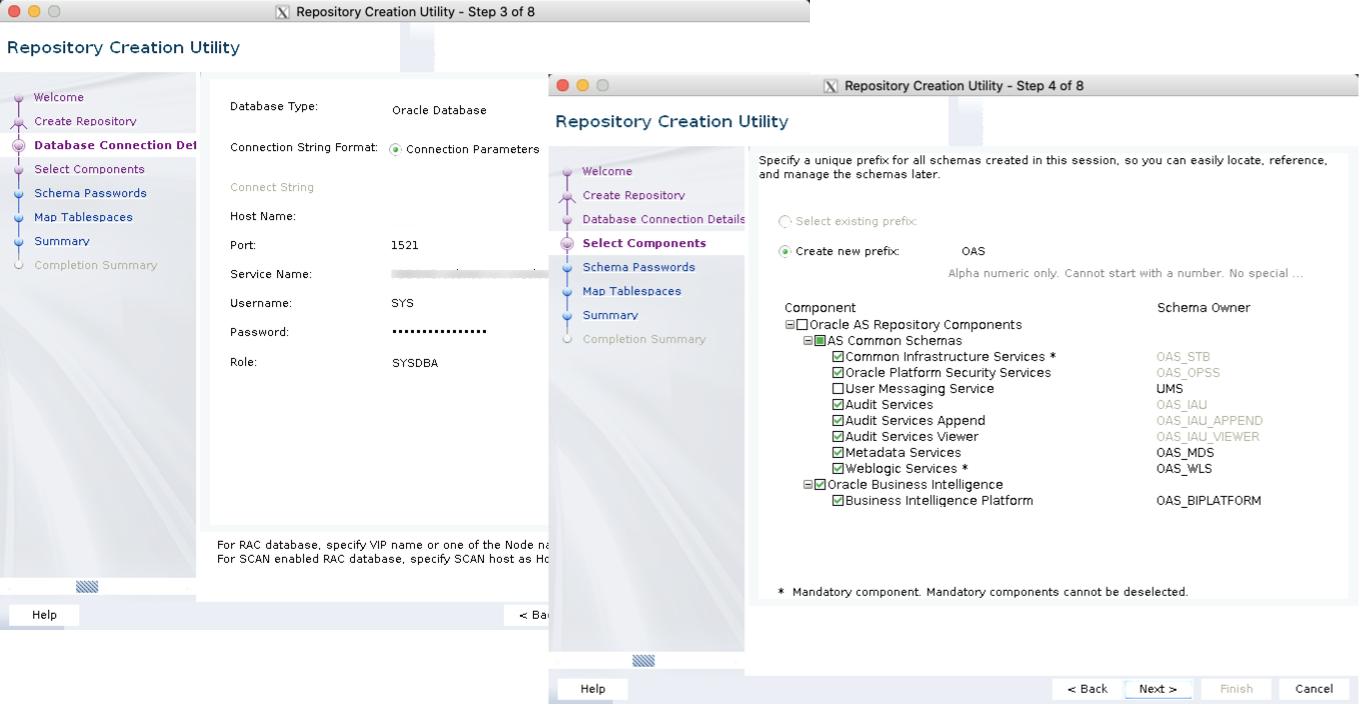
Please note that you need to select Oracle Business Intelligence checkbox in the Select Components tab. You can also specify tablespaces and password for each of the schemas created. Also in this case an option to save the response file in order to do a silent installation is available.
The RCU schemas can also be created as part of the configuration process, I detailed it as separate topic since the standalone rcu is more reliable and provides more options for tablespace and schema management.
Configuration
Next step is to configure OAS, for this we need to run
cd $ORACLE_HOME/bi/bin
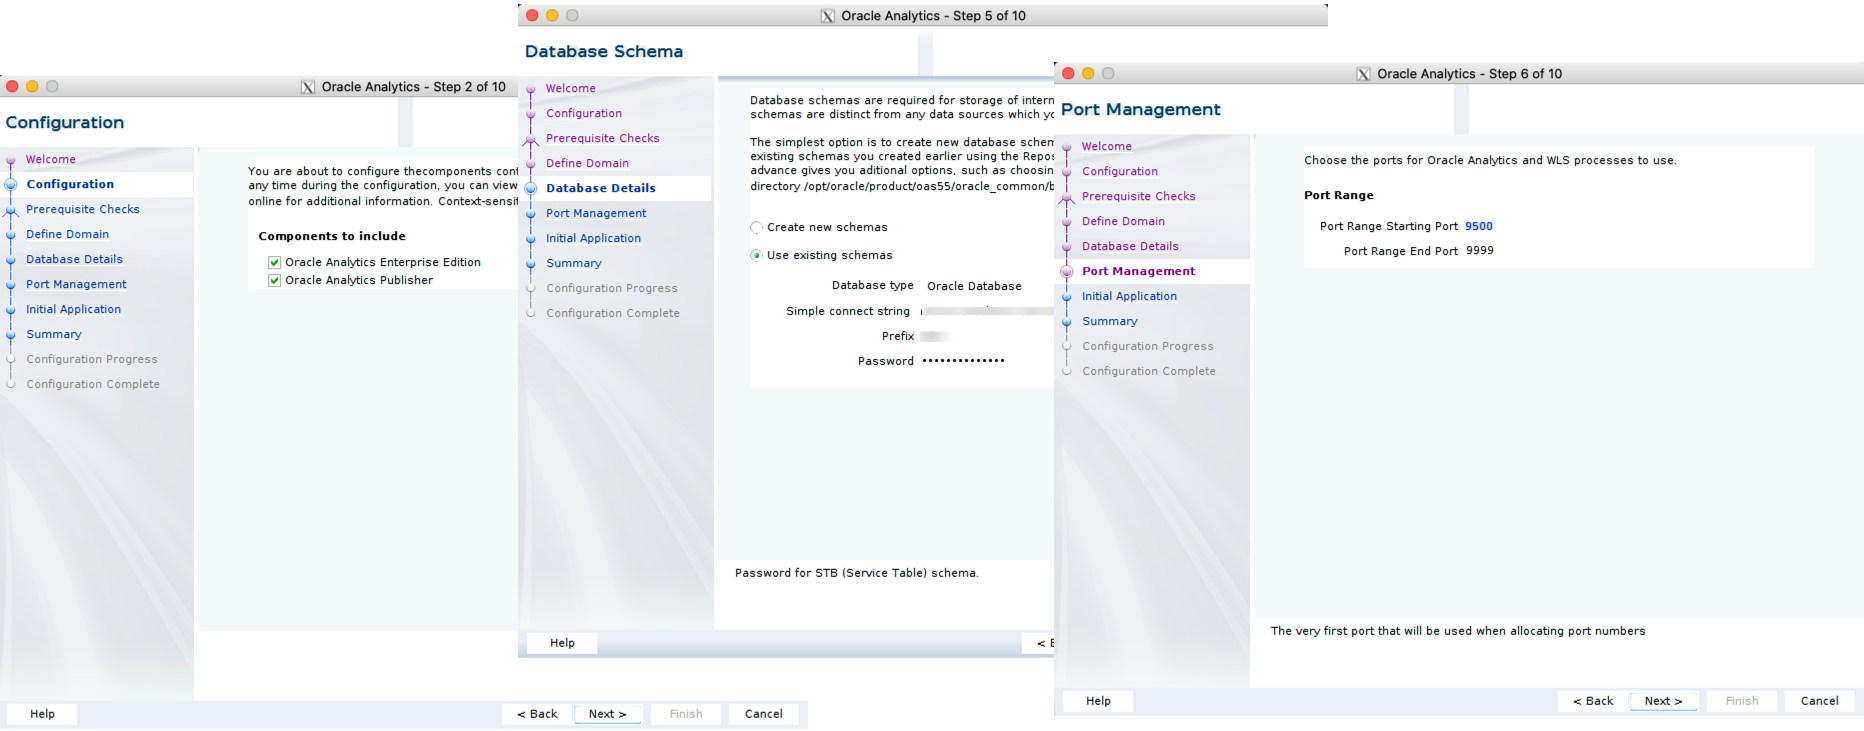
./config.shThe set of screens will ask for the DOMAIN_HOME mentioned above, the GUI will suggest a DOMAIN_HOME located under the ORACLE_HOME. If you want to be compliant to the Oracle documentation and avoid problems in case of future in place upgrades, place the DOMAIN_HOME in a separate folder!

Other details required are: the Admin username and password, the products to include (with BI Publisher and Oracle Analytics Enterprise Edition being the two options available). Then we'll have to point to the RCU schema created before and decide the port range.
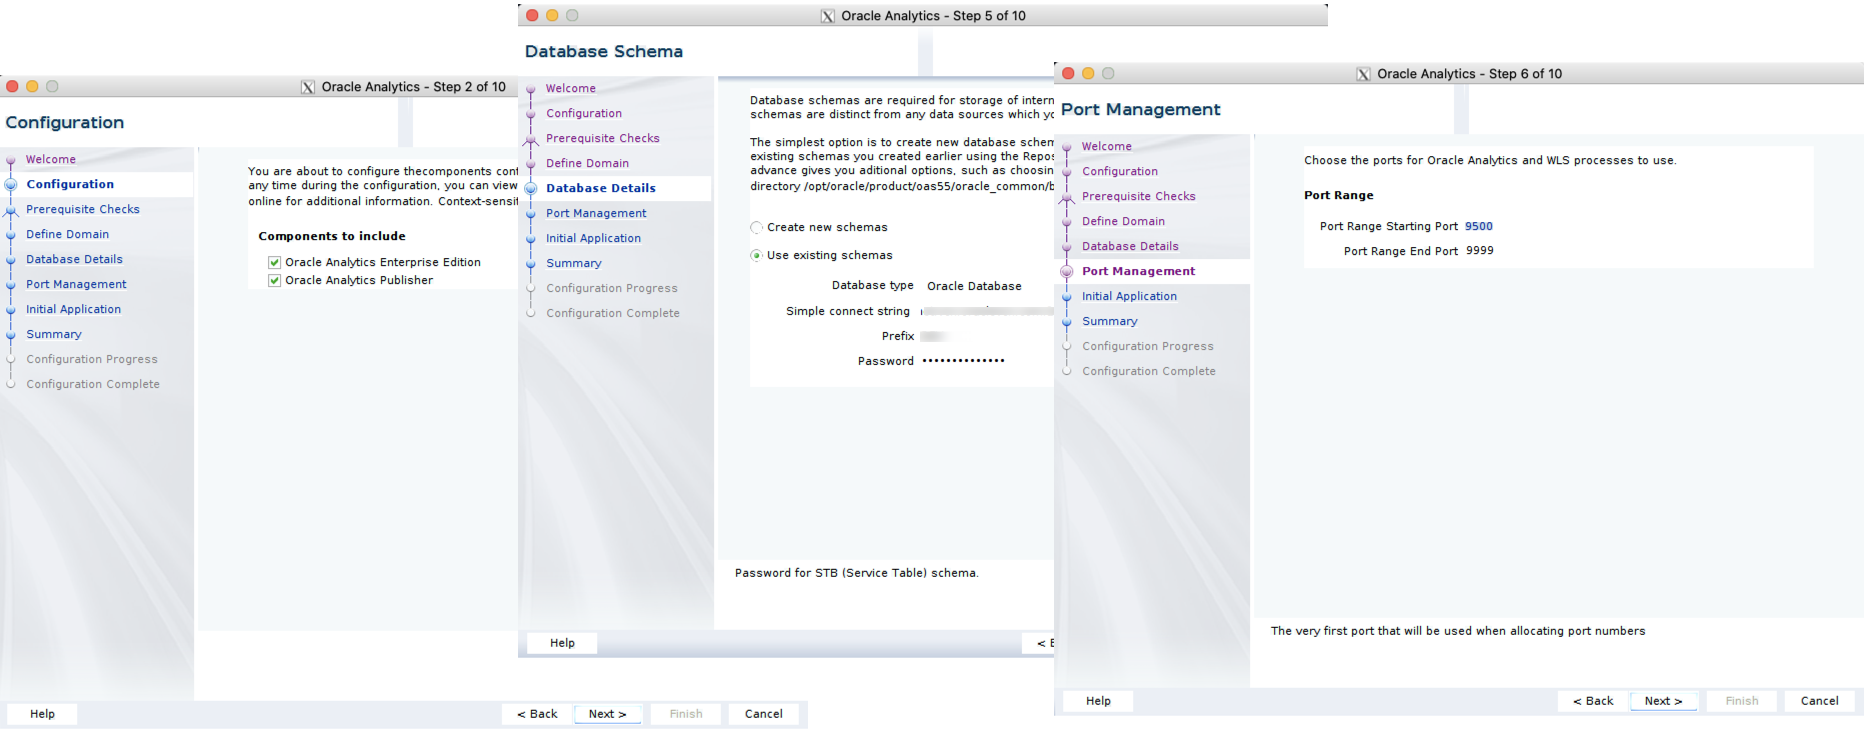
If all everything is set correctly you should get a successful configuration with all the services starting properly.
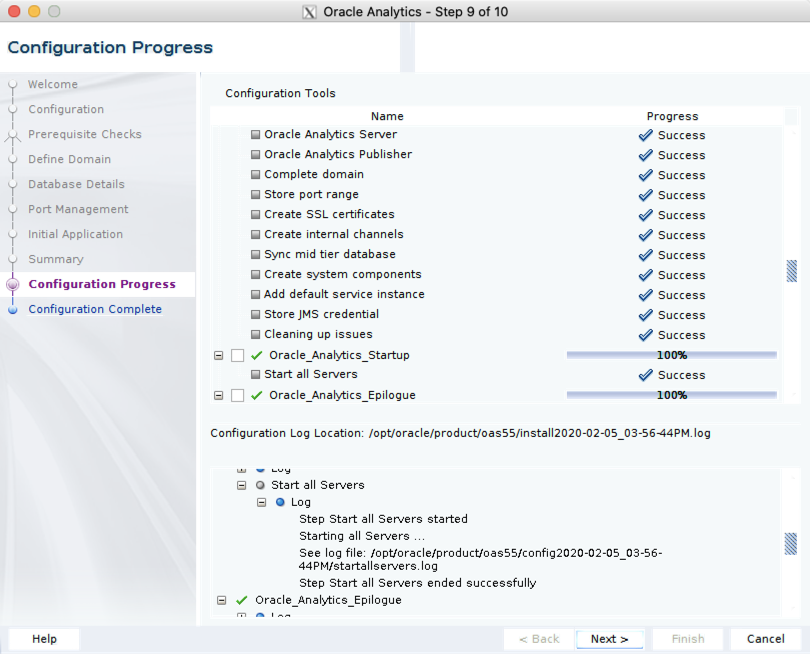
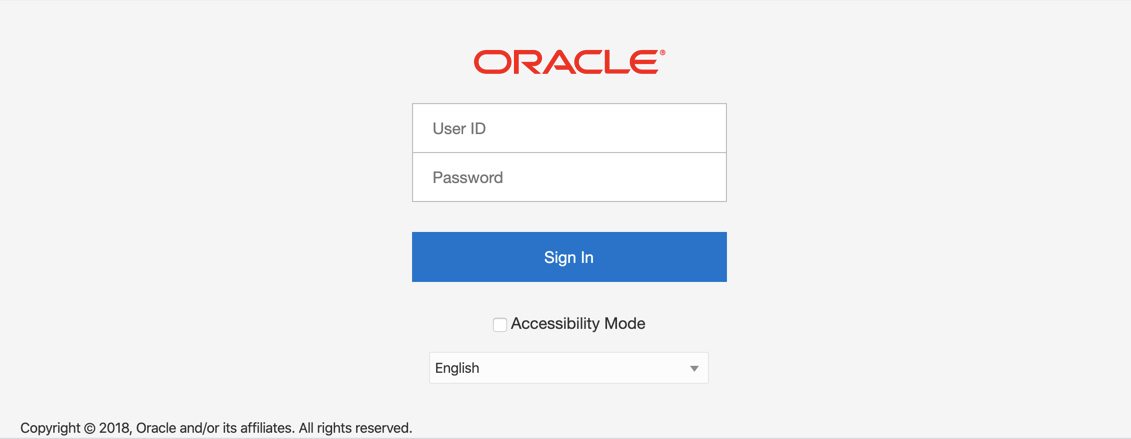
And OAS should be available (by default at http://<SERVER_NAME>:9502/analytics)!
The whole example above was performed on a OCI compute instance installing schemas on a DBaaS. This could be a solution for customers willing to use the Oracle cloud but still needing a level of customization and control higher than what's achievable in OAC.
For more info, don't hesitate to contact us!