Introduction to Oracle Data Science Service Part 4


This post is the fourth part of my blog series on the Oracle Data Science Service. In the previous post here we looked at some of the capabilities of the Oracle ADS SK, as well as creating, saving, and deploying models to OCI. In this blog we will look at OCI Data Science Jobs, and how these can be scheduled through the OCI Data Integration Services.
What is an OCI Data Science Job vs a Job Run?
There are two parts to OCI Jobs; the Job and the Job Run. The Job describes the task to be run, it contains the code and any other information required for the task, and these details can only be set when creating the job. The Job also contains the compute shape, logging information, and environment variables, which can be overridden in the job runs if required. The Job Run is the actual job processor. Whilst creating it you can override the compute shape, logging information, and environment variables. Each time the job is executed it will require a new Job Run, and you could have several Job Runs concurrently executing the same Job, for example with different hyperparameters.
Creating a Job
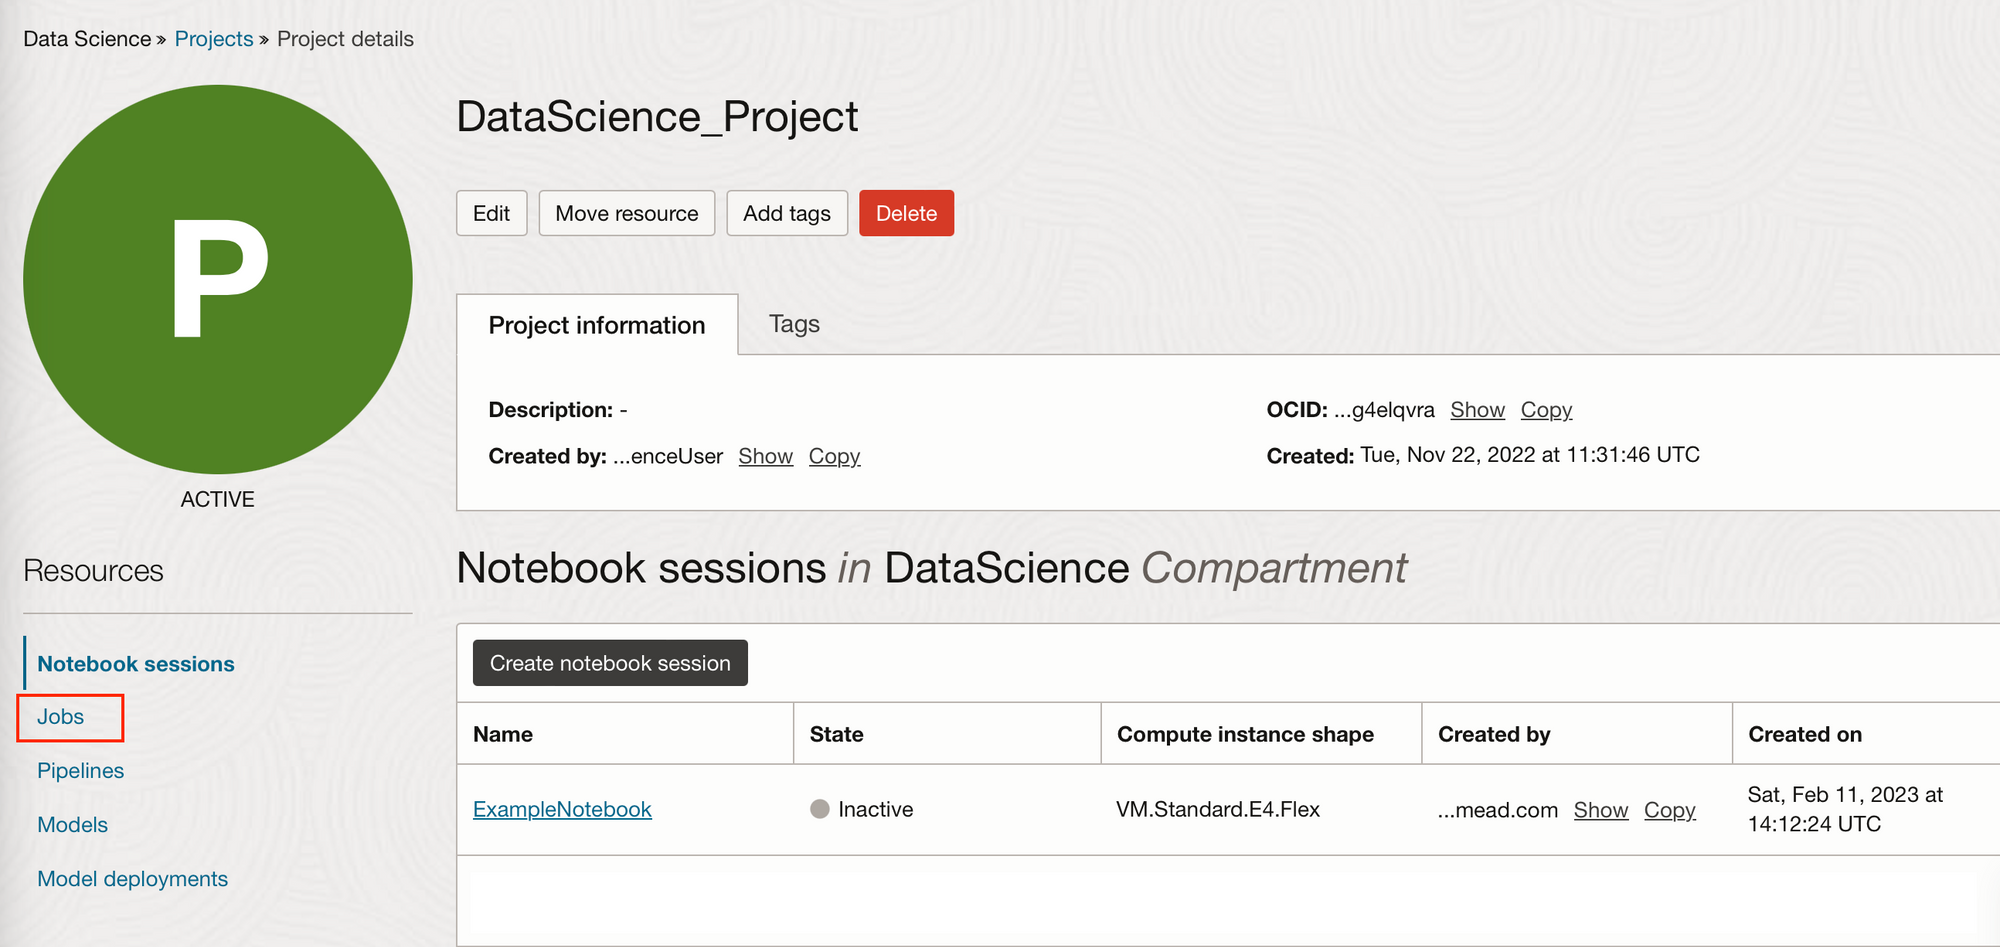
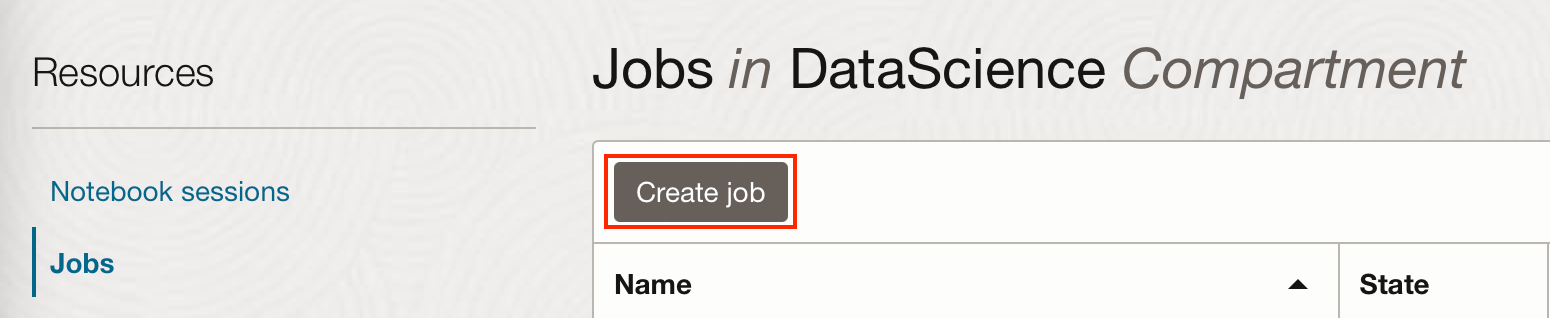
A job can be created within an OCI Data Science Project. (Creating a project was explained in Part 1). Within the Project, there is a Jobs tab on the left-hand side from which you can create a job.
In the example below, I'm going to create a really simple job that will execute a Python file.
This Python file, ExamplePythonForJobAndSchedule.py is going to print the environment variables we set for the job and the start and end timestamps.
# Print start timestamp
from time import gmtime, strftime
now = strftime("%Y-%m-%d %H:%M:%S", gmtime())
print("Job started at: " + now )
import os
# Print environment variables
print("Hello World!")
print(os.environ['CONDA_ENV_TYPE'])
print(os.environ['CONDA_ENV_REGION'])
print(os.environ['CONDA_ENV_SLUG'])
print(os.environ['CONDA_ENV_NAMESPACE'])
print(os.environ['CONDA_ENV_BUCKET'])
print(os.environ['CONDA_ENV_OBJECT_NAME'])
# Print end timestamp
now = strftime("%Y-%m-%d %H:%M:%S", gmtime())
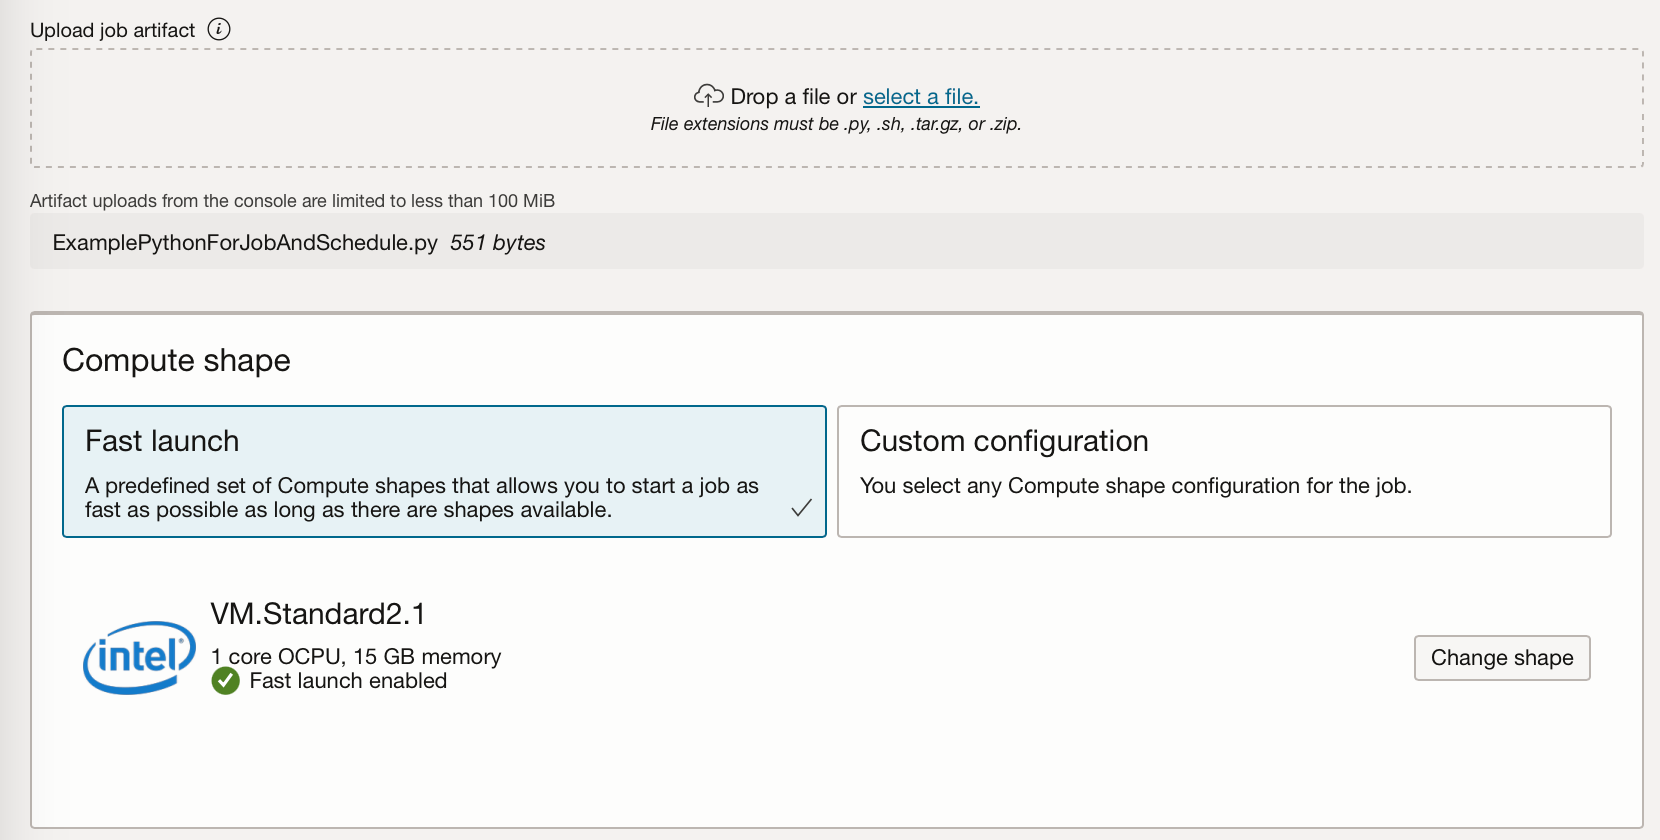
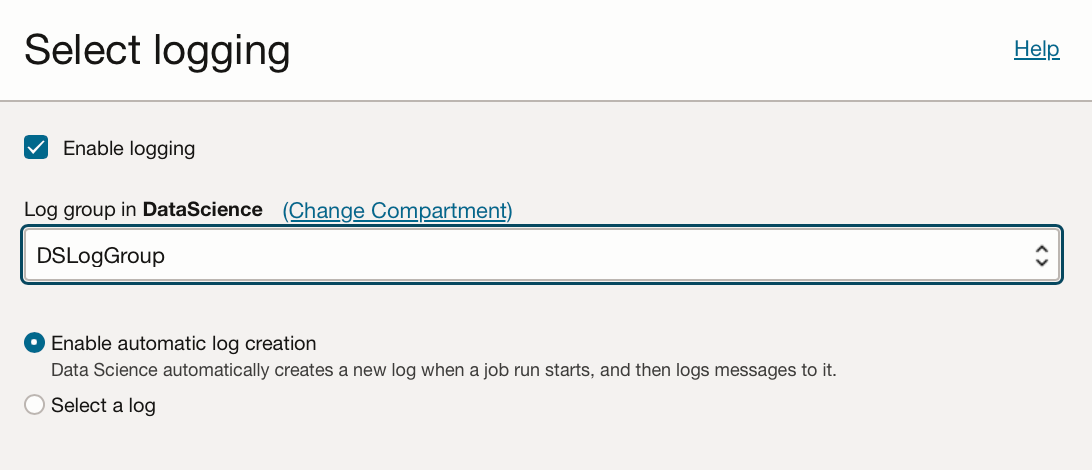
print("Job completed at: " + now )To create a job we must supply a job artefact file, this artefact file contains the job's executable code. This can be Python, Bash/Shell, or a ZIP or compressed tar file containing an entire project written in Python or Java. Here I'm just using the Python file mentioned above. We also need to set the compute shape to run the job artefact, the block storage, and networking. You have the flexibility to select various CPU and GPU shapes, and a block storage of up to 1 TB. The logging option allows you to set automatic logging creation for every job run, and will allow you to look at the standard output or errors from your artefact.
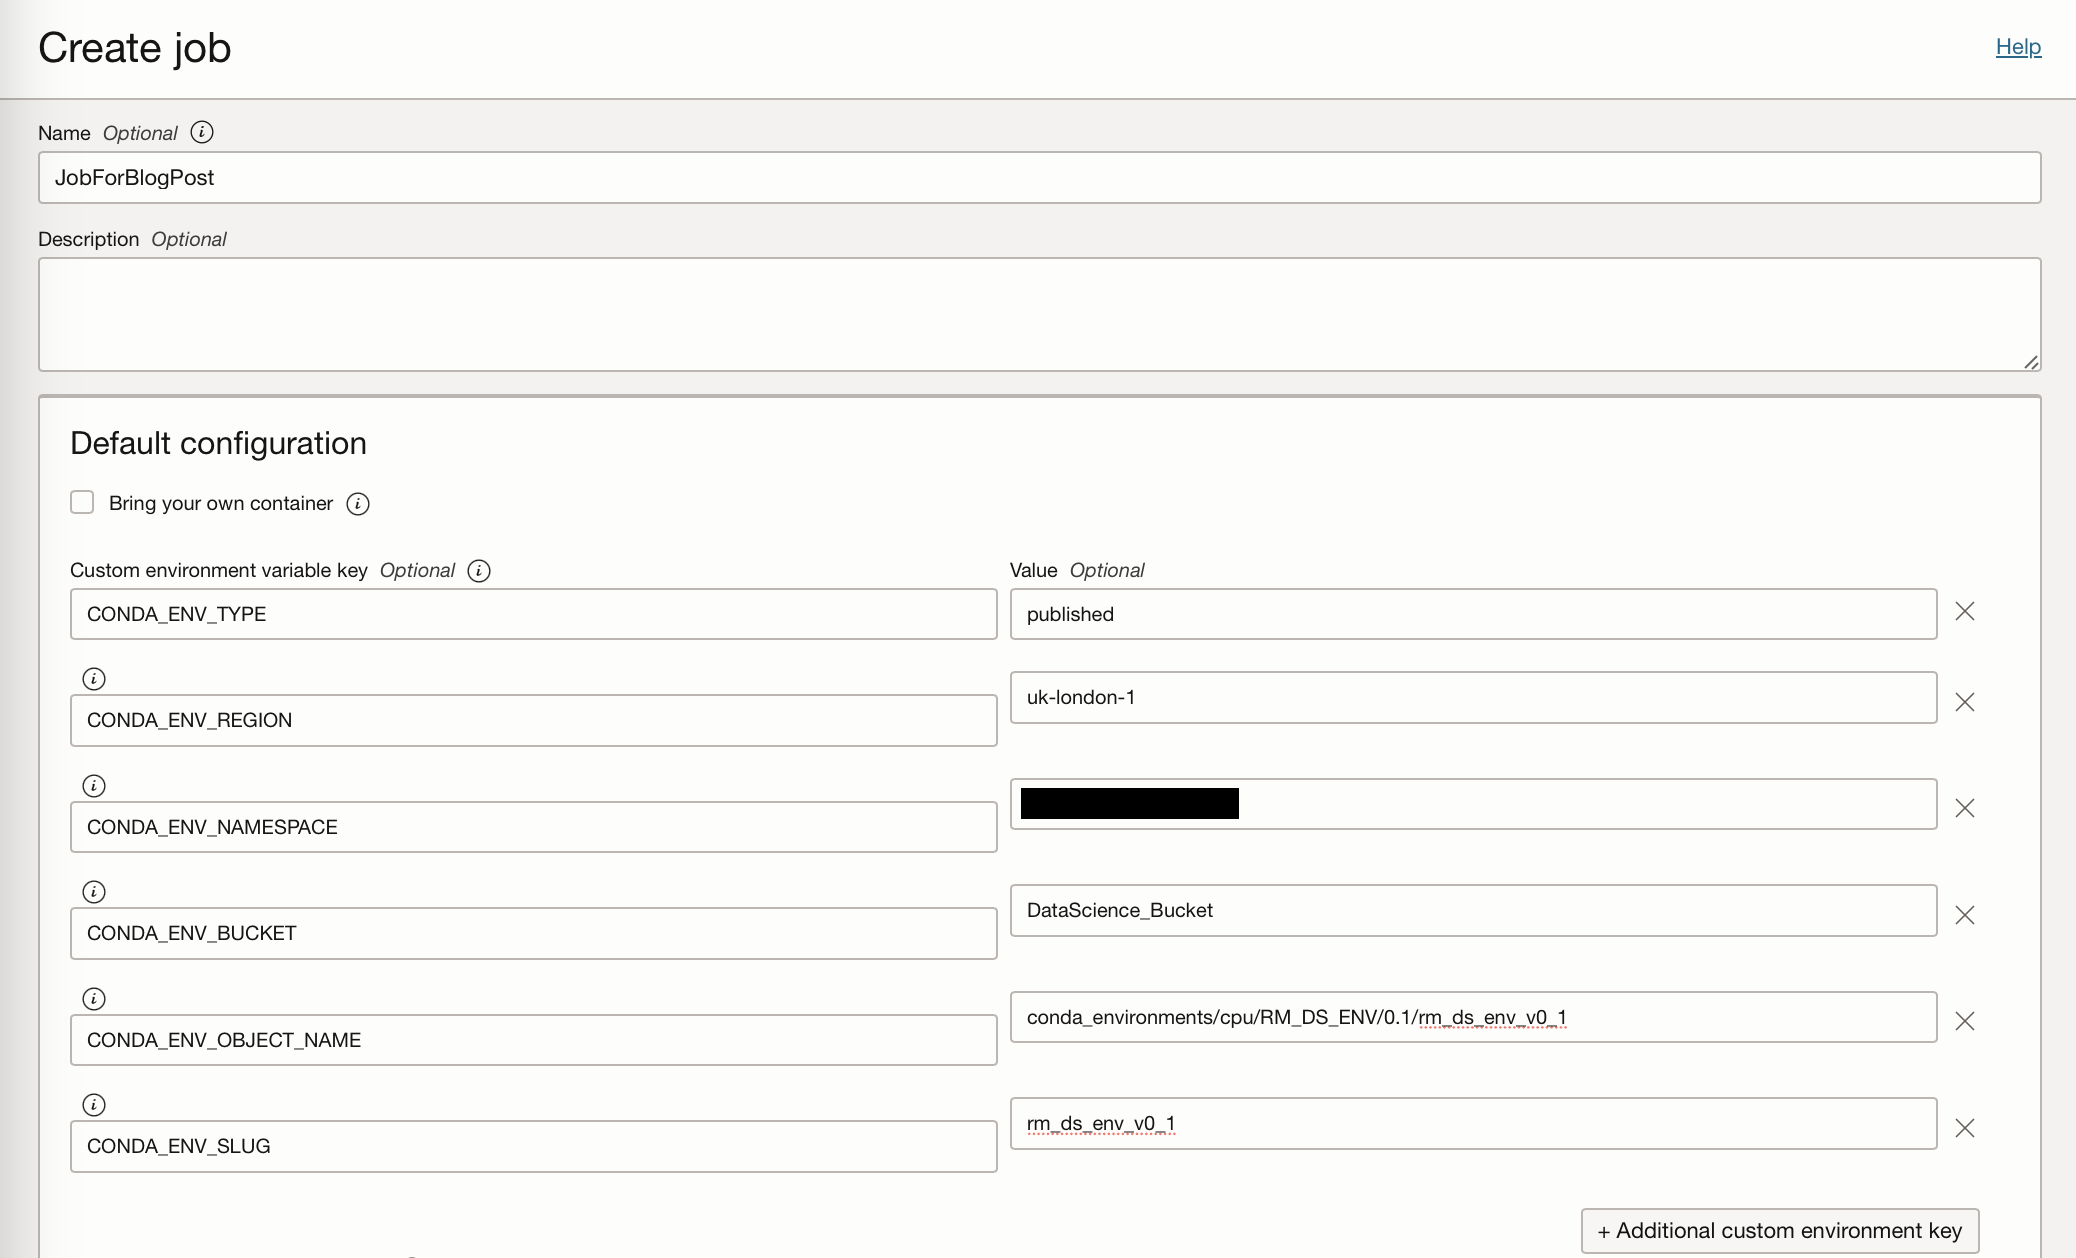
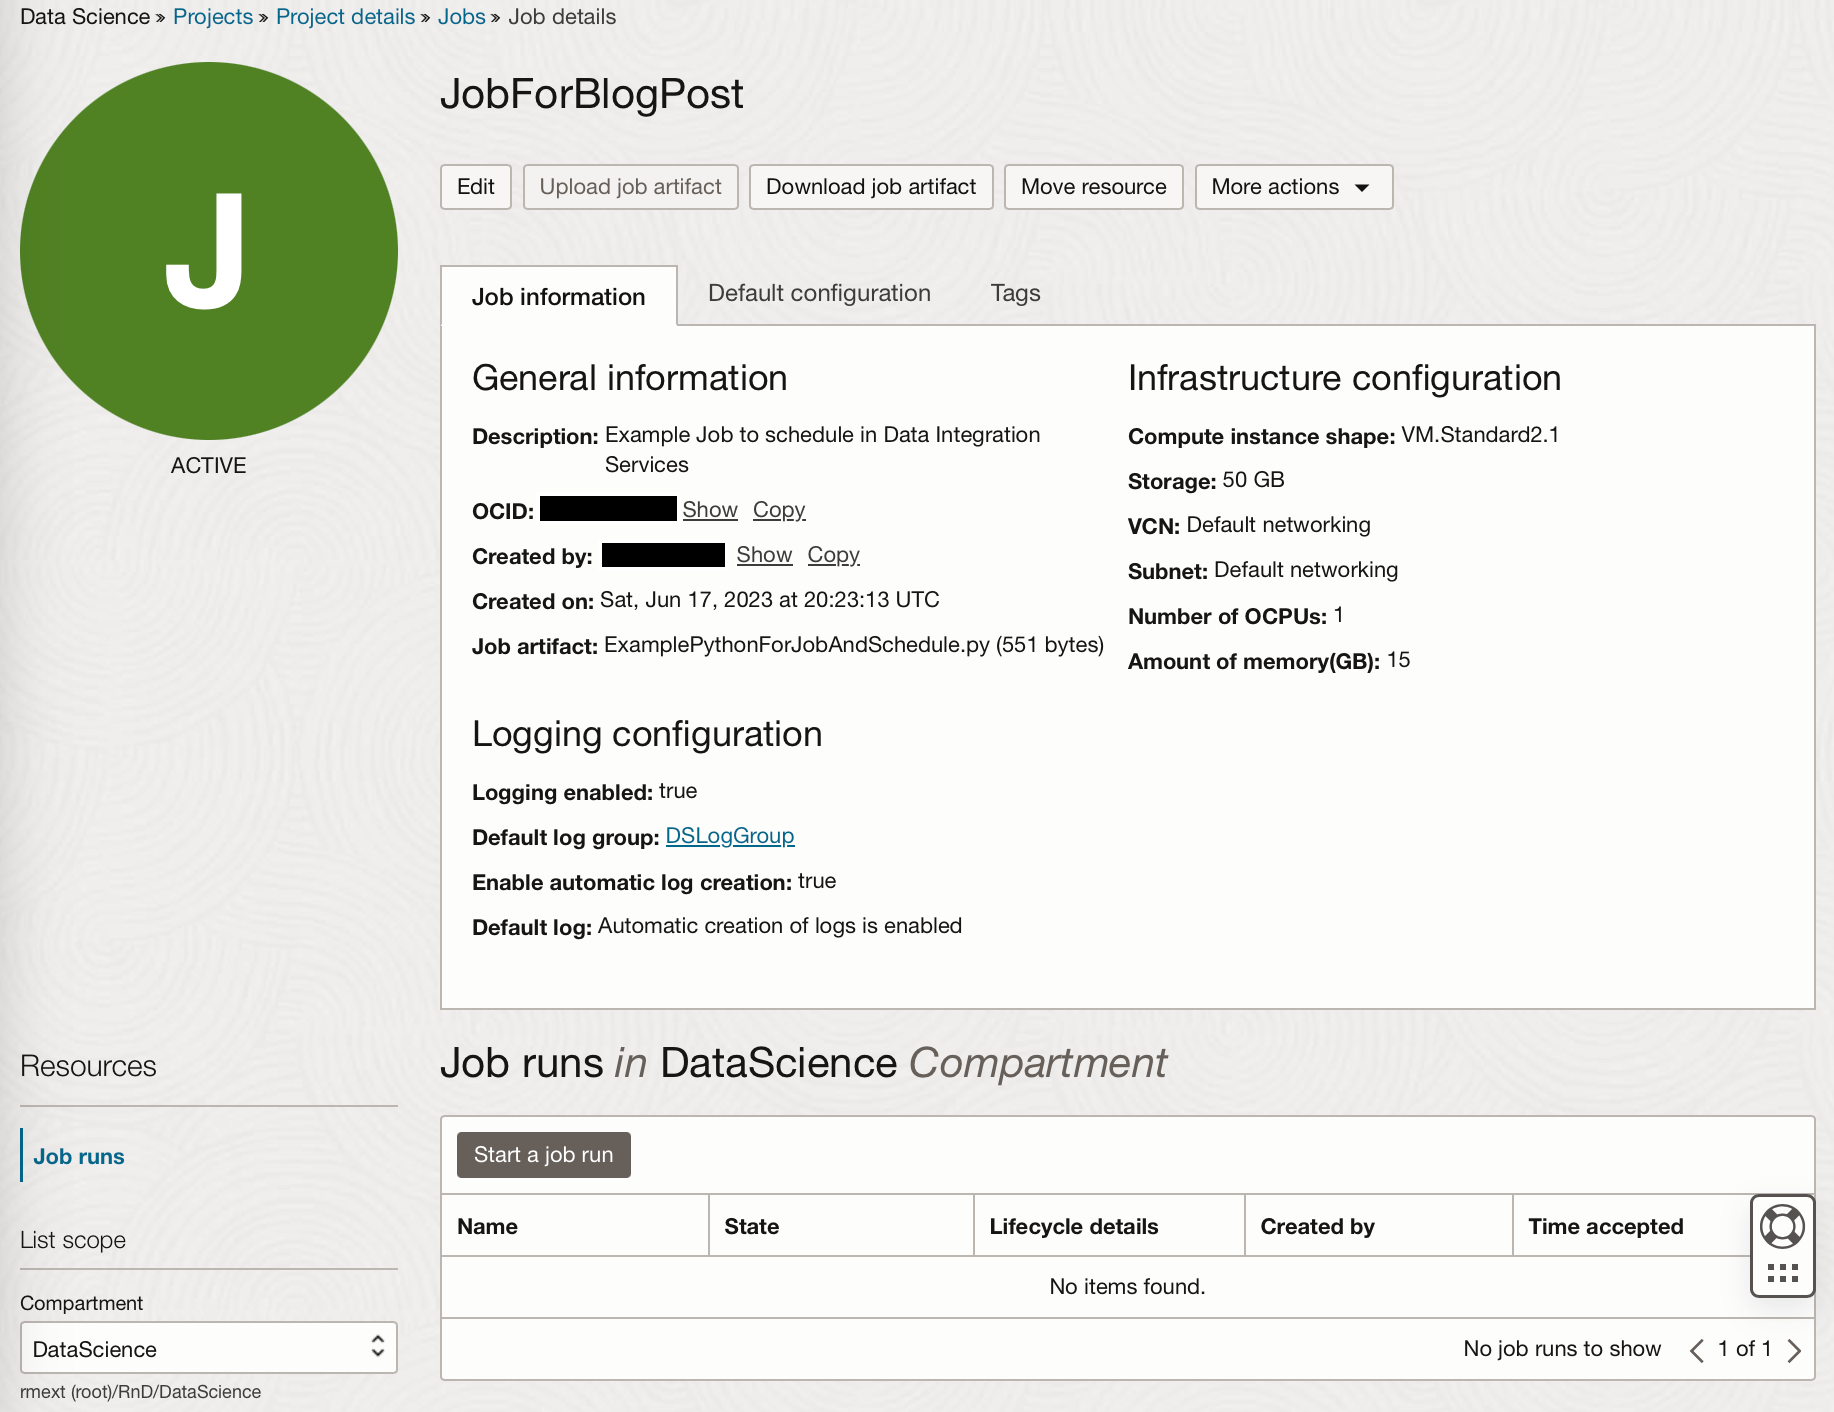
Here I have created a job called JobForBlogPost, where I have set the environment variable keys to point to my saved conda environment stored on the Storage bucket (Details of which can be found in Part 1). Supplying these environment variables enables the job to use a specific conda environment within which specific Python modules are installed. This ensures that jobs can be executed on the same environments they have been tested on. If the job you are running does not need to connect to a published conda environment, or you do not have a conda environment currently published to your OCI Storage Bucket then you do not need to set these environment variables.
I have also uploaded the file ExamplePythonForJobAndSchedule.py and enabled logging. (If you do not have a log group associated with the compartment you are using, you can create one via Observability & Management → Logging. Depending on your security / policy settings creating a new log group might be the role of an admin on your OCI tenancy.)
You can then click “Create” and you will be taken to the OCI Job page.
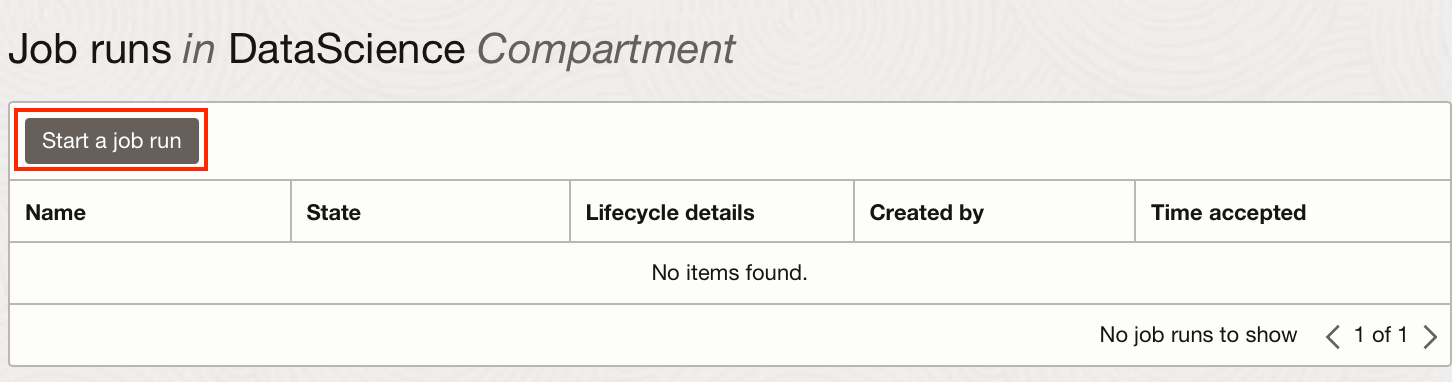
Creating a Job run
After creating a job you can create a job run, this will execute the job once. You can overwrite many of your compute shape or environment variables here should you need to, I have just created a job run to execute the job as specified.
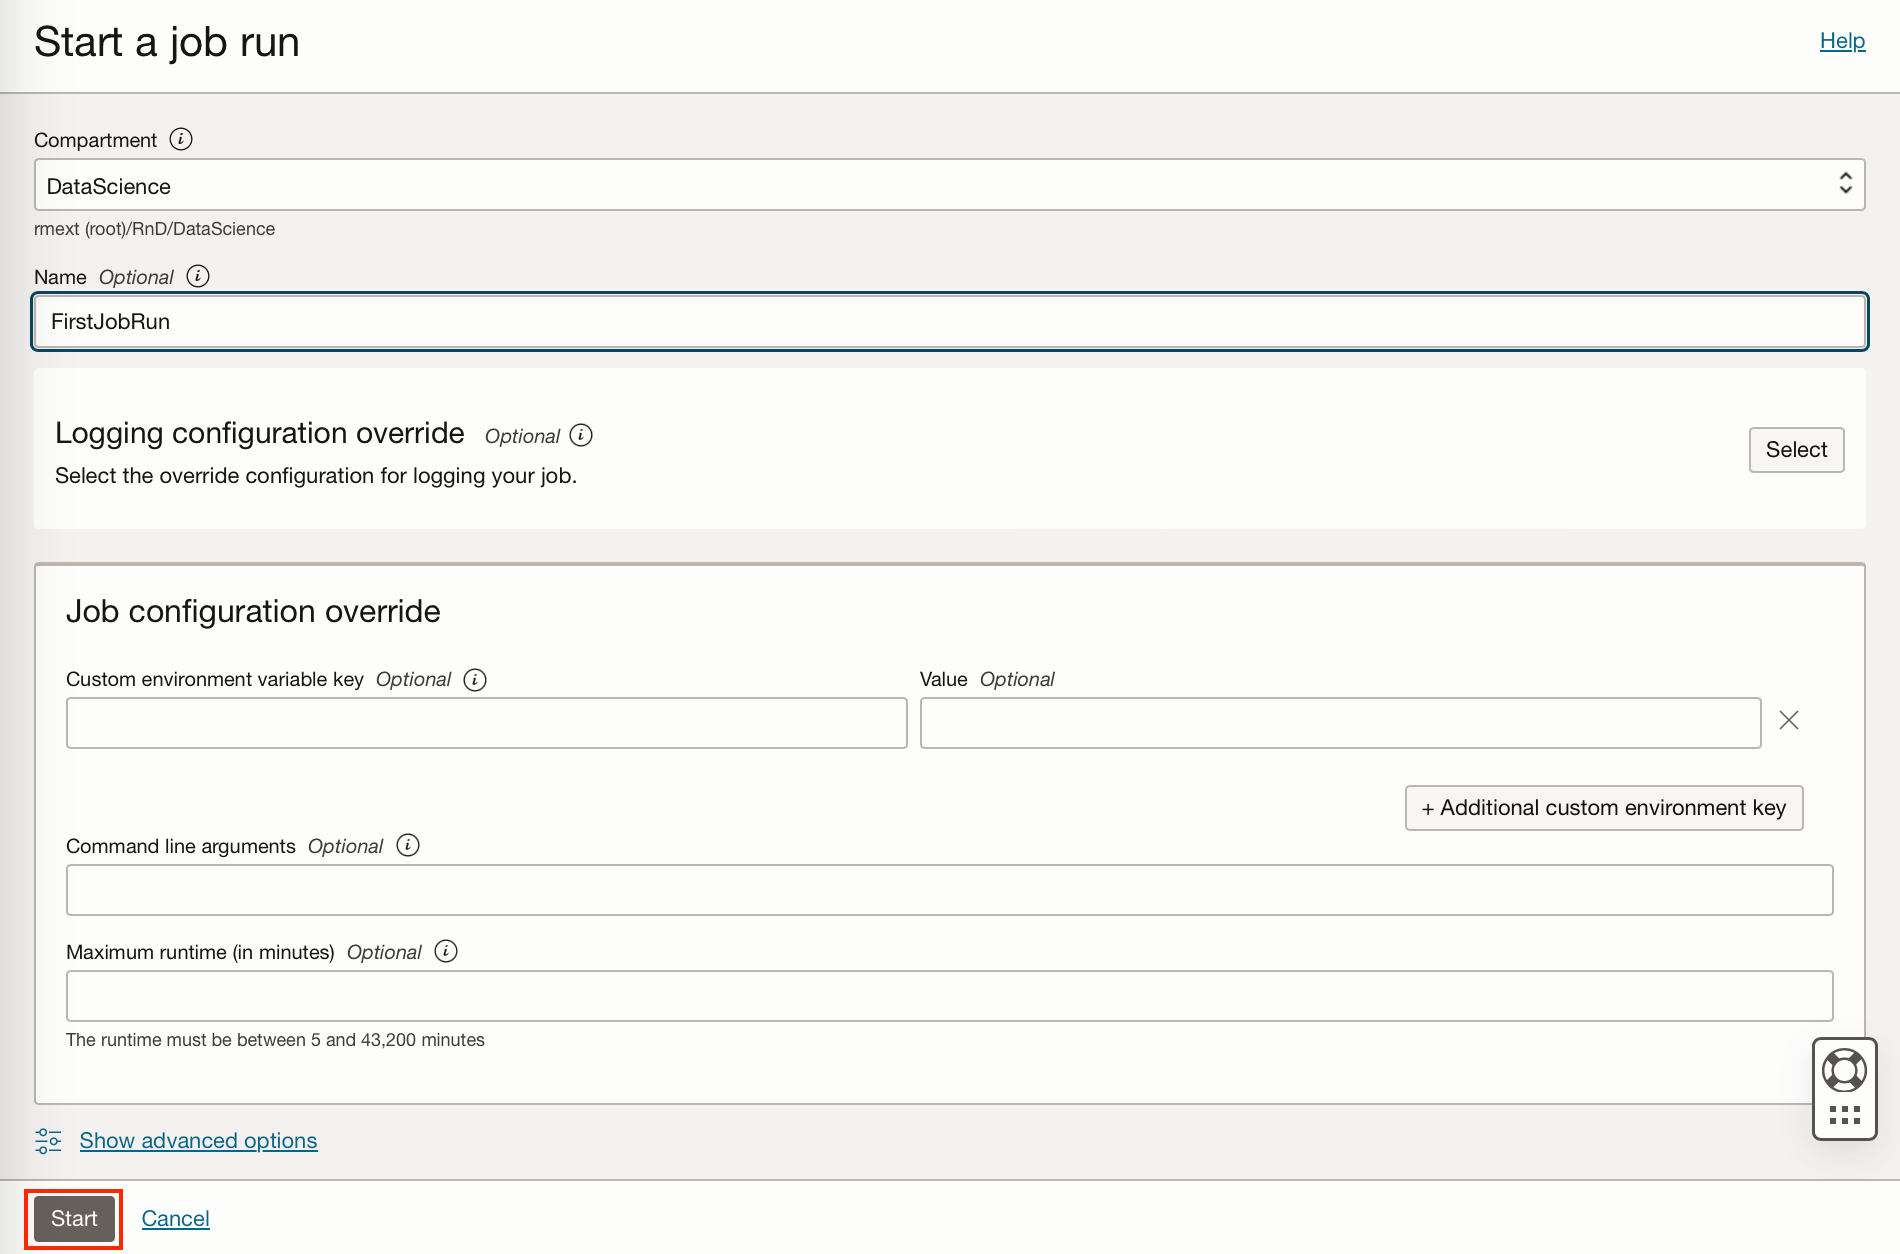
After clicking start, a machine is provisioned and the job run started. The job run details will go from Accepted to Succeeded.

Since we enabled automatic log creation when creating the job, a log will be linked under the Logging Details section of the Job Run.
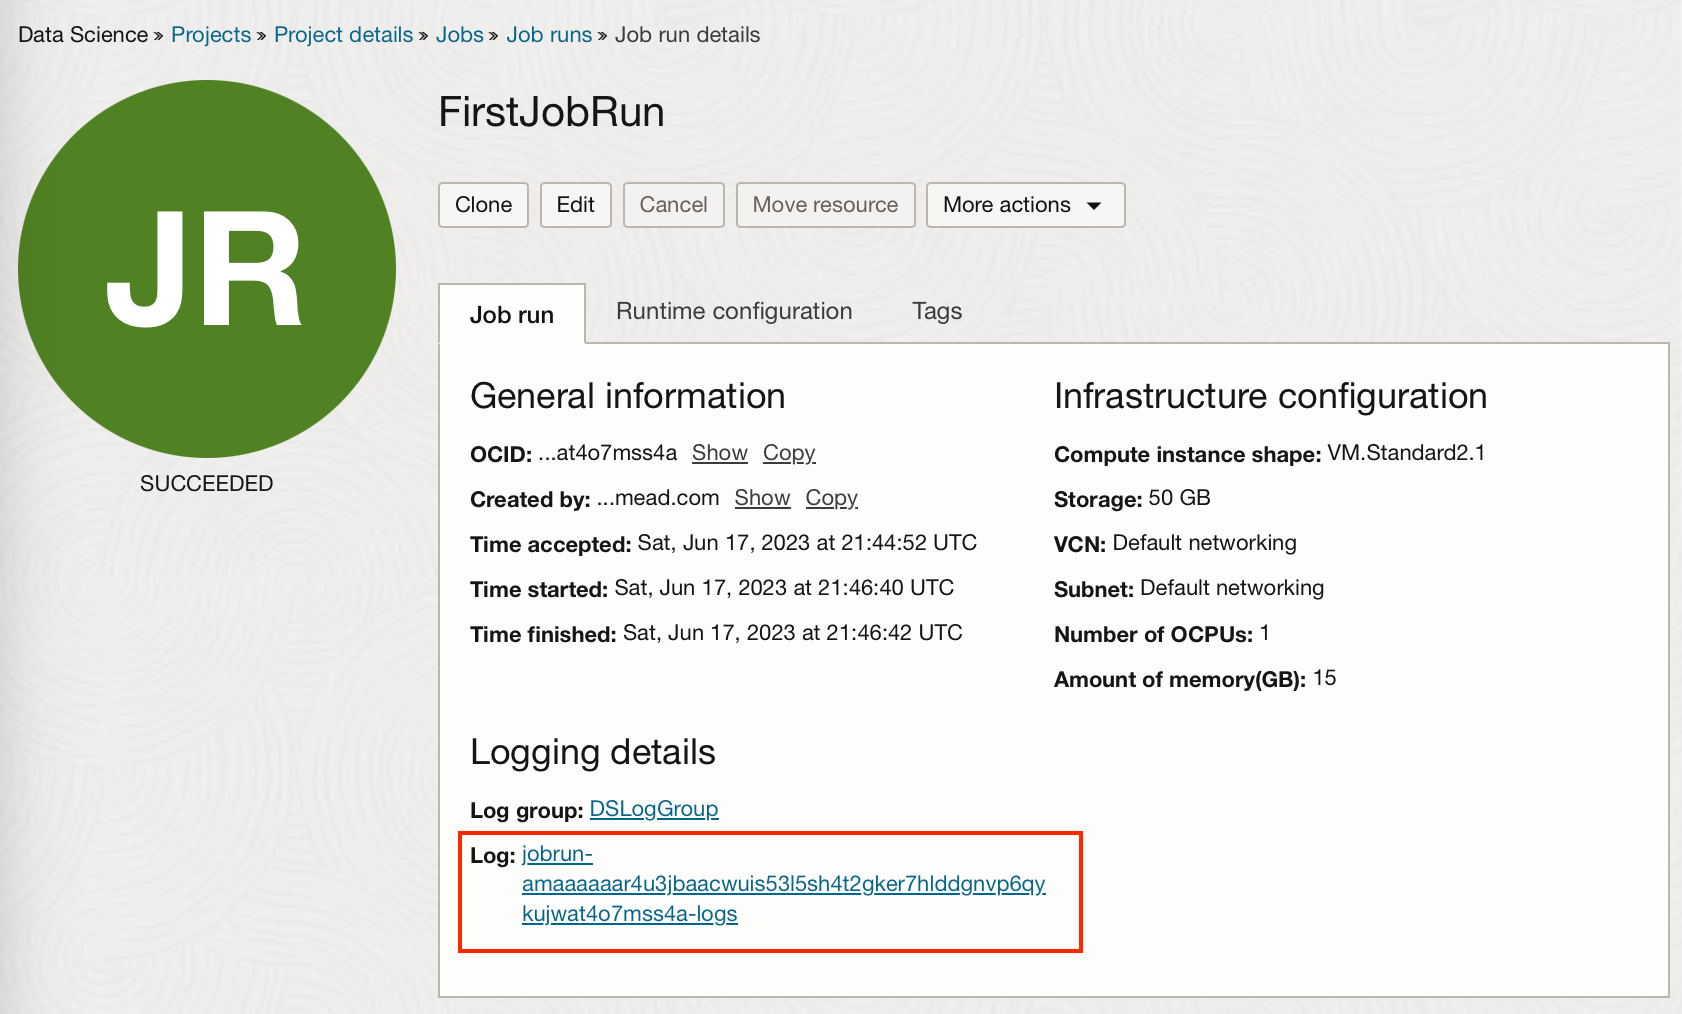
From this log, we can see printed statements and other standard outputs or errors.
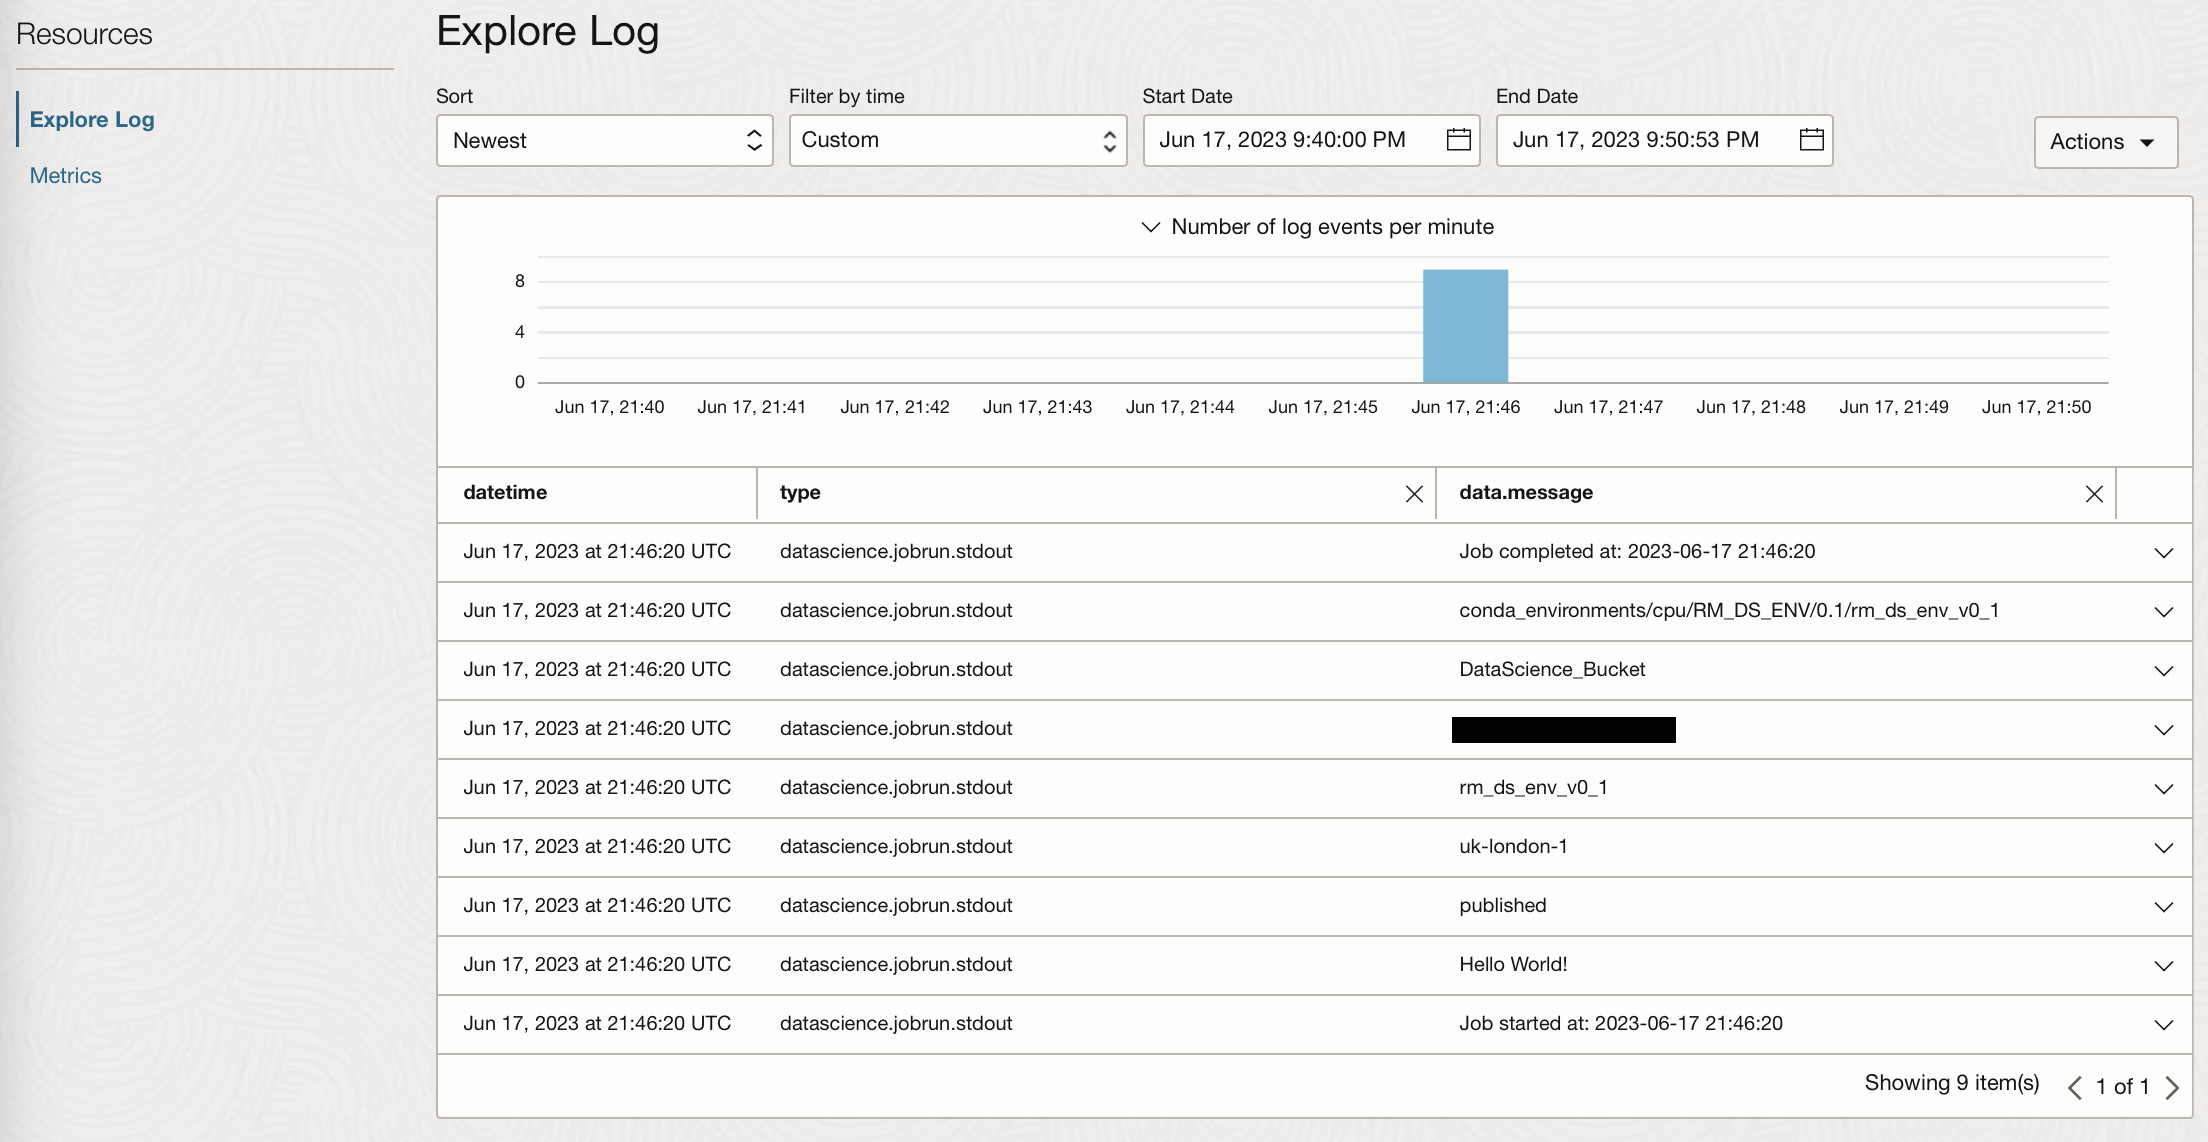
Now we know how to create jobs and job runs, and how to pass these jobs or runs environment variables. The environment variables can be used as above to specify conda environments which have been published to a storage bucket, but they could also be used to access your secrets stored in the Vault, or to pass any other variables you wish to use in the artefact file of your job. Jobs can therefore be used for a whole range of tasks that could include, reading and writing to the storage bucket, reading and writing to an ADW, performing data manipulation etc.
Scheduling a Job
Creating a single Job Run just executes the Job once, if we want to run it many times from OCI Data Science we would need to manually create many Job Runs, luckily we can schedule the job using the OCI data integration service. In order to do this we have to create several things:
- A Data Integration Workspace
- A Project within the workspace
- A Rest Task (Containing the details of the data science job to be run )
- An Application (To execute the task)
- A Schedule (To define the frequency of the task to be run)
Create a Workspace and Project
Data Science Jobs can be scheduled via the data integration service.
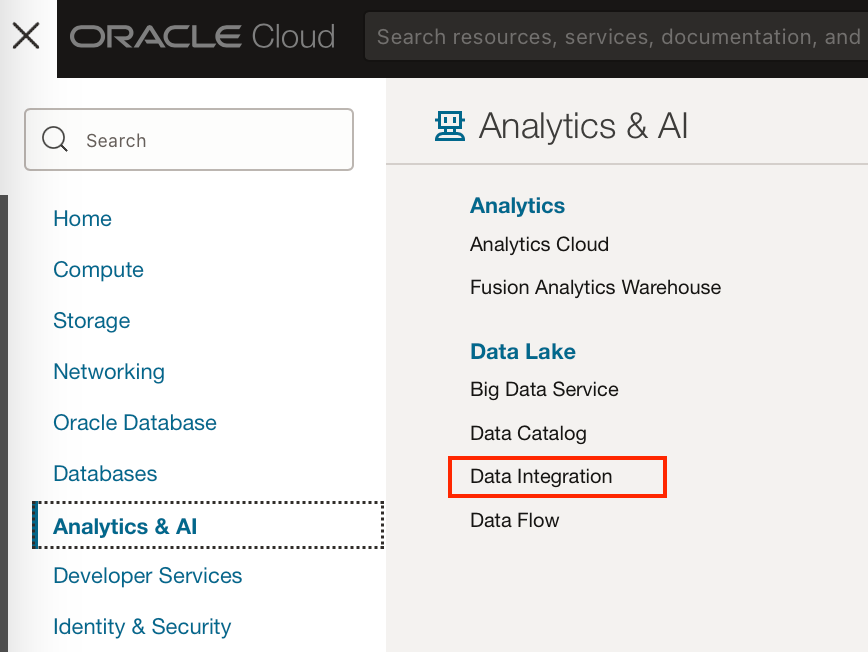
If you don’t already have a Data Integration Workspace and Project you wish to use, you will have to create one. This can be done under Analytics and AI → Data Lake → Data Integration.
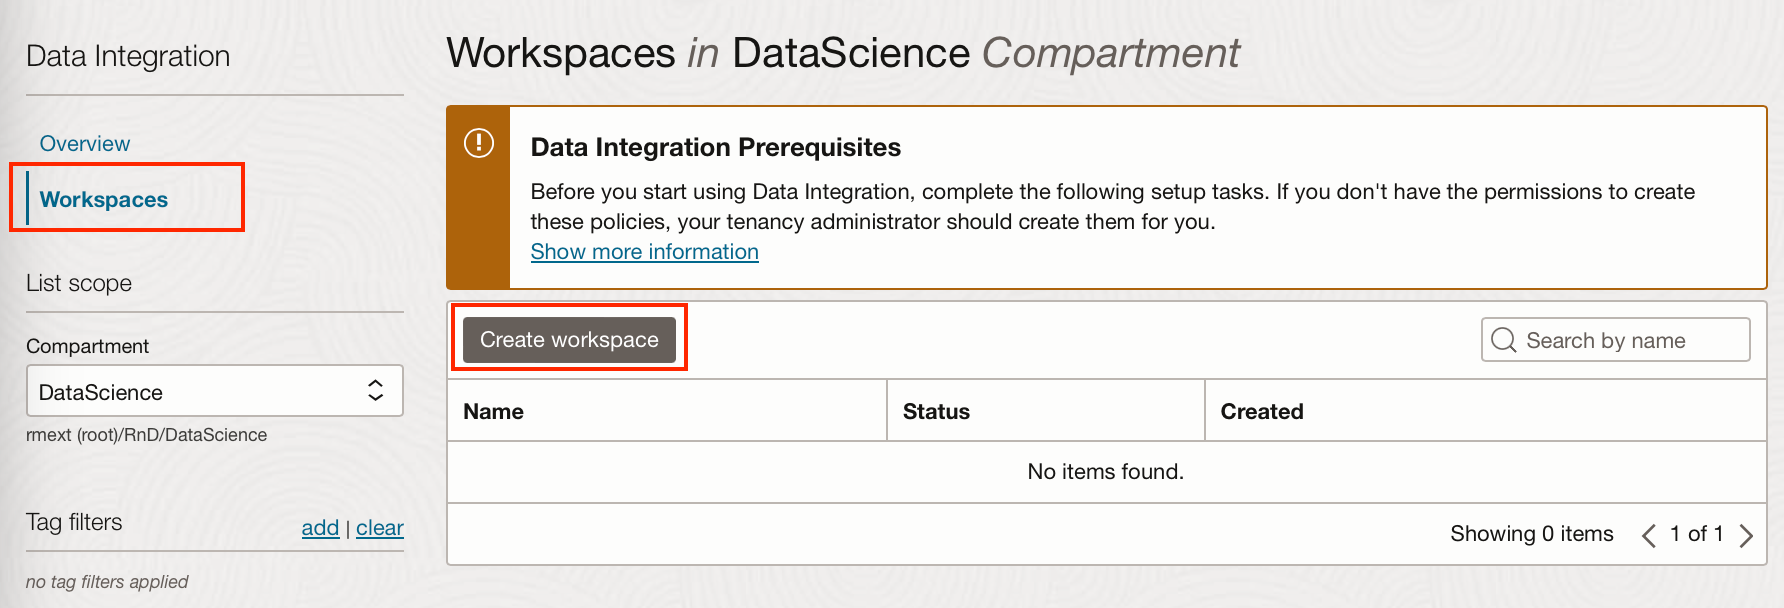
From here, you can create a workspace, adding a VCN if you’re using one. This will take a few minutes.
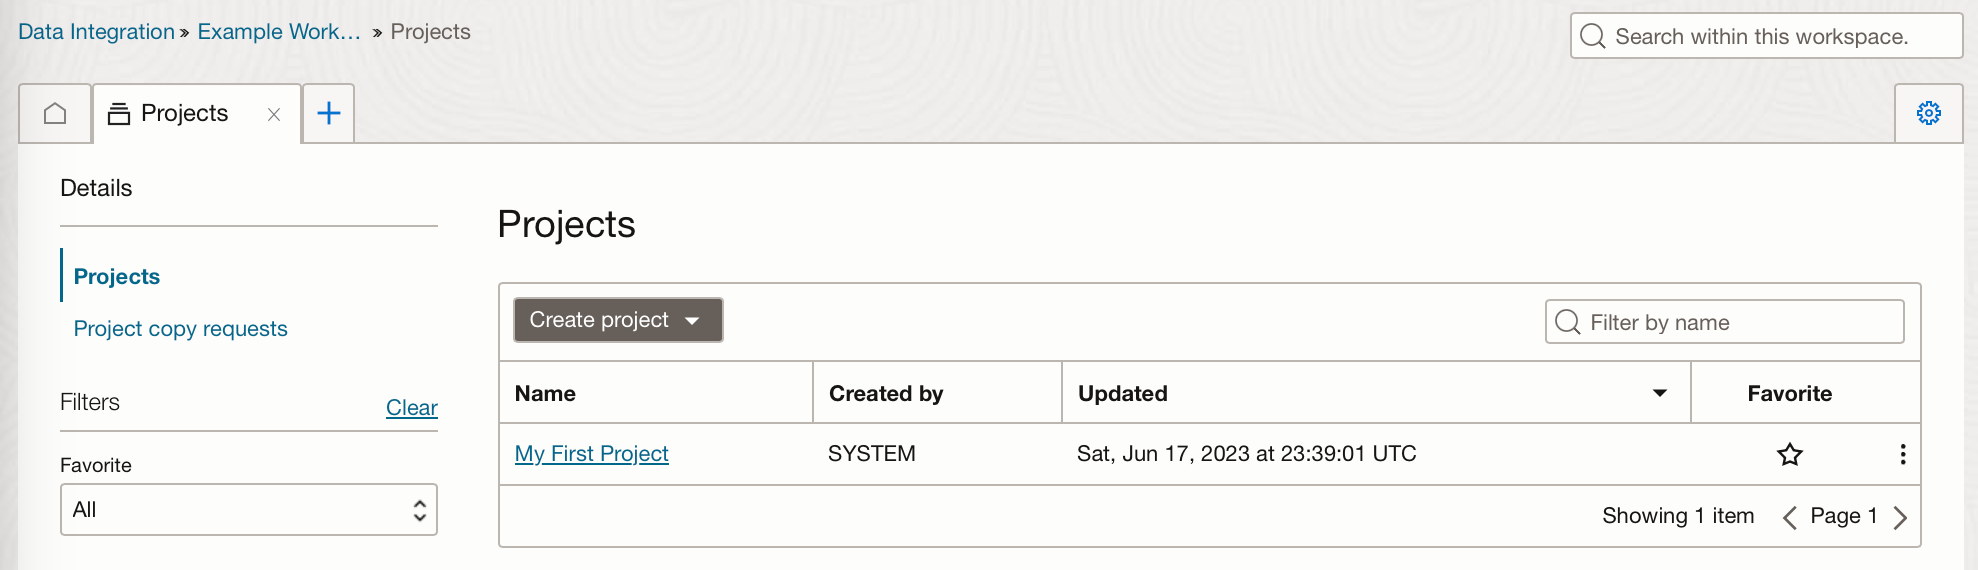
A default project “My First Project” is created with the workspace, you can use this or click “Create project” to create a new project.
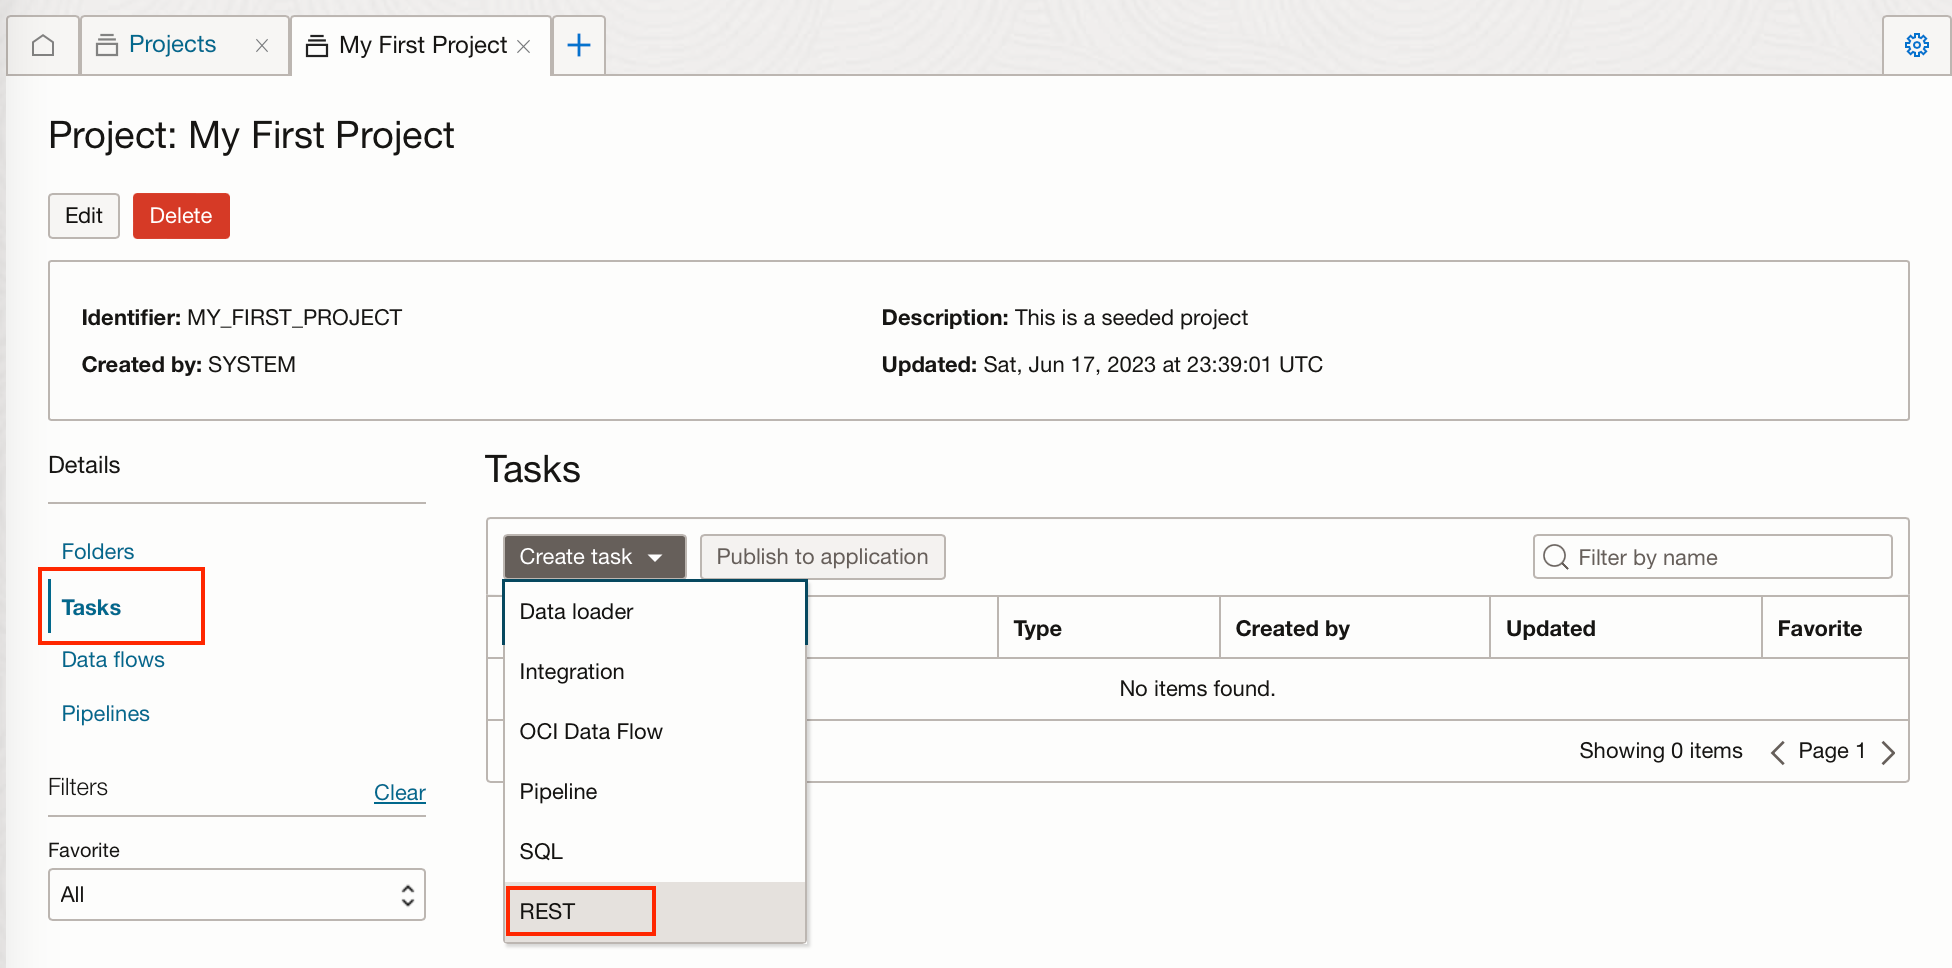
Create a REST Task
From within the data integration project, you can create a REST task this will create a data science job with the same specifics as the job details we supply it with.
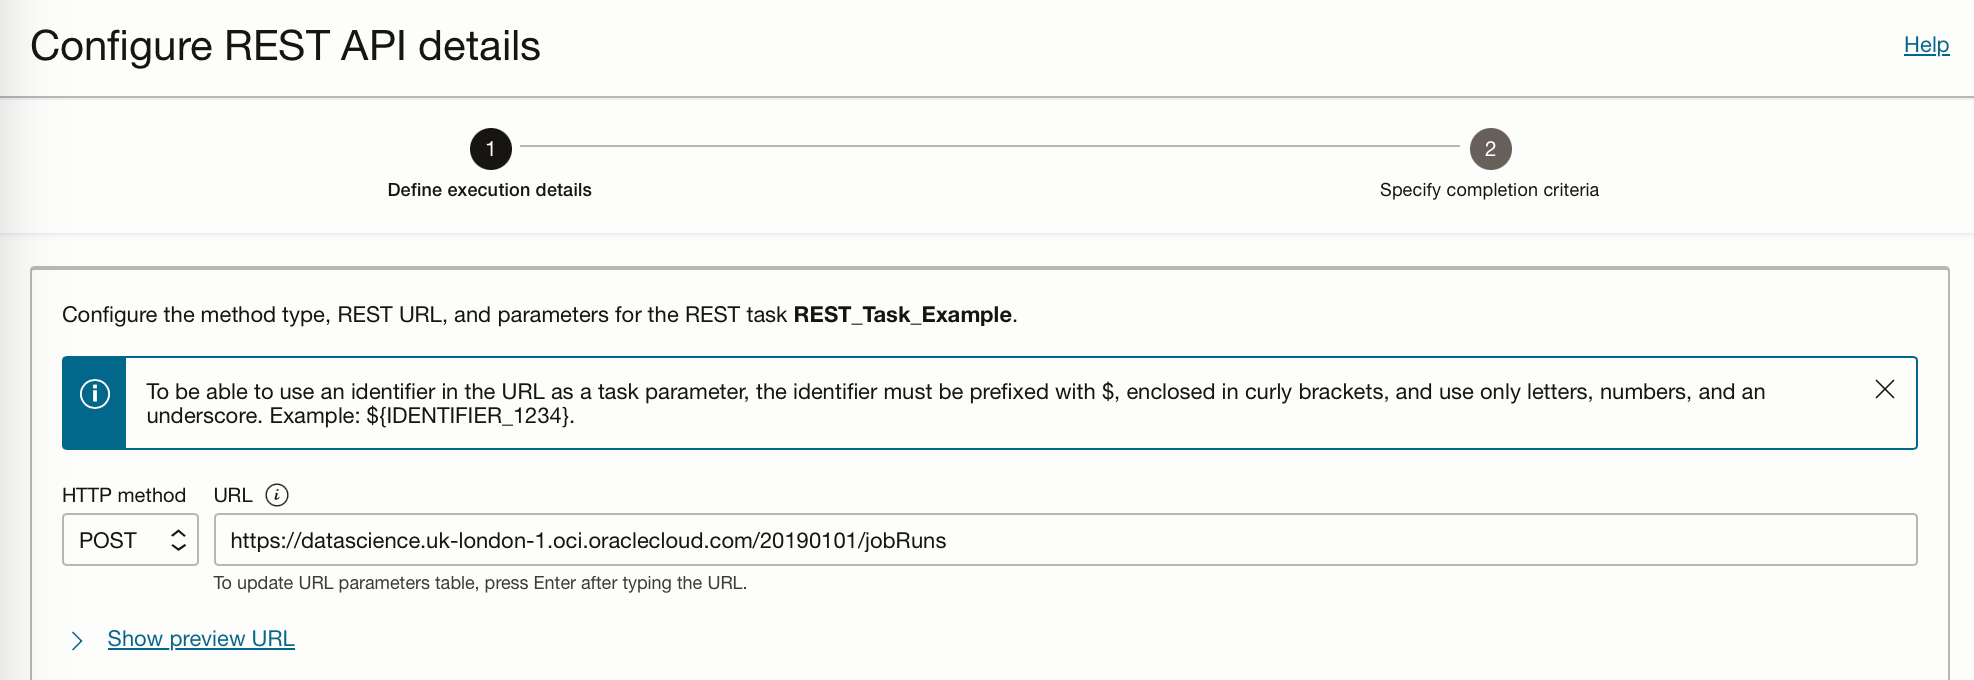
Within the REST API Details, change the HTTP method to POST, and the URL to
https://datascience. <region-identifier>.oci.oraclecloud.com/<REST_API_version> /jobRuns
The region of your tenancy as well as the API version can be found at the top of the following web page.
Oracle Cloud Infrastructure API Reference and Endpoints
My URL looks like this:
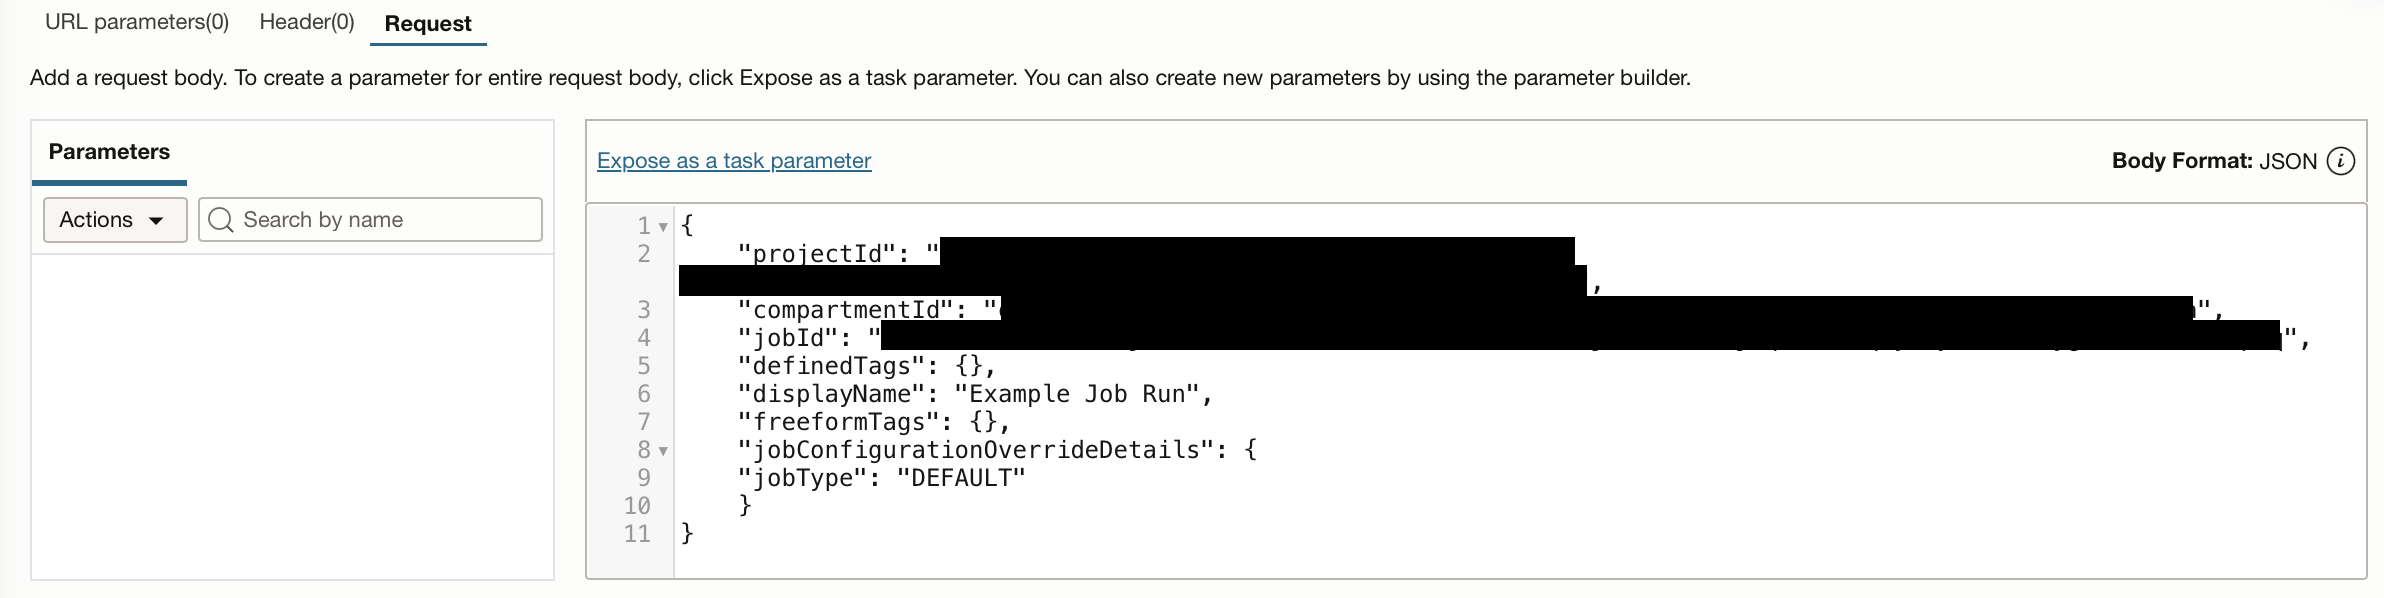
In the Request tab, you will need to supply the API with the job details, including theprojectId, compartmentId, and jobId.
{
    "projectId": "",
    "compartmentId": "",
    "jobId": "",
    "definedTags": {},
    "displayName": "Example Job Run",
    "freeformTags": {},
    "jobConfigurationOverrideDetails": {
    "jobType": "DEFAULT"
    }
}
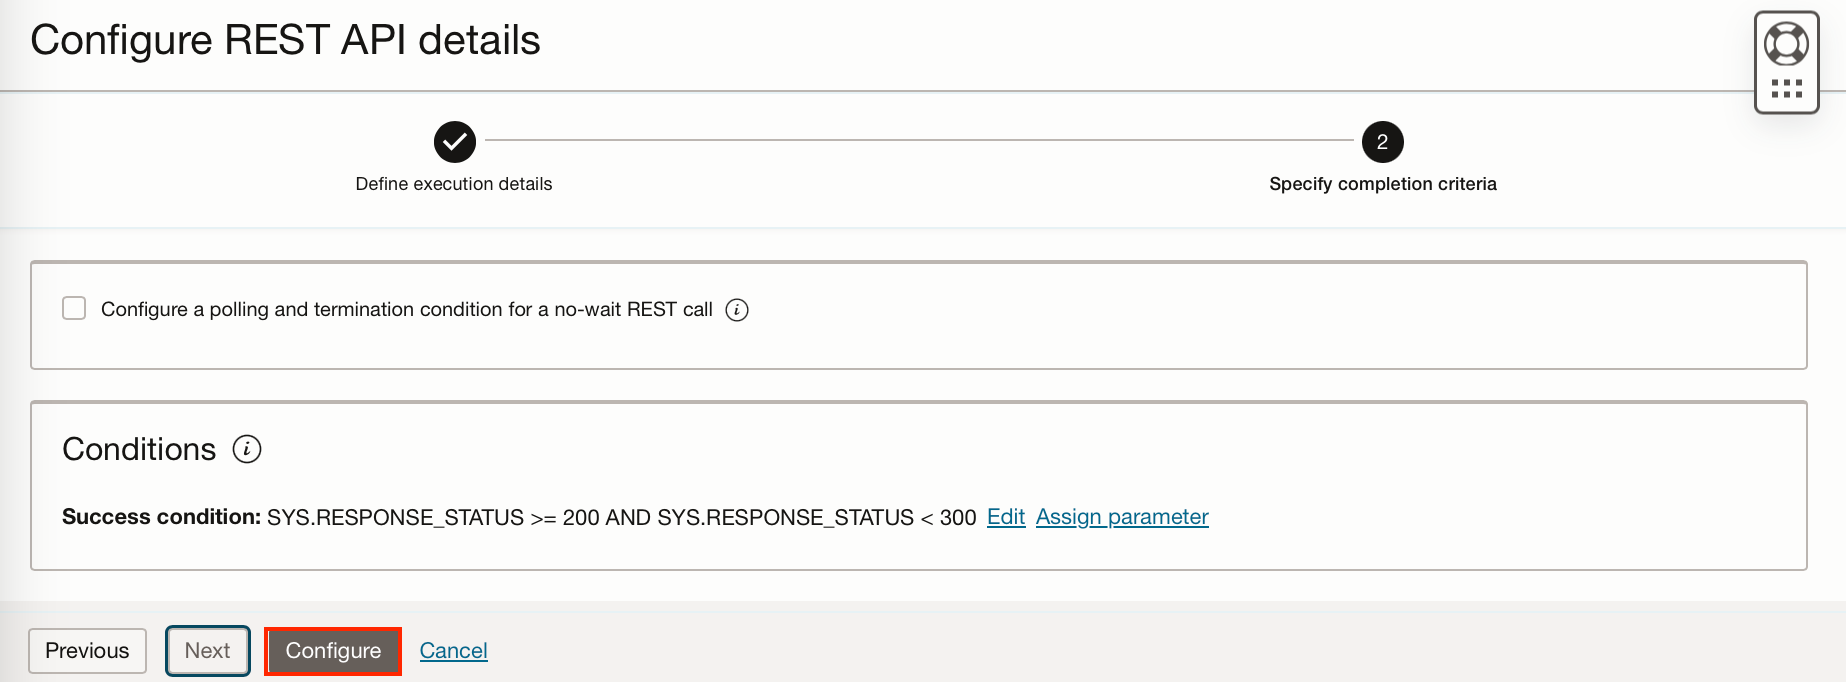
Click “Next” and set the success criteria. (I have just accepted the defaults). Then click “Configure”.
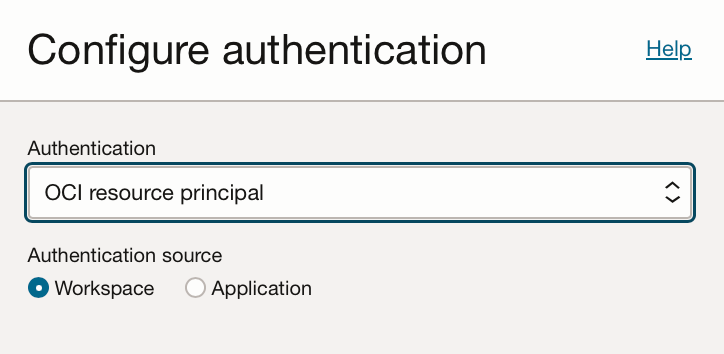
In the Authentication pane select OCI resource principal and workspace, this will allow our task to authenticate itself and access the data science service.
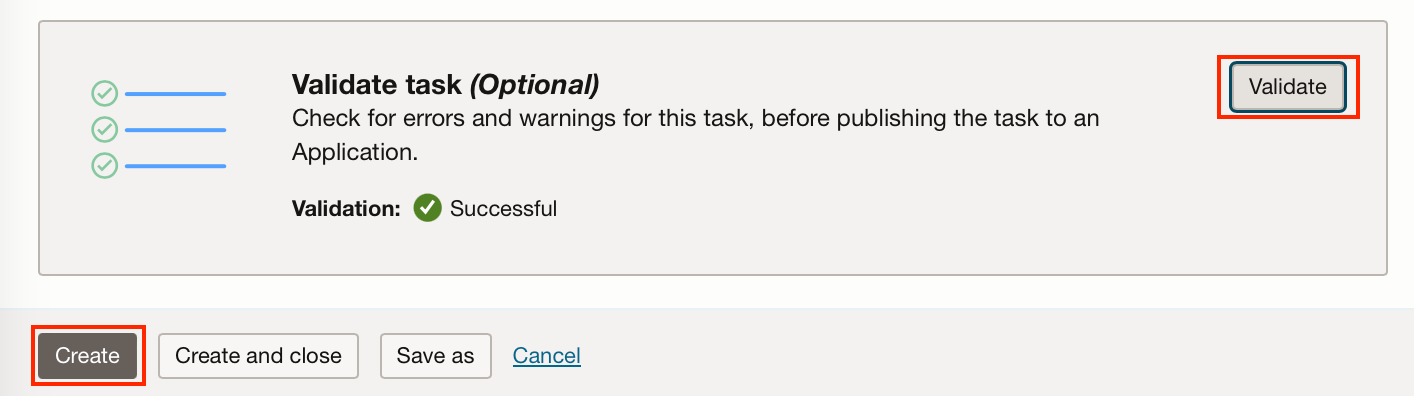
Validate the task, then click “Create”.
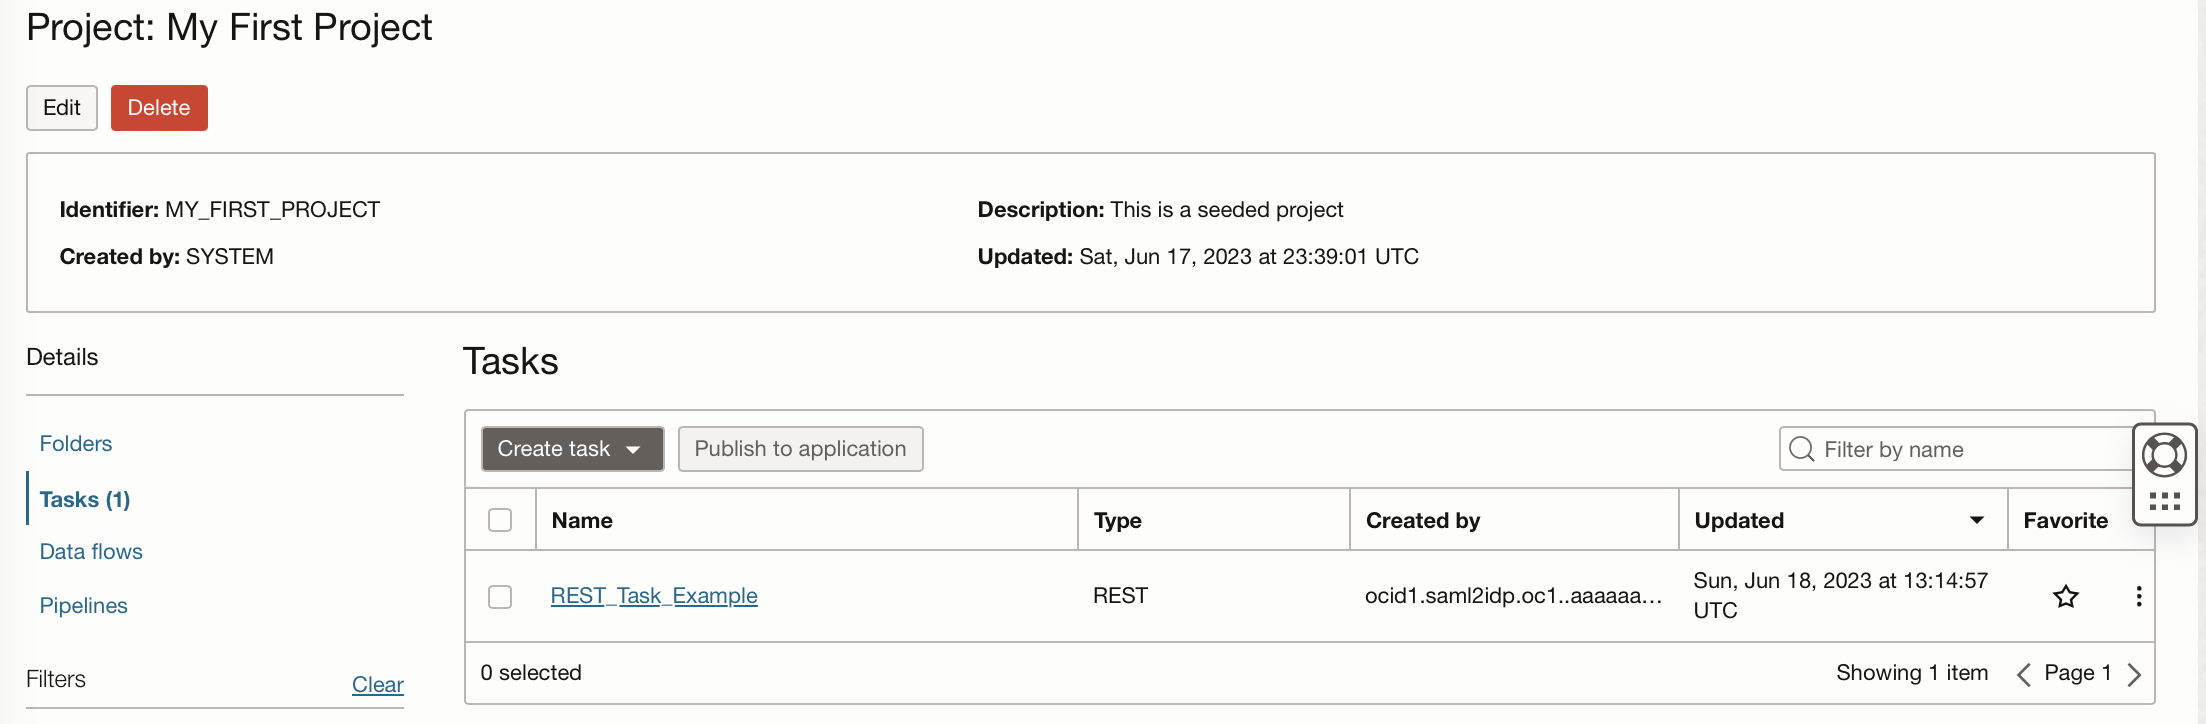
We can now see this REST task in our Data Integration Project.
Create an Application
To execute this task we require an application, you can either create a specific application, or you can use the default application created with the workspace.
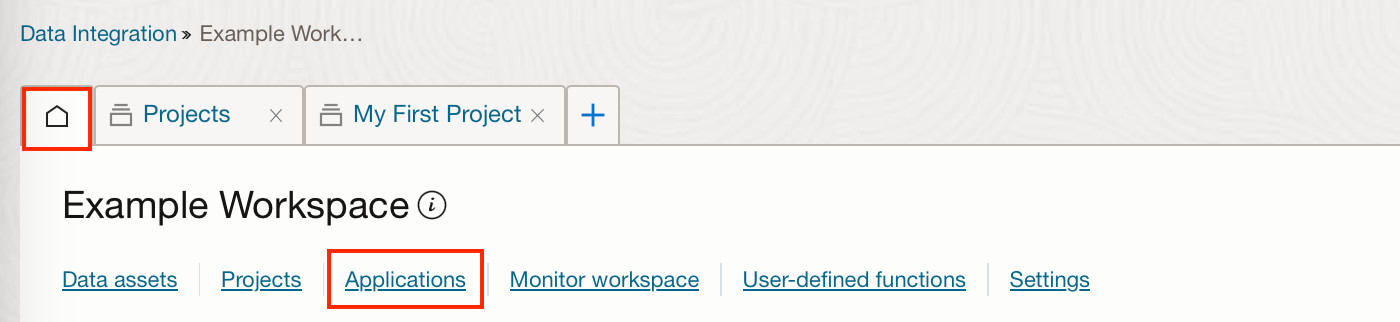
To create an application go to the Home tab and then Applications.
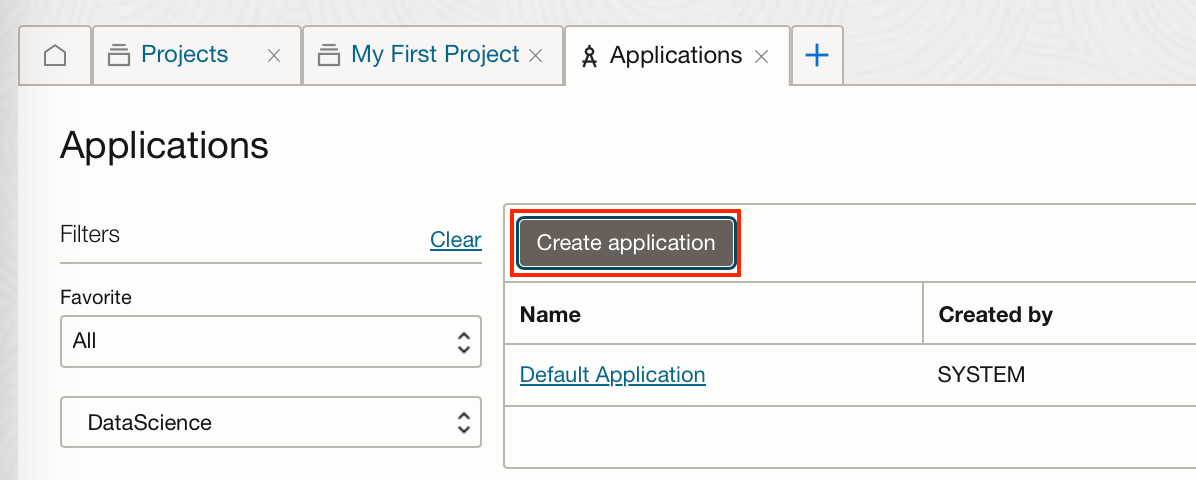
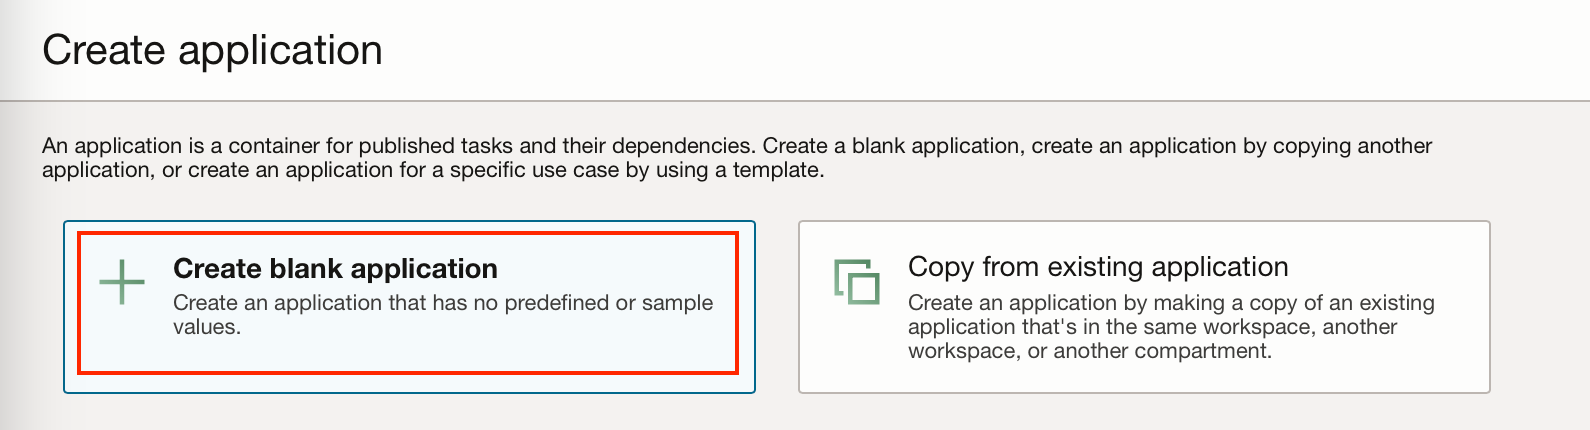
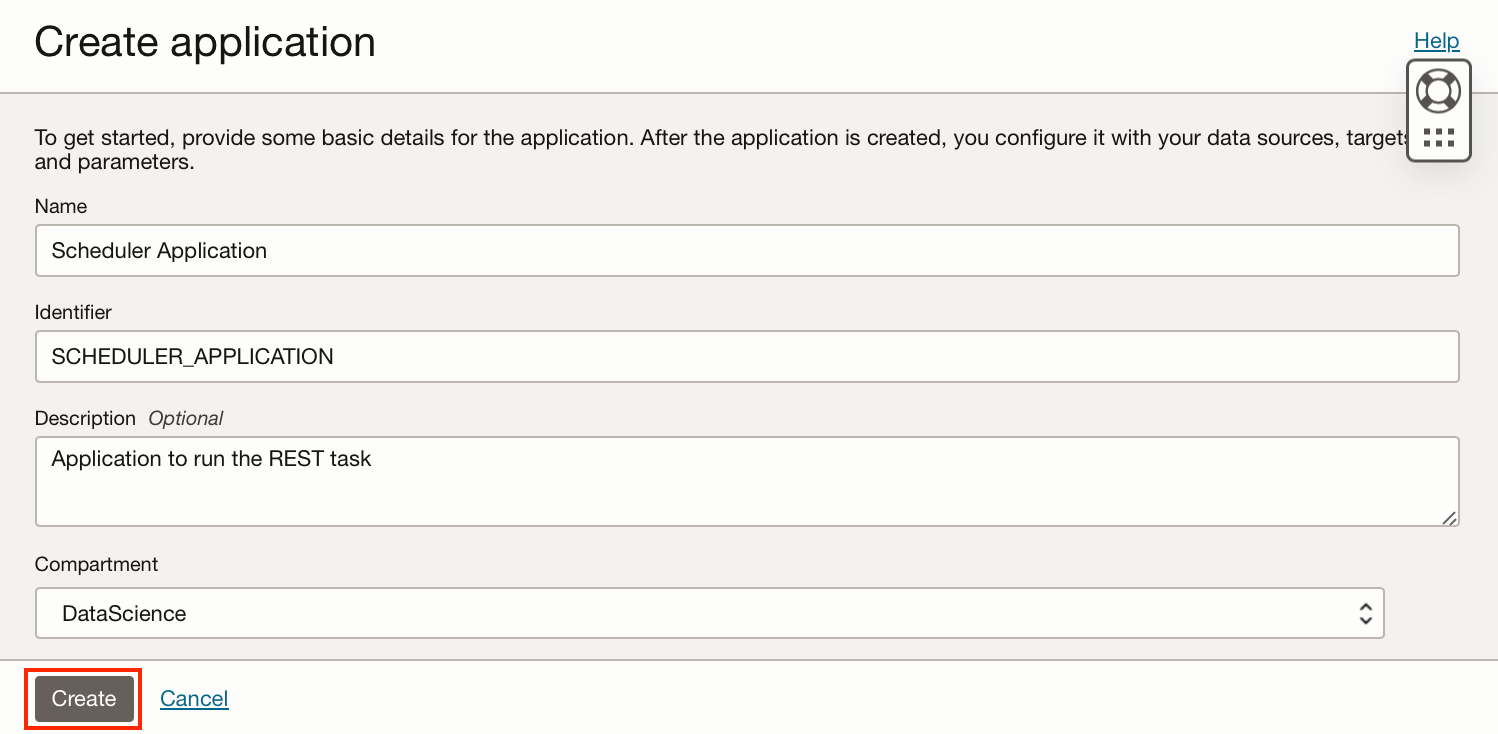
Click “Create application”, in the example below I have created a blank application.
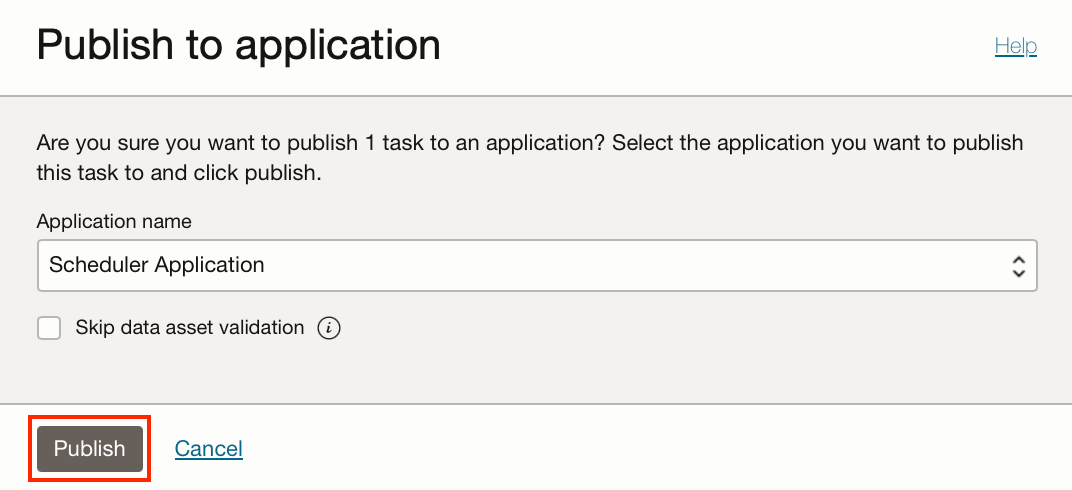
To assign the REST task to the application, we go back to the Tasks within our Project “My First Project” and click on the ellipsis and then “Publish to application”.

Select our Scheduler application from the drop-down and then “Publish”.
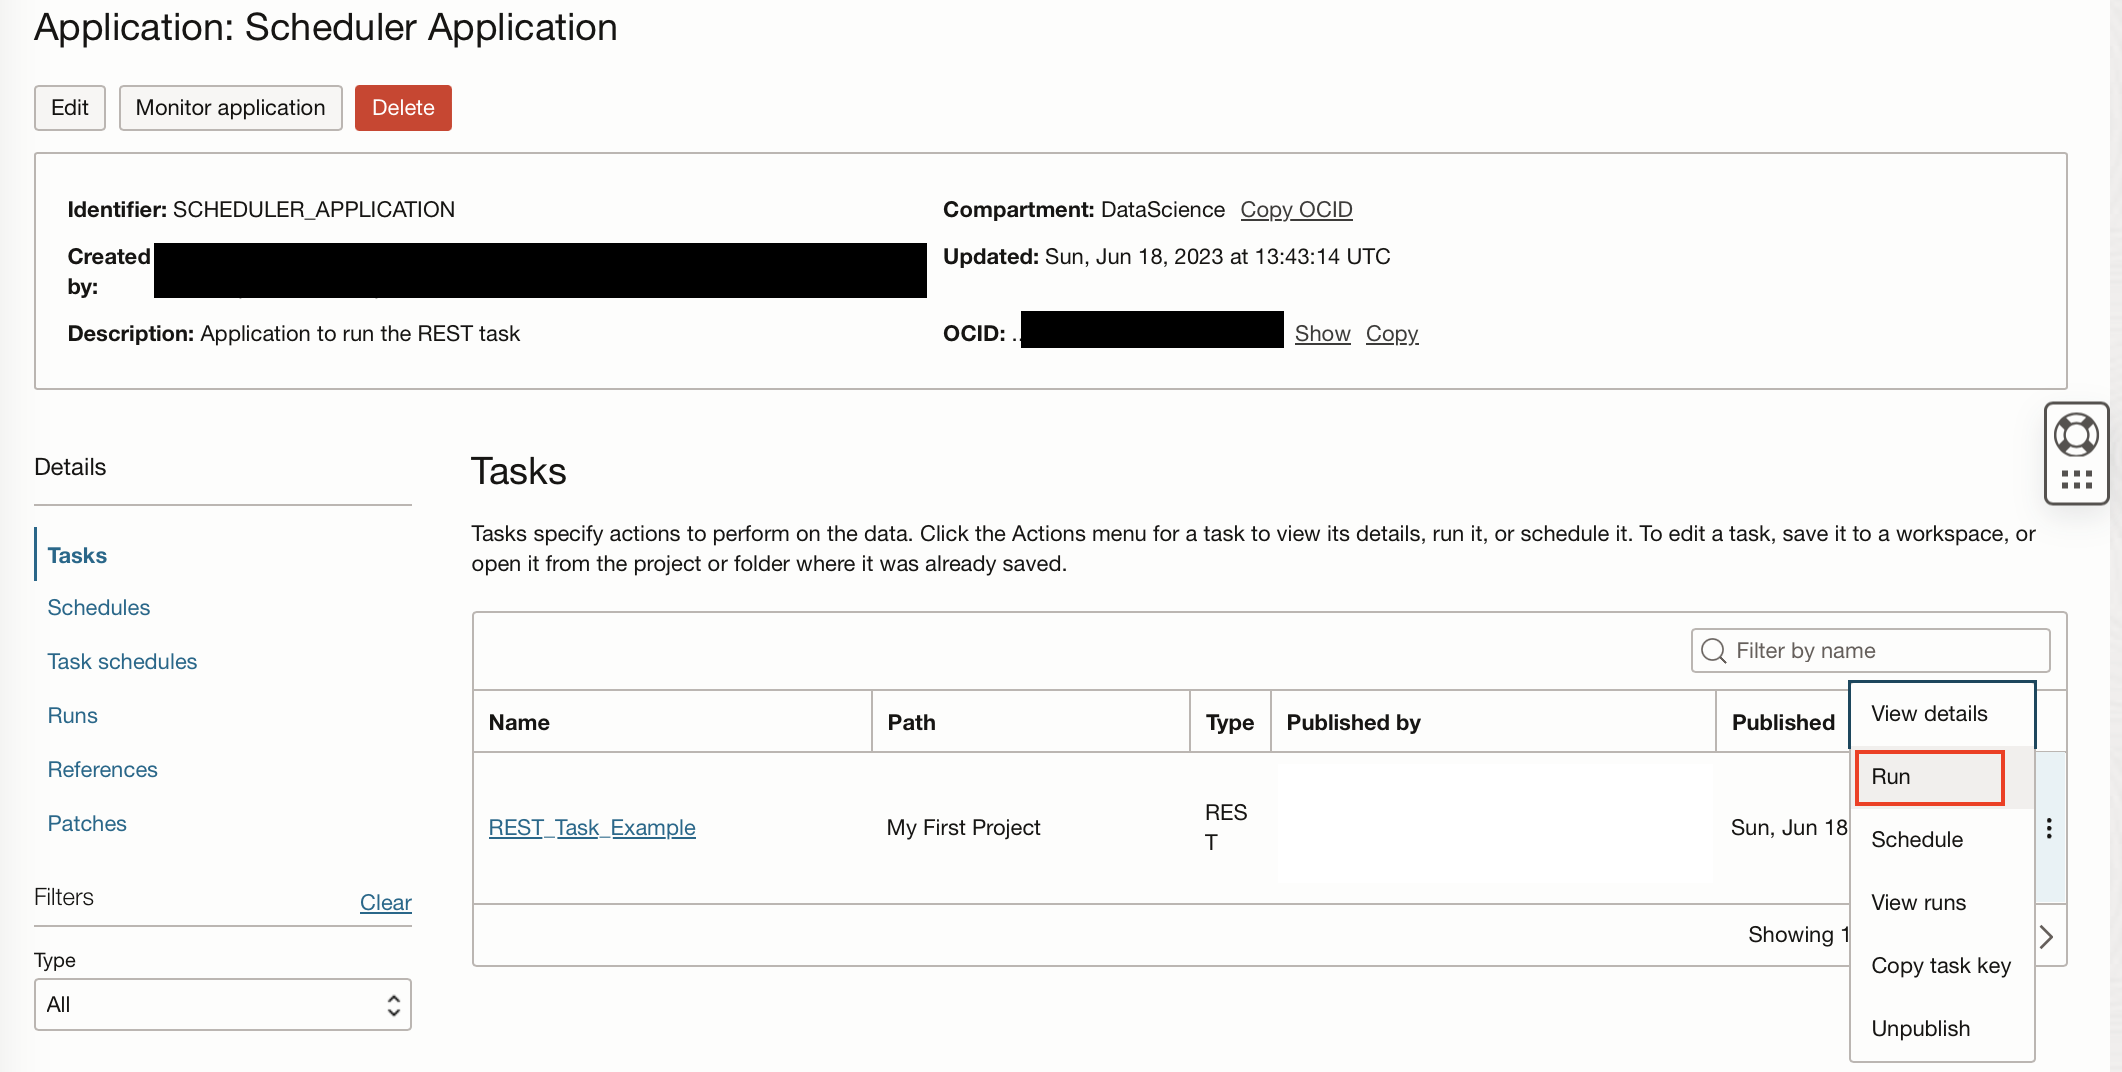
If we navigate back to our application, we can see our REST task in our applications list of tasks. We can now test that this task works by clicking on the ellipsis next to the task and “Run“.
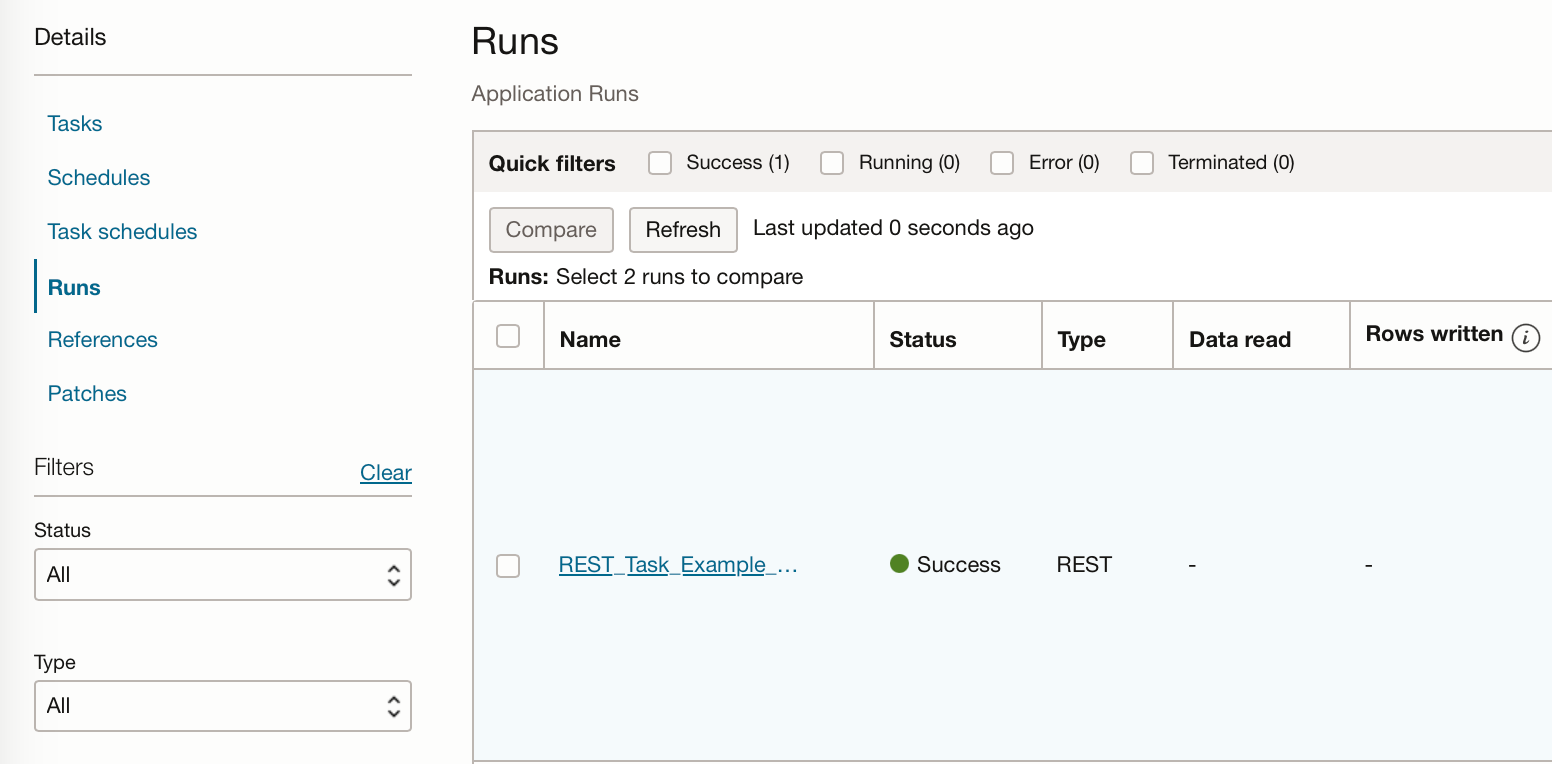
This will automatically take us to the runs tab, which will show us that the task is being run and will hopefully be successful.
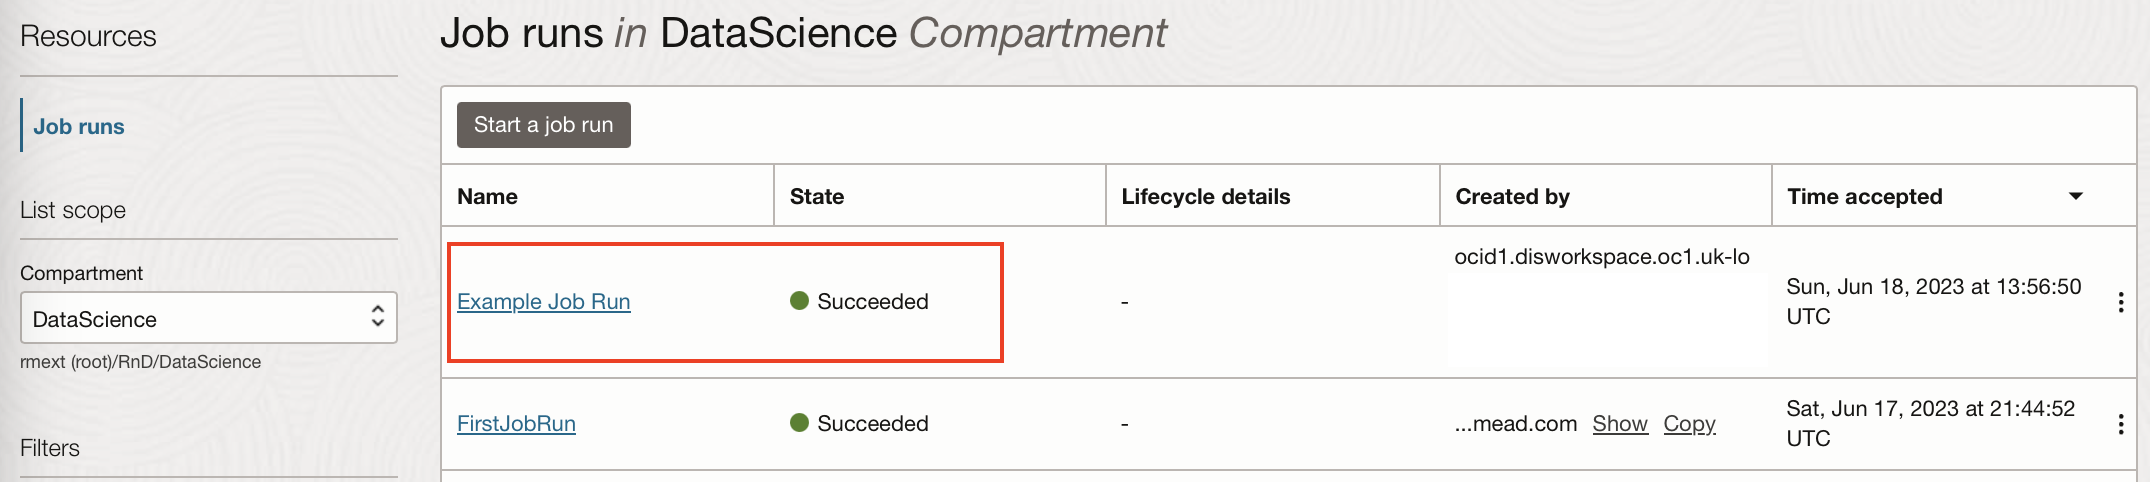
If we go back to our Data Science Job in OCI Data Science can see that a job run has been created from this task execution.
Create a Schedule
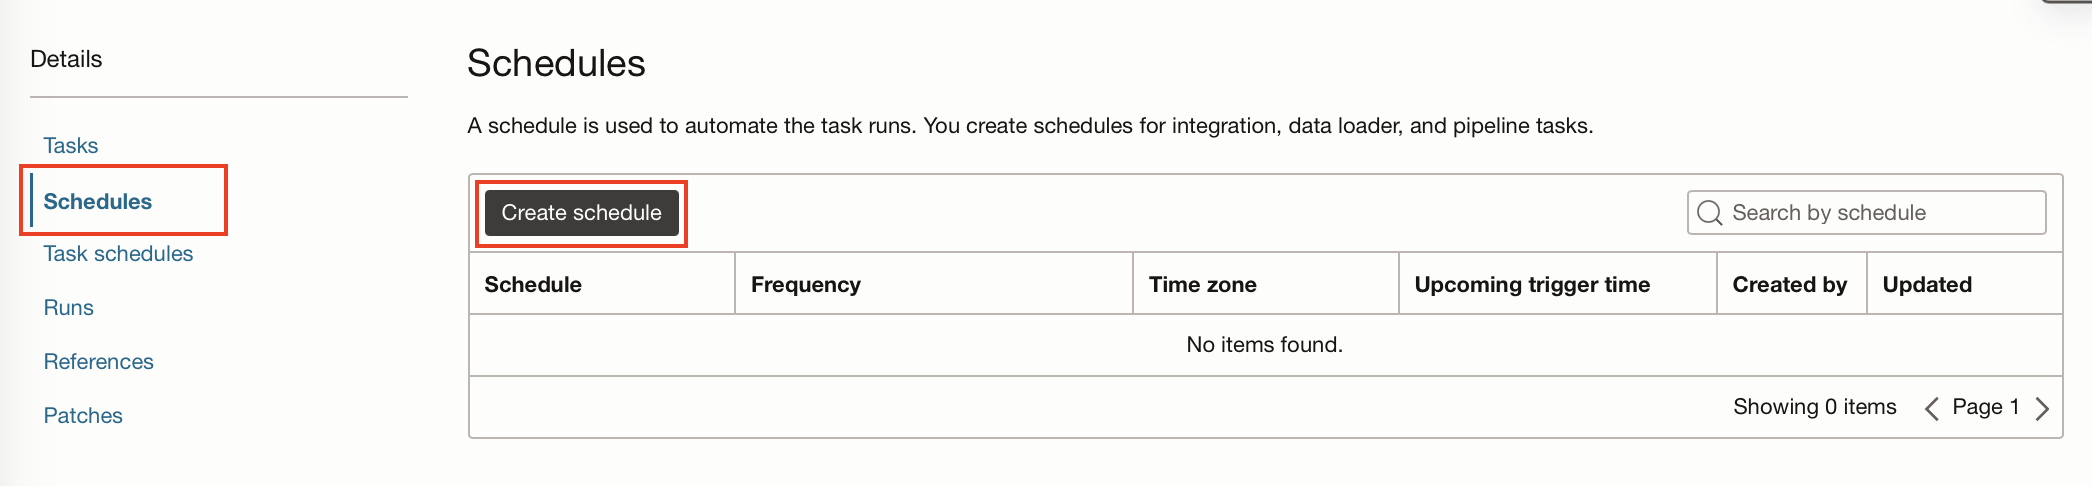
Now we know our application runs our Data Science Job we need to schedule the application. A schedule can be created from within our Data Integration Application.
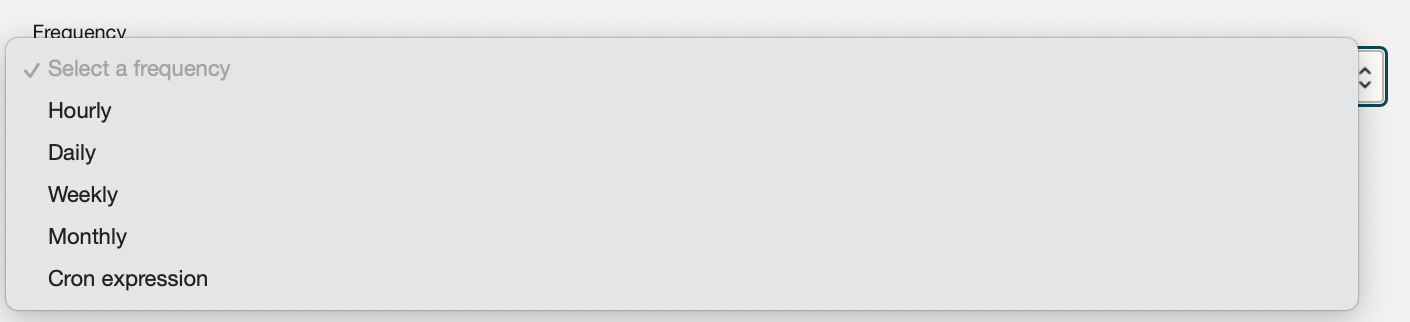
Here you set the time zone and frequency, depending on the frequency you select you can customise the start time of your schedule. (If you select a cron expression the most often you can set is once every 30 minutes).
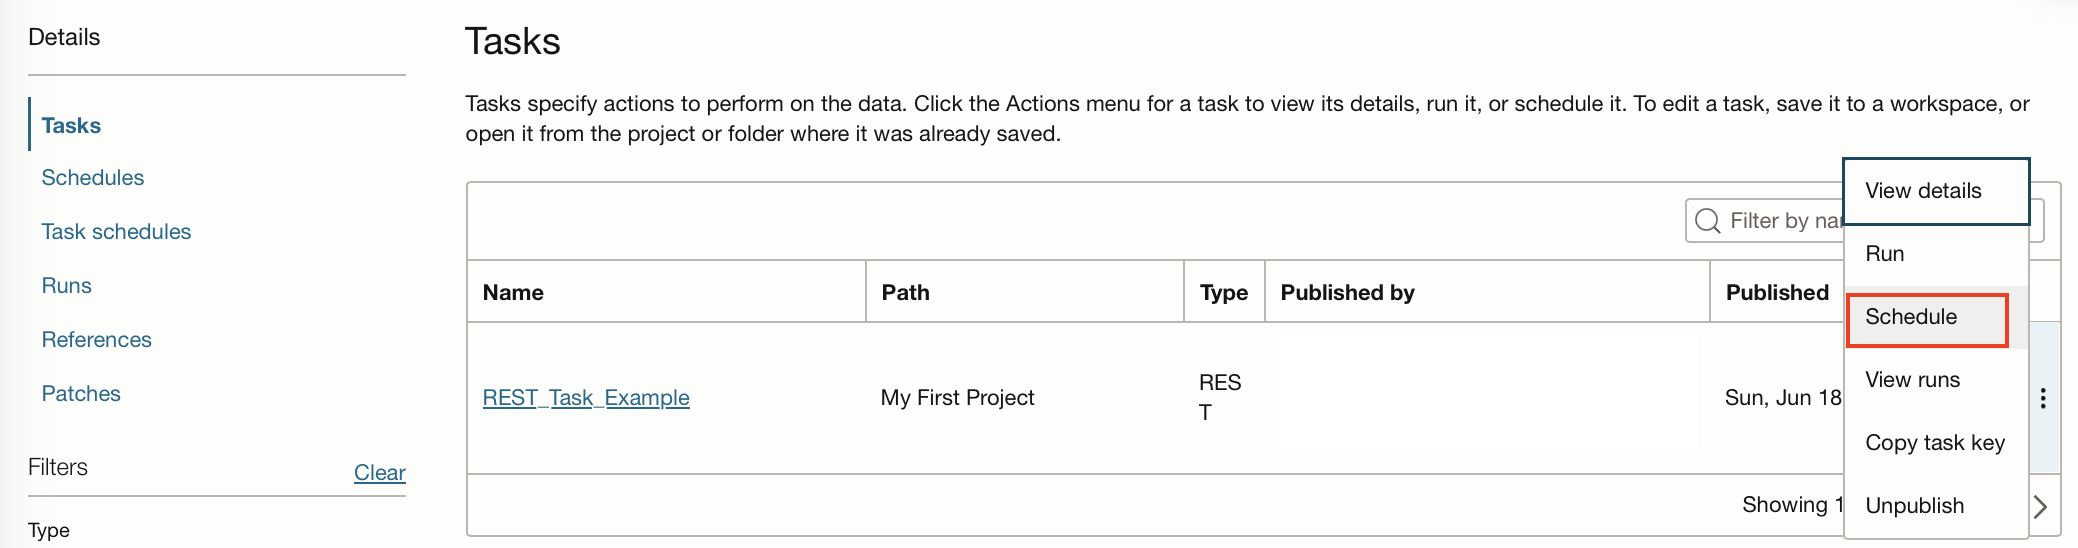
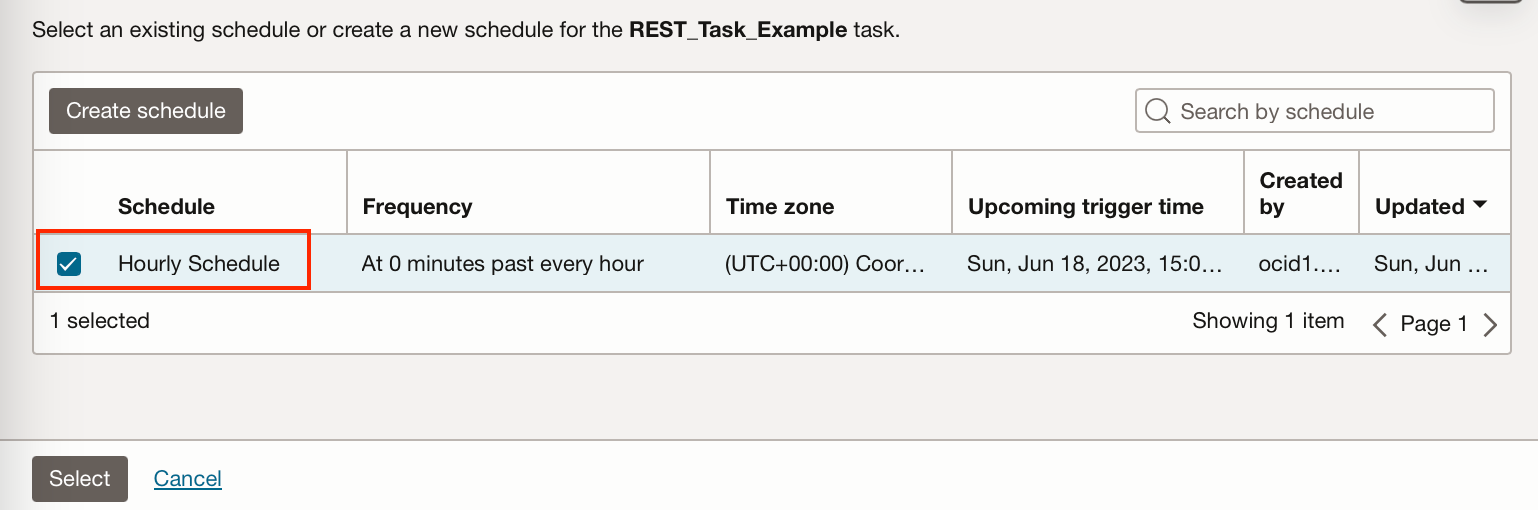
Once you have created the schedule you can add it to the task within the application. To do this go back to the tasks listed in the application, click on the ellipses and click “Schedule”.
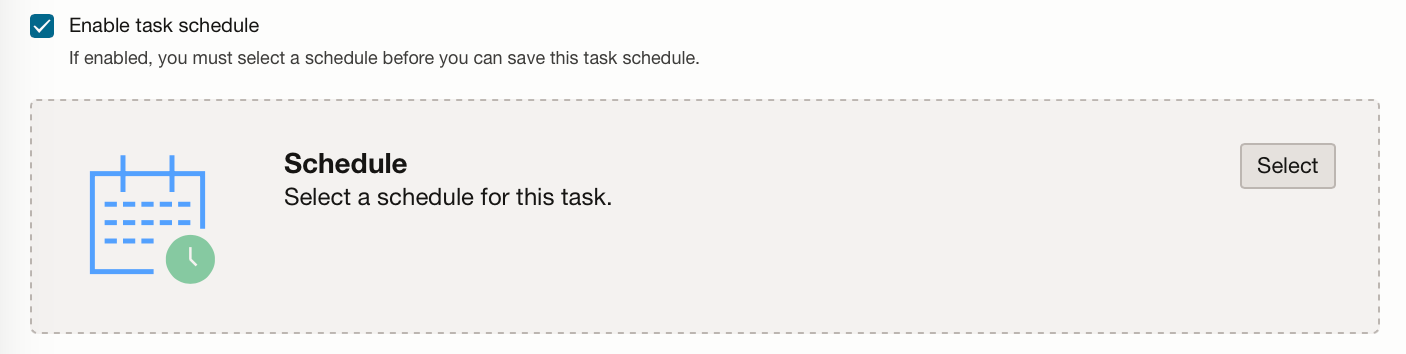
Select the schedule you have just created and then click “Create and close”.
If you go to the Task Schedules tab from within your application you can see that the task is scheduled.
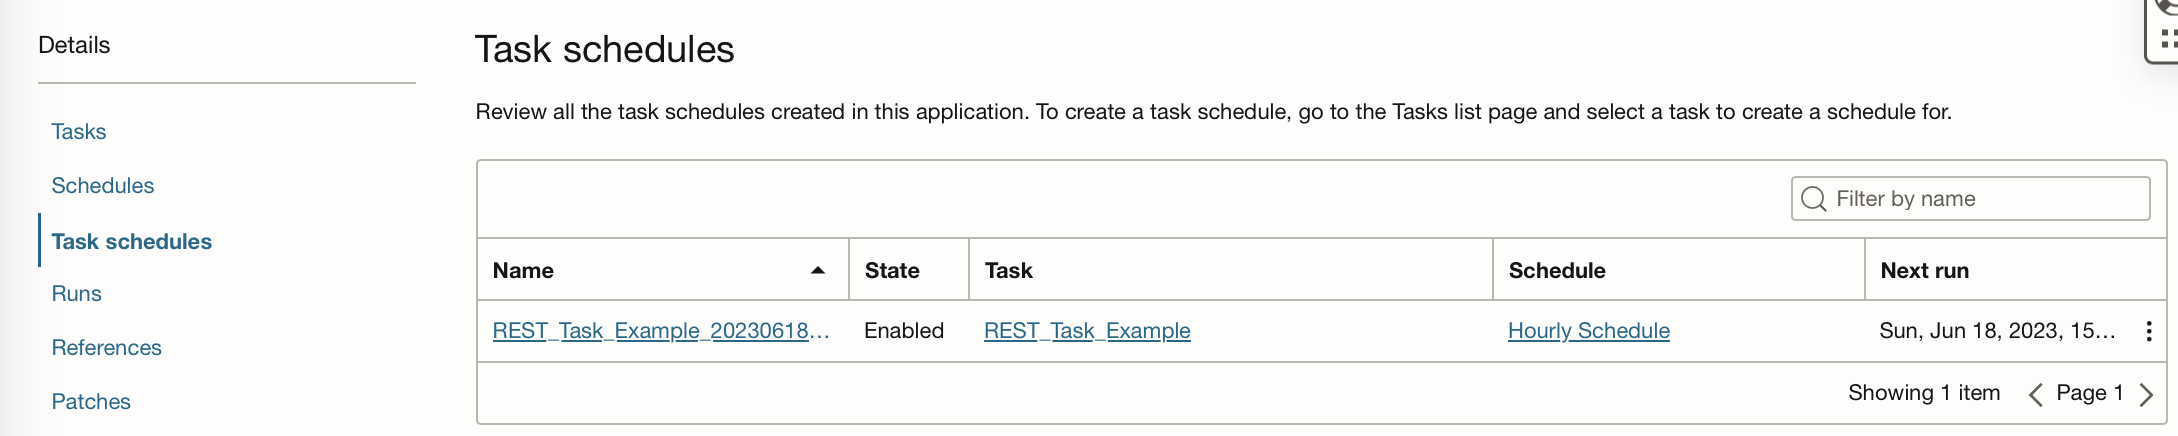
The task should then run on the schedule you have set, in this example, my task is run every hour.
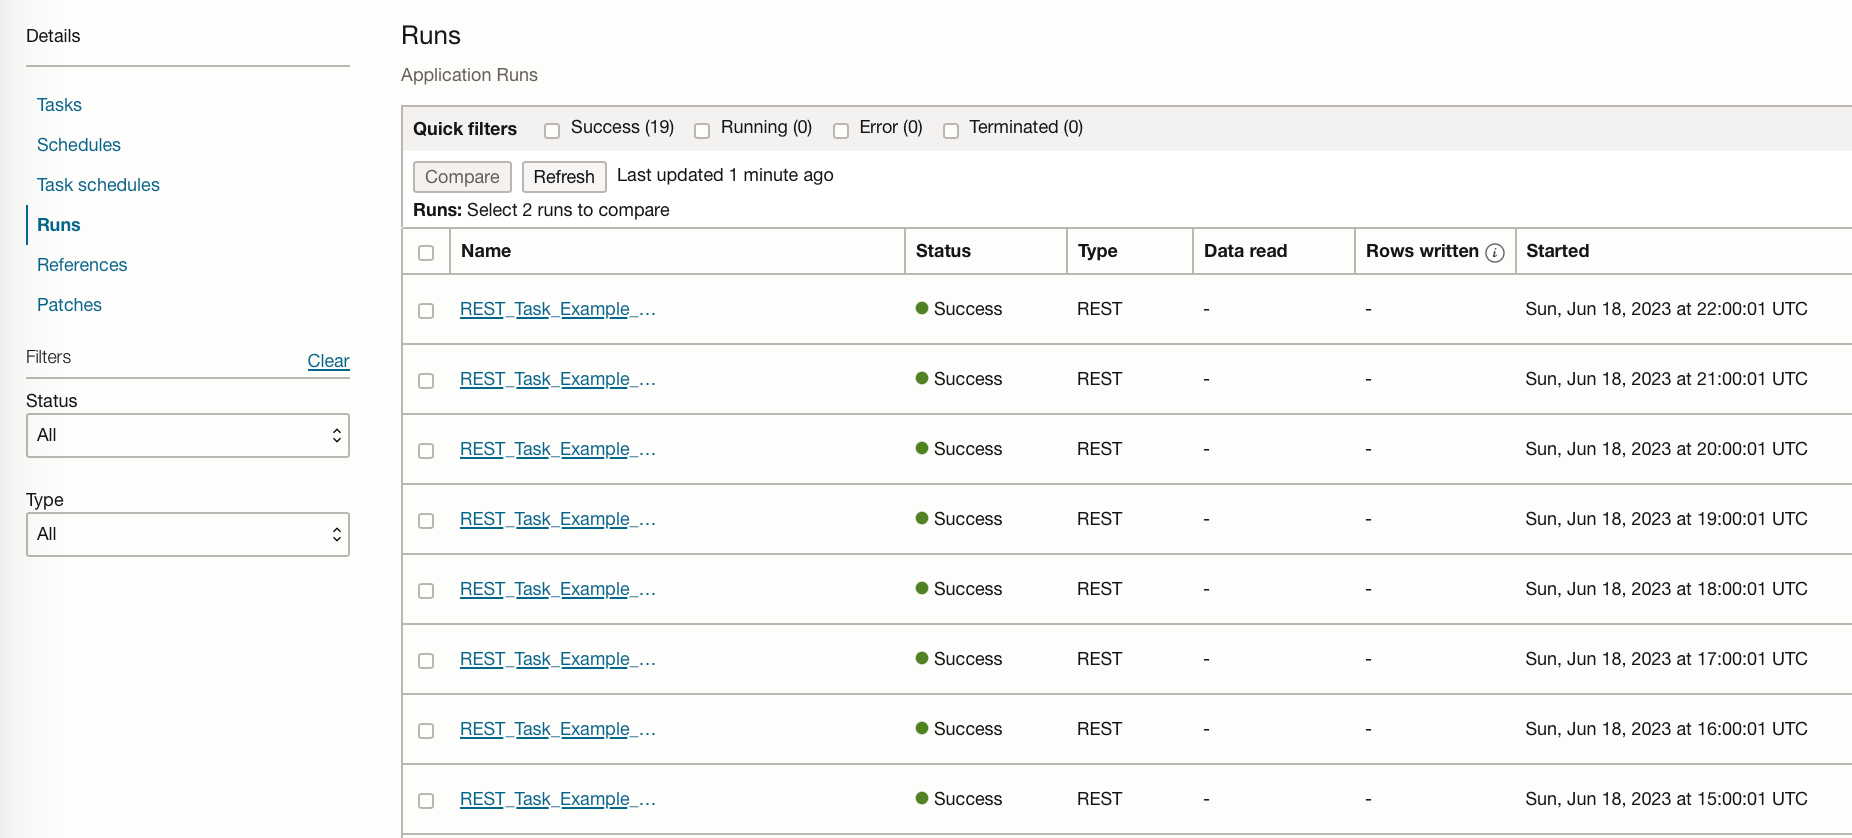
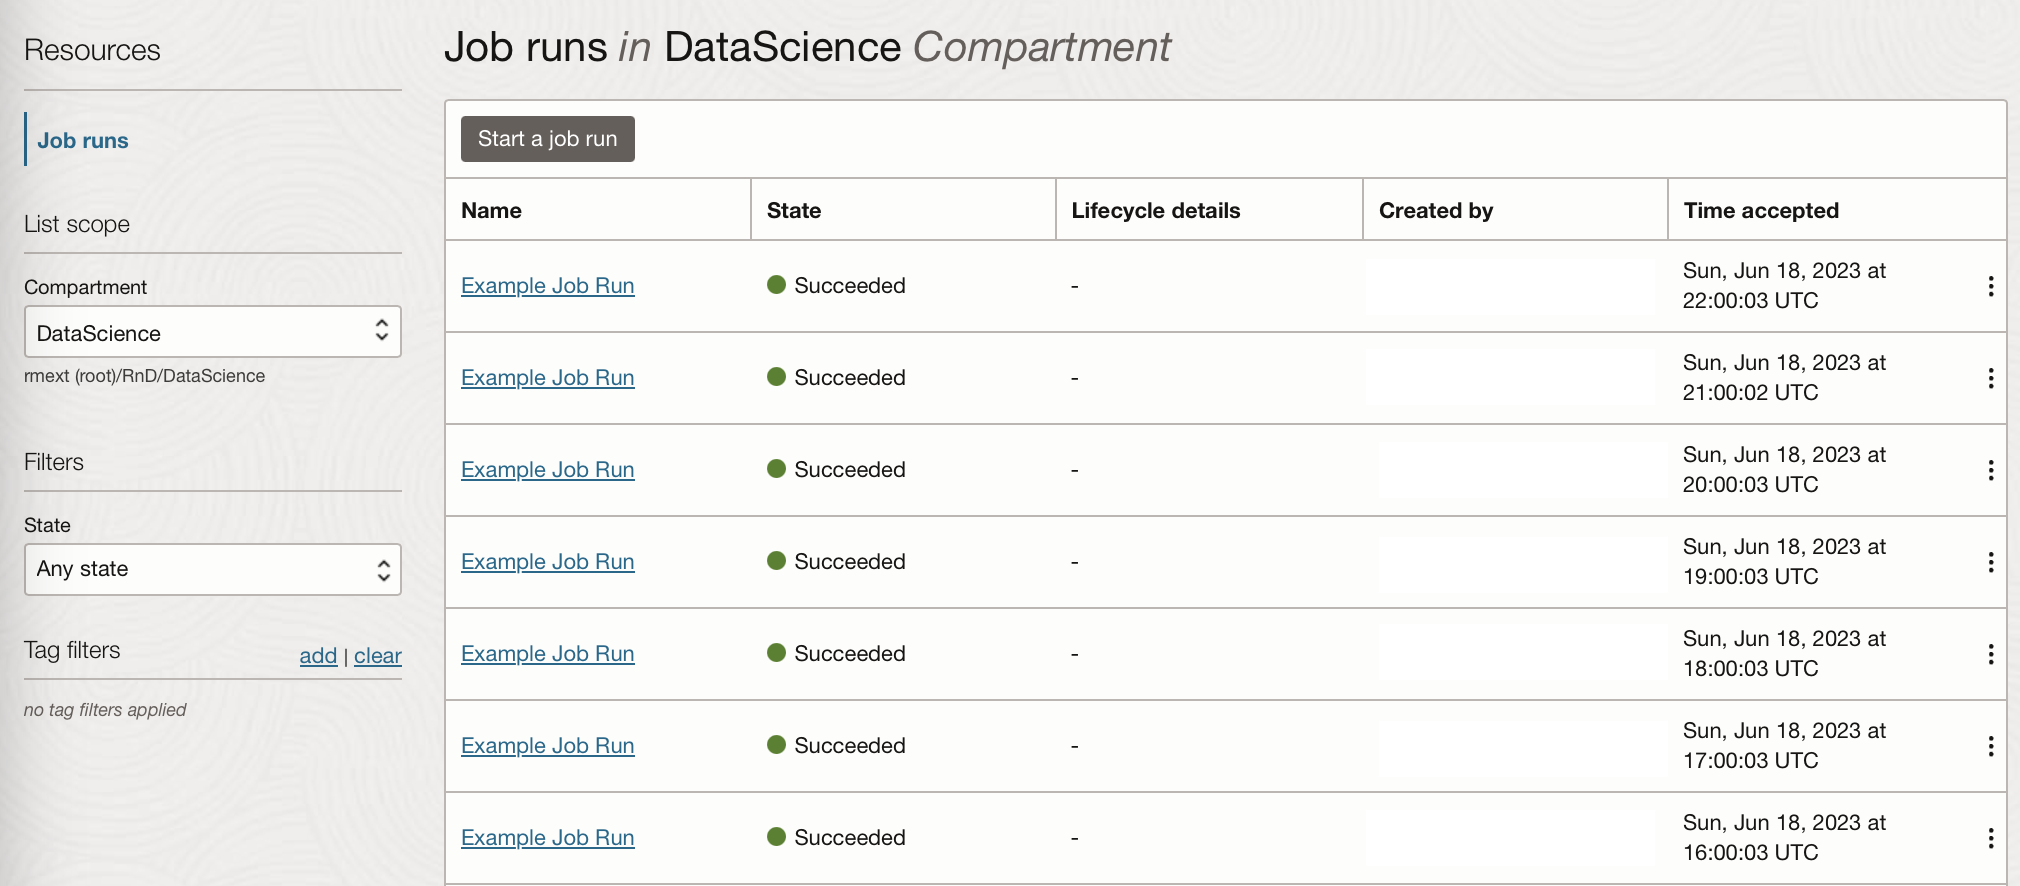
You can see the task creates a job run from the data science service every hour, allowing you to see the logs for each run:
Summary
In this post, we have covered creating a data science job to run a Python script, although this could be used to run Bash/Shell, or a Python or Java compressed file containing an entire project. This Job was then scheduled using the OCI data integration service by creating a REST task with the details of the data science job, and application to run the task, and a schedule to define the frequency and start time of the application.
Our job included environment variables to utilise a published conda environment, but these could have been extended to include secrets stored in the OCI vault. This means Data Science Jobs could be used for a whole range of tasks which could include, reading and writing to the storage bucket, reading and writing to an ADW, performing data manipulation, or applying a saved model to a dataset in batches. Technically you could use these jobs to retrain and deploy models, however, I would strongly advise against deploying models which have not been properly checked and tested for bias.