Introduction to Oracle BI Cloud Service : Service Administration
Earlier in the week we’ve looked at the developer features within Oracle BI Cloud Service (BICS), aimed at departmental users who want the power of OBIEE 11g without the need to stand-up their own infrastructure. We looked at the process of uploading spreadsheets and other data to the Oracle Database Schema Service that accompanies BICS, how you create the BI Repository that translates the tables and columns you upload into measures, attributes and hierarchies, and then took a brief look at how dashboards and reports are created and then shared with other users in your department. If you’re coming in late, here’s the links to the previous posts in the series:
- Introduction to Oracle BI Cloud Service : Product Overview
- Introduction to Oracle BI Cloud Service : Provisioning Data
- Introduction to Oracle BI Cloud Service : Creating the Repository
- Introduction to Oracle BI Cloud Service : Building Dashboards & Reports
- Introduction to Oracle BI Cloud Service : Service Administration
One of the design goals for BICS was to reduce the amount of administration work an end-user has to perform, and to simplify and consolidate any tasks that they do have to do. Behind the scenes BICS actually comprises a BI environment, and a database environment, with most of the administration work being concerned with the BI one. Let’s start by looking at the service administration page that you see when you first log into the BICS environment as an administrator, with the screenshot below showing the overview page for the overall service.
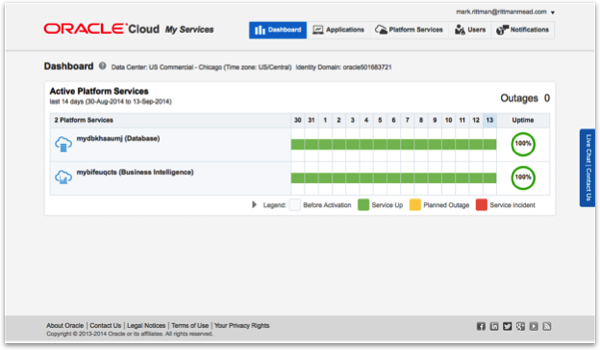
Oracle BI Cloud Service is part of Oracle’s overall Oracle Platform-as-a-Service (PaaS) offering, with BICS being made up of a database service and a BI service. The screenshot above shows the overall availability of these two services over the past two weeks, and you click on either the database service or the BI service to drill into more detail. Let’s click on the BI service first.
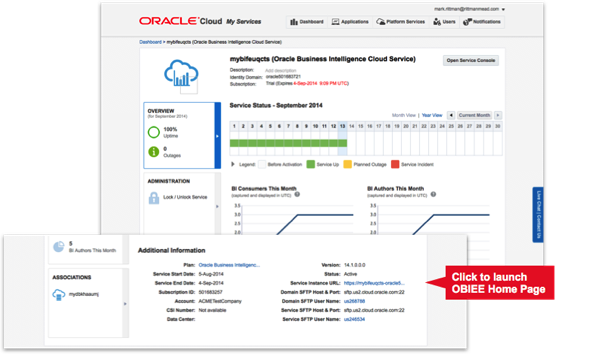
The BI service dashboard page shows the same availability statuses again, along with a few graphs to show usage over that period. Also on this page are details of the start and end date for the service contract, details of the SFTP user account you’ll need to for some import/archive operations, and a link to Presentation Services for this instance, to launch the OBIEE Home Page.
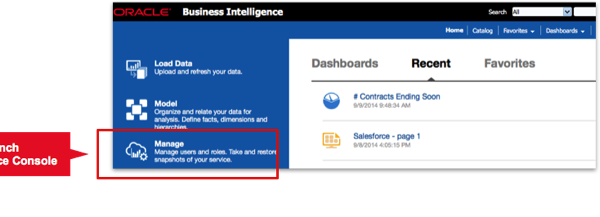
The OBIEE home page, as we saw in previous posts in this series, has menu items for model editing, data uploading and creating reports and dashboards. What it also has though is a Manage menu item, as shown in the screenshot below, that takes you through to an administration function that lets you set up application roles and backup/restore the system.
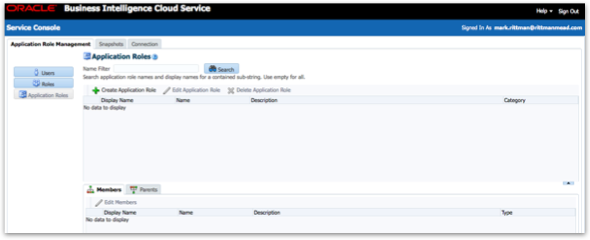
Application roles are the way that OBIEE groups permissions and privileges and then assigns them to sets of users. With on-premise OBIEE the only way to manage application roles is through Enterprise Manager Fusion Middleware Control, but with BICS this functionality has been moved into OBIEE proper so that non-system administrators can perform this task. The list of users you work with are the ones defined for your service (tenancy) and using this tool you can assign them to existing application roles, create new ones, or group one set of roles within another. Users themselves are created as part of the instance creation process, with the minimum (license) number of users for an instance being 10.
The Snapshots tab on this same Service Console page provides access to a new, system-wide snapshot and restore function that provides the means to version your system, restore it from a backup and transport a dev/test environment to your production instance. As I mentioned in previous postings in the series, each tenant for BICS comes with two instances, once for dev/test and one for prod, and the snapshot facility gives you a means to copy everything from one environment into another, for when you’ve completed development and testing and want to put your dashboards into production.
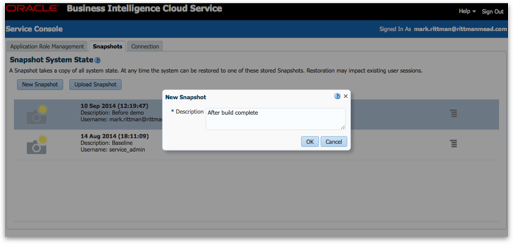
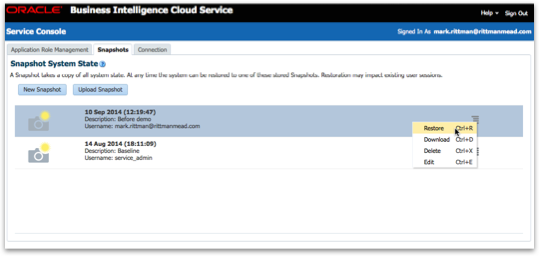
Taking a snapshot, as shown in the screenshot above, creates an archive file containing your RPD, the catalog and all the security settings, and you can store a number of snapshots within each environments, giving you a (very coarse-grained) versioning ability. What you can also do is download these snapshots as what are called “BI Archive” files as shown in the screenshot below, and its these archive files that you can then upload into your other instance to give you your code promotion process - note however that applying an archive file overwrites everything that was there before, so you’ll need to be careful doing this when users start creating reports in your production environment - really, it’s just a once-only code promotion facility followed then by a way of backing up and restoring your environments.
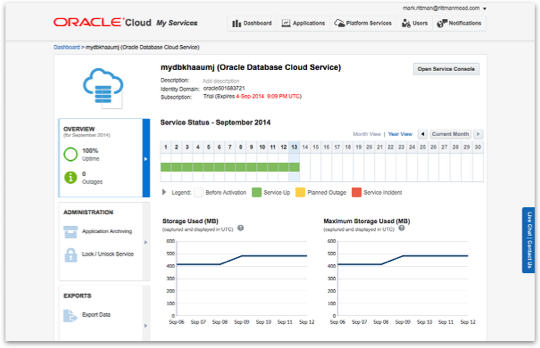
Note also that you’ll separately need to backup and restore any database elements, as these aren’t automatically included in the BI archive process. Backup and restoration of database elements is done via the separate database instance service page shown below, where you can export the whole schema or just parts of it, and then retrieve the export file via an SFTP transfer.
So that’s in in terms of BICS administration, and for our initial look at the BI Cloud Service platform. Rittman Mead are of course offering services around BICS and cloud BI in-general so contact us if you’d like to give BICS a spin, and keep an eye on the blog over the next few weeks where we’ll take you through the example BICS application we built, reporting against Salesforce.com data using their REST API.